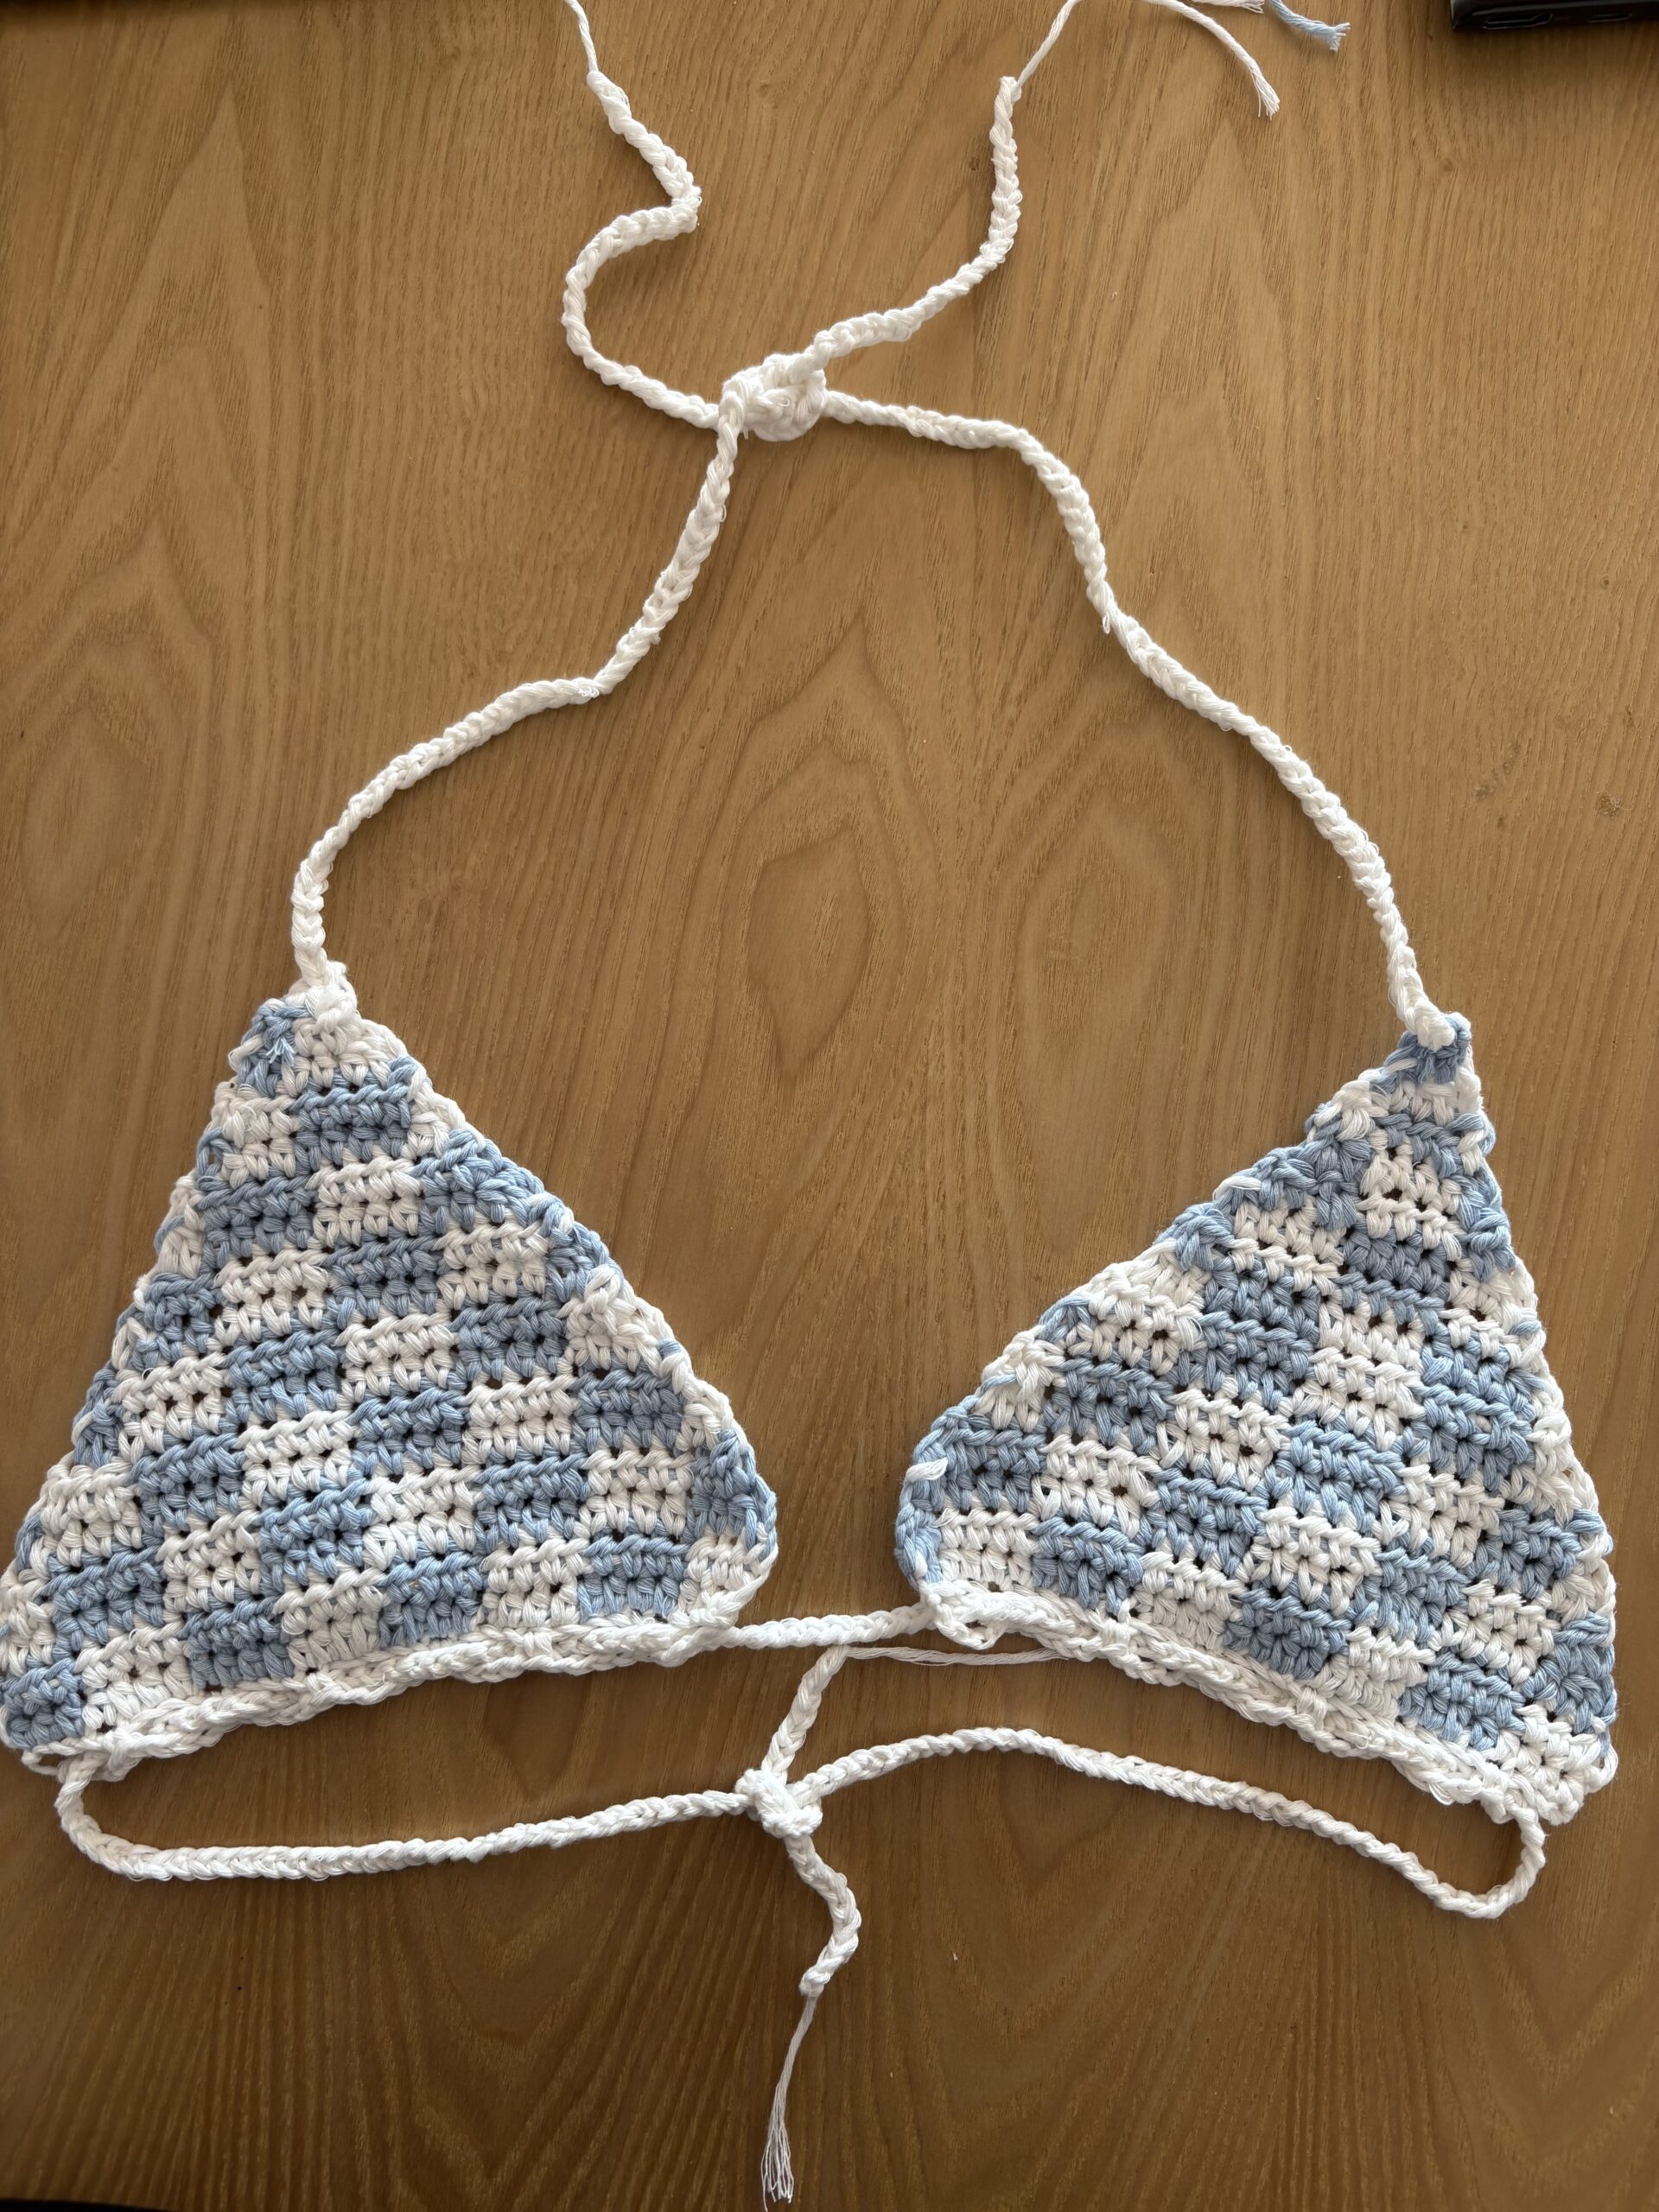
Ever since I made my very first checkerboard project, I’ve been completely hooked! I won’t say it’s the easiest project in the world—its real challenge lies in the color changes—but once you catch the rhythm, it becomes surprisingly simple and keeps you focused. This Checkered Bikini Top combines one of the biggest trends of the season, dropping just in time for summer. It’s a total must-have for music festivals, beach days, or pool parties!

Even though it requires a bit of concentration, it works up pretty fast, and you can easily finish it in just a couple of hours. It’s the perfect project if you have a weekend event coming up and want to rock something stunning and handmade.
There’s honestly nothing better than that feeling of catching everyone’s eye at a festival and being able to say: ‘Thanks, I made it myself!’ So, grab your yarn, and let’s crochet!
CUSTOMIZE YOUR PATTERN
- Color changes: Feel free to experiment with different color combinations. Use high-contrast colors for a bold look, or similar tones for a more subtle, cohesive design.
- Size: Adjust the size by adding or removing chains to make it larger or smaller.
- Yarn choice: Different yarn fibers and weights will affect the final texture and thickness. For best results, choose 100% cotton yarn.
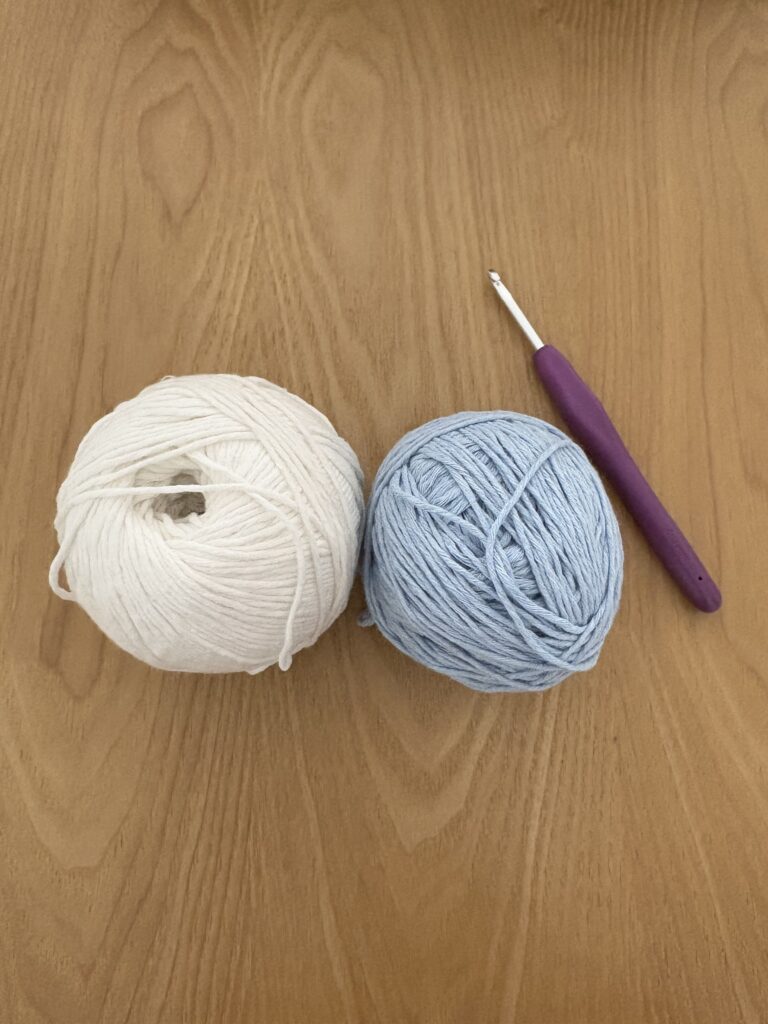
MATERIALS
- Yarn: 2 skeins of cotton or acrylic yarn in contrasting colors. For this project, I used an 80% cotton and 20% acrylic blend yarn, which worked perfectly to give the bikini top both structure and softness.
- Crochet Hooks: A crochet hook matching your yarn size. Specifically, I used two hooks for this project: a 4.0 mm hook for the main body and a 2.5 mm hook for the small details and neat finishes.
- Scissors.
- Yarn needle (tapestry needle) for weaving in ends.
STITCH ABBREVIATIONS (US TERMS)
- sk: Slip Knot
- ch : Chain
- sts: Stitches
- hdc : Half Double Crochet
- dec: Decrease
PATTERN NOTES
- Please read through the entire pattern before you begin
- At the beginning of every single row, you must chain 2. This counts as your turning chain to get the perfect height for your stitches, but it does not count as an actual stitch.
- The turning chain 2 does count as a stitch.
- Make sure to use the same type and weight of yarn for both colors in your project. Using a thinner yarn for one color may affect the look of the color changes and result in an uneven finish.
- The key to a successful colorful crochet bikini is learning how to change colors properly, as explained below.
- Use the reference images provided for guidance.
- You will work a total of 6 rounds, alternating colors as follows: Round 1 (Red), Round 2 (White), Round 3 (Blue), Round 4 (Red), Round 5 (White), and Round 6 (Blue).
- To achieve a seamless look, always drop your current color and pull through the new color during the very last yarn over of the final stitch of the round (when you have 2 loops left on your hook). Then, close the round with a sl st using the new color.
- The entire pattern is worked using only the Half Double Crochet (hdc).
INSTRUCTIONS
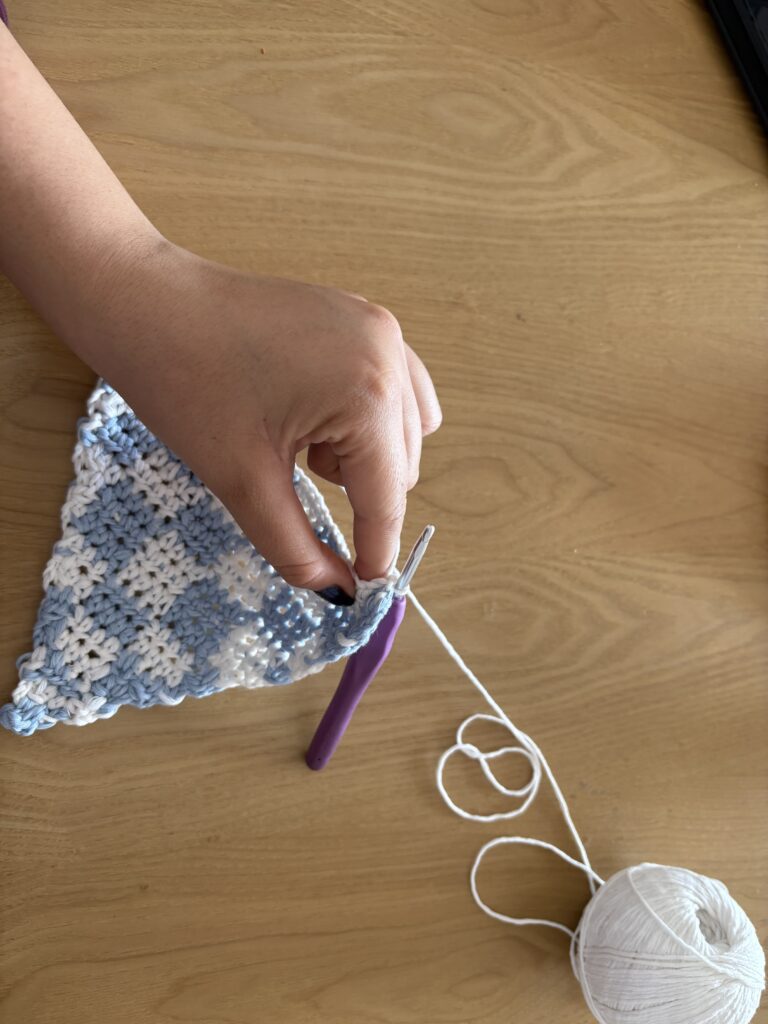
STEP I
Base Chain: Slip Knot, Chain 30 + 2 (This count will depend 100% on your underbust measurement).
CRUCIAL STEP: When making your slip knot to start this chain, leave a very long yarn tail (about 10–15 cm / 4–6 inches) hanging out. Do not cut it! We will need this exact tail later in Step 2 to tie our yarn and create the underbust casing.
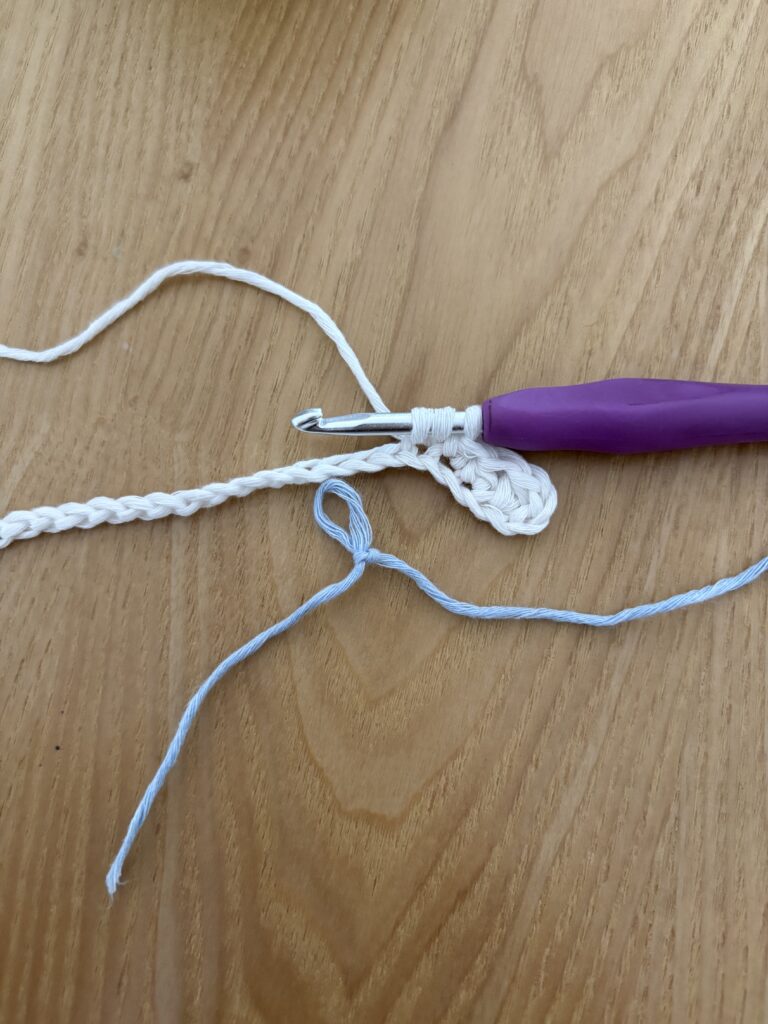
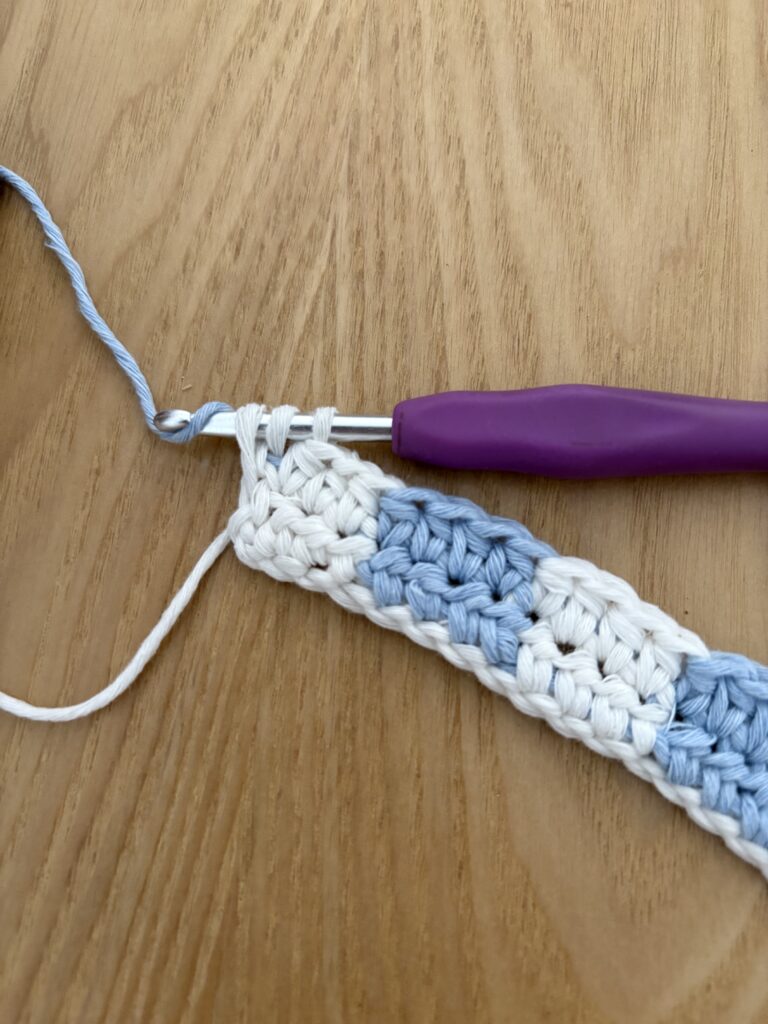
How to Change Colors in Hdc (Quick Guide)
To get clean, seamless checkerboard squares, always change your color on the very last stitch of your current color block. Here is how to do it:
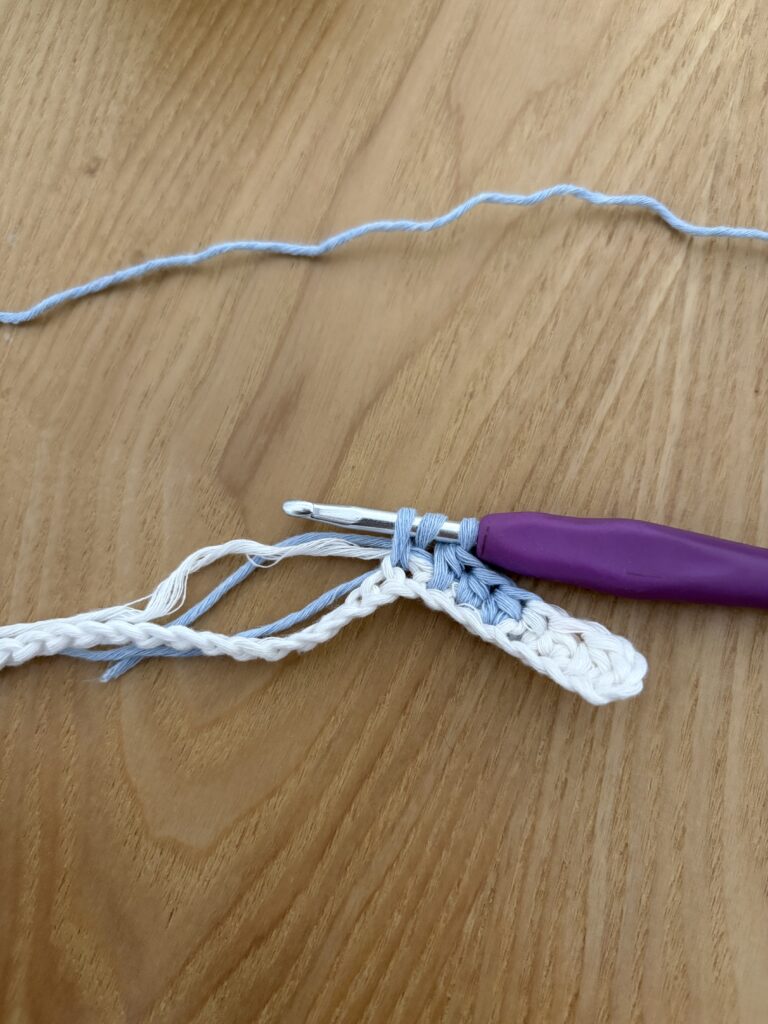
- Yarn over with Color A, insert your hook into the stitch, and pull up a loop. You now have 3 loops on your hook.
- Stop right there! Drop Color A.
- Slip Knot Color B (your new color) insert and pull it through all 3 loops on your hook to complete the stitch.
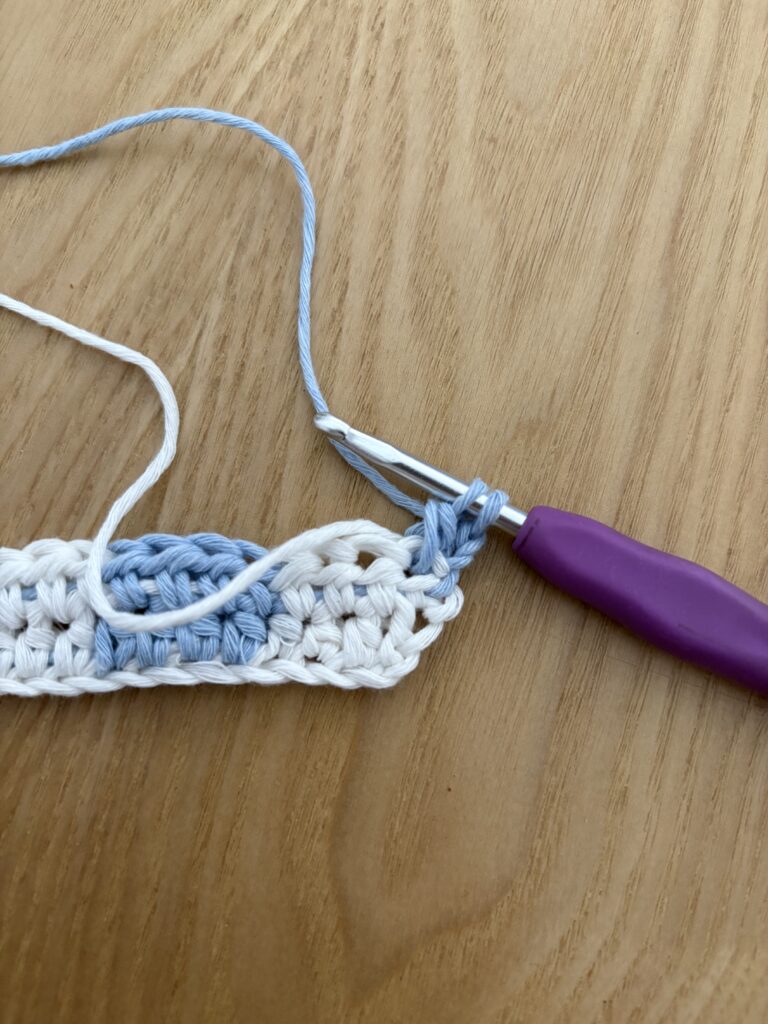
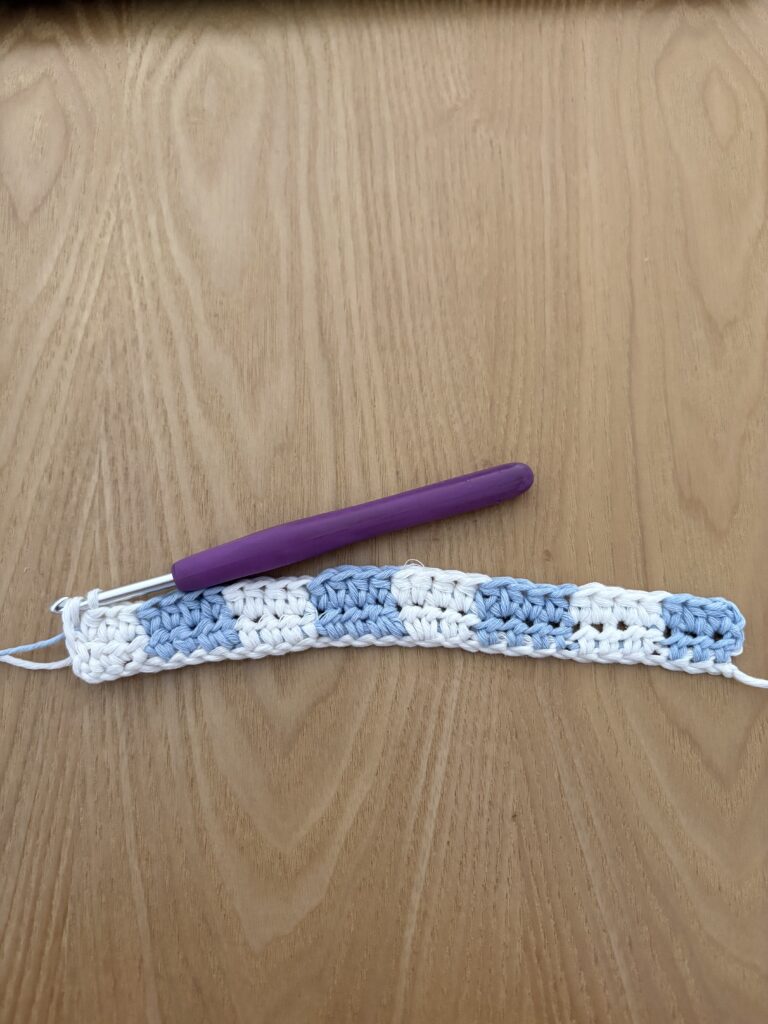
- Row 1: Hdc in the 3rd ch from hook. Work 4 hdc in Color A, then 4 hdc in Color B across the entire chain, changing colors on the last loop of every 4th stitch. Turn.
How to Decrease in Half Double Crochet
A decrease finishes two stitches together as one, helping shape your triangle edges. Here is how to do it:
Yarn over with your working yarn and pull through all 4 loops at once.
Yarn over, insert your hook into the first stitch, and pull up a loop (3 loops on hook).
Insert your hook straight into the next stitch, and pull up another loop (4 loops on hook).
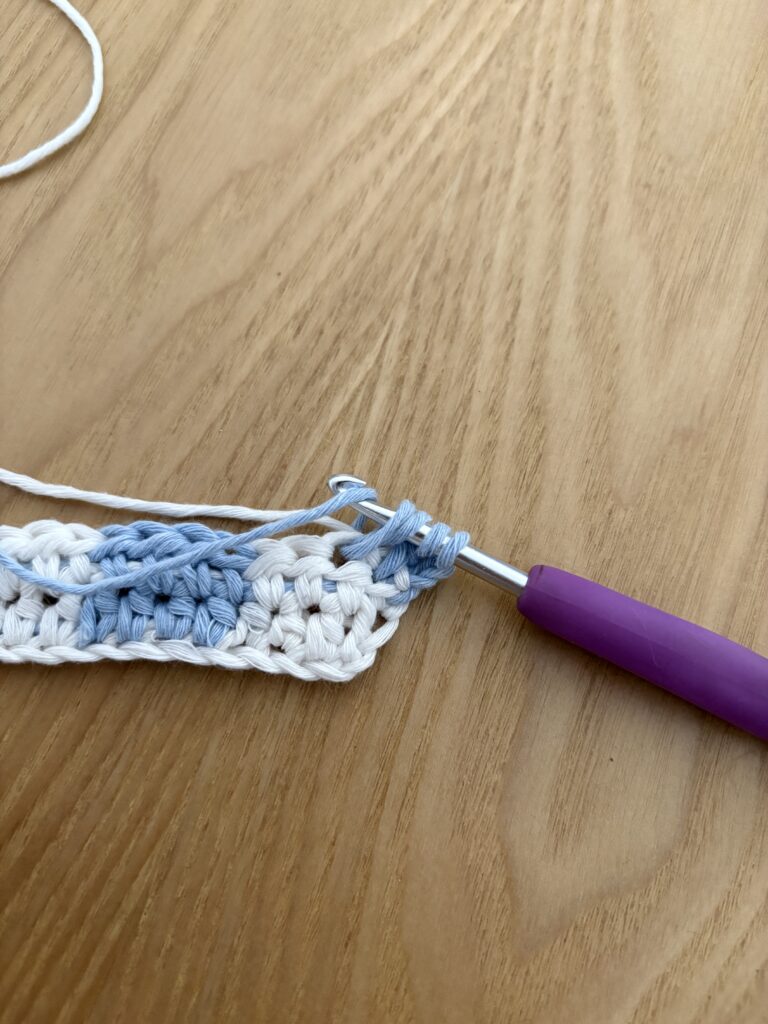
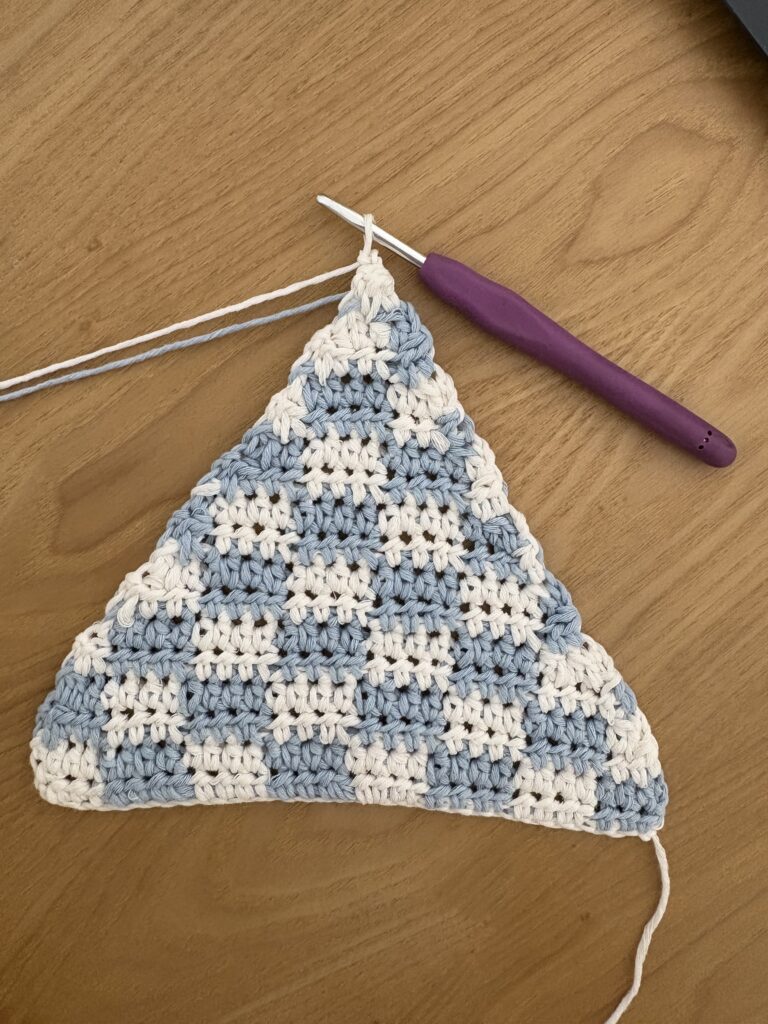
- Row 2 (Decrease): Chain 2. Hdc dec using the current color. Continue across the row following the 4×4 checkerboard pattern, matching the colors of Row 1. End with an hdc dec at the last 2 stitches. Turn.
- Row 3 (Decrease – Color Shift): Chain 2. Hdc dec. On this row, switch your color blocks (work Color B over Color A, and Color A over Color B) to start the next set of squares. Continue across the row and end with an hdc dec. Turn.
- Row 4 (Decrease): Chain 2. Hdc dec. Continue across the row matching the colors of Row 3. End with an hdc dec. Turn.
- Rows 5 to 17: Chain 2 at the start of each row. Continue repeating the same decrease and color block pattern until you reach Row 17. Turn.
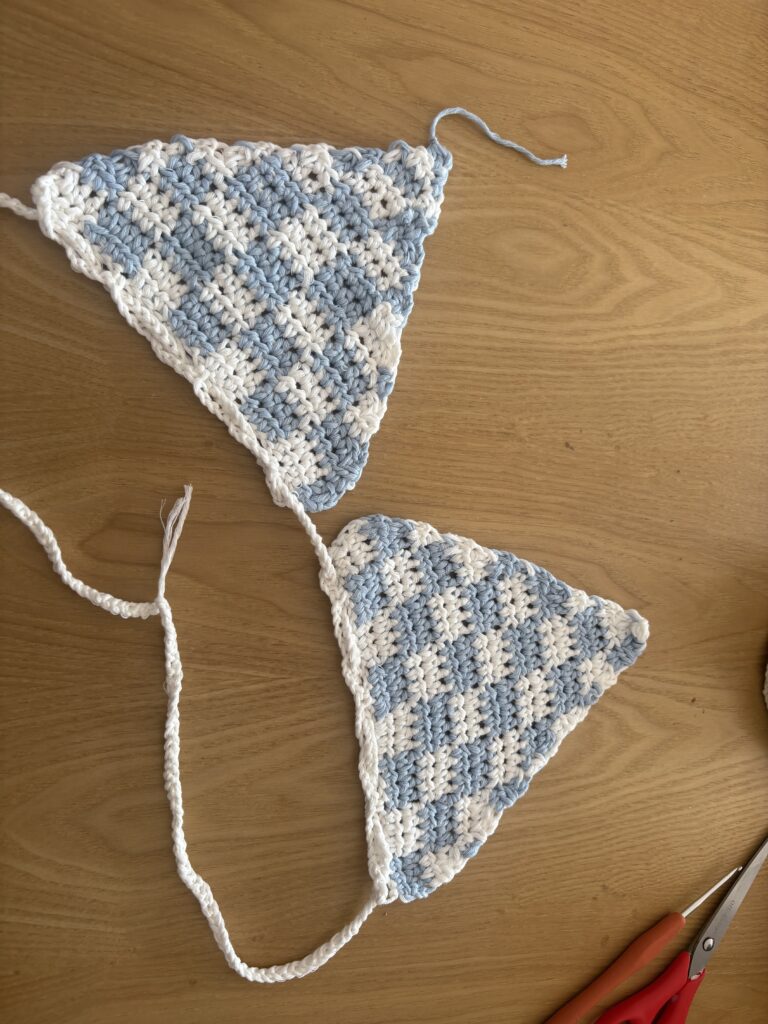
🌟 Repeat for the Second Panel! Now that you have finished your first mesh grid, simply repeat the exact same process from the very beginning to create the second panel (the back of your bag). Once you have both matching rectangular panels ready.
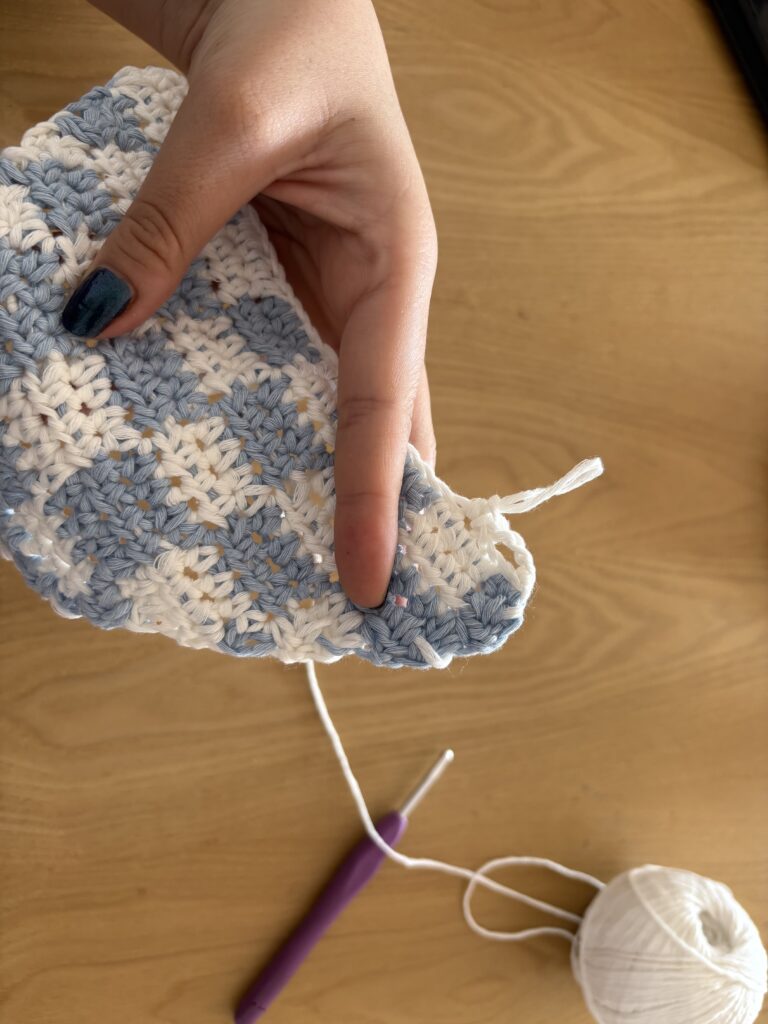
STEP II Bottom Loops
To insert the back strap, we need to create a casing channel along the entire lower edge of the triangle.
- To create the channel for the back strap, we will work along the starting chain at the bottom edge of the triangle.
- The Setup: Tie your working yarn to the initial yarn tail left at the beginning of your project. Make a loop on your hook (this will count as your first chain).
- Chain 4: Chain 4.
- Secure with Single Crochet: Skip 3 chains from your starting chain base, and work 1 single crochet (sc) into the 4th chain to secure the loop.
3. Repeat Across: Chain 4, skip 3 chains, and work 1 sc into the next chain. Repeat this pattern all the way across the bottom edge until you reach the end.
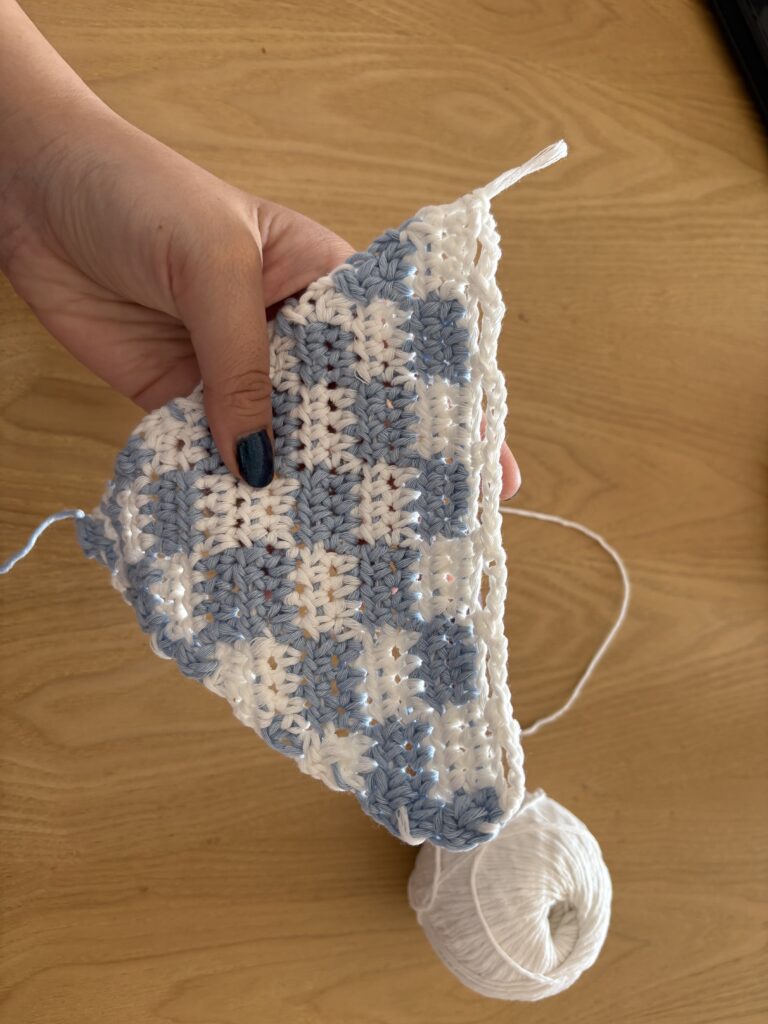
Note: This will create a series of neat chain -4 spaces (loops) along the entire base of your bikini top, making it super easy to slide your back strap through later!
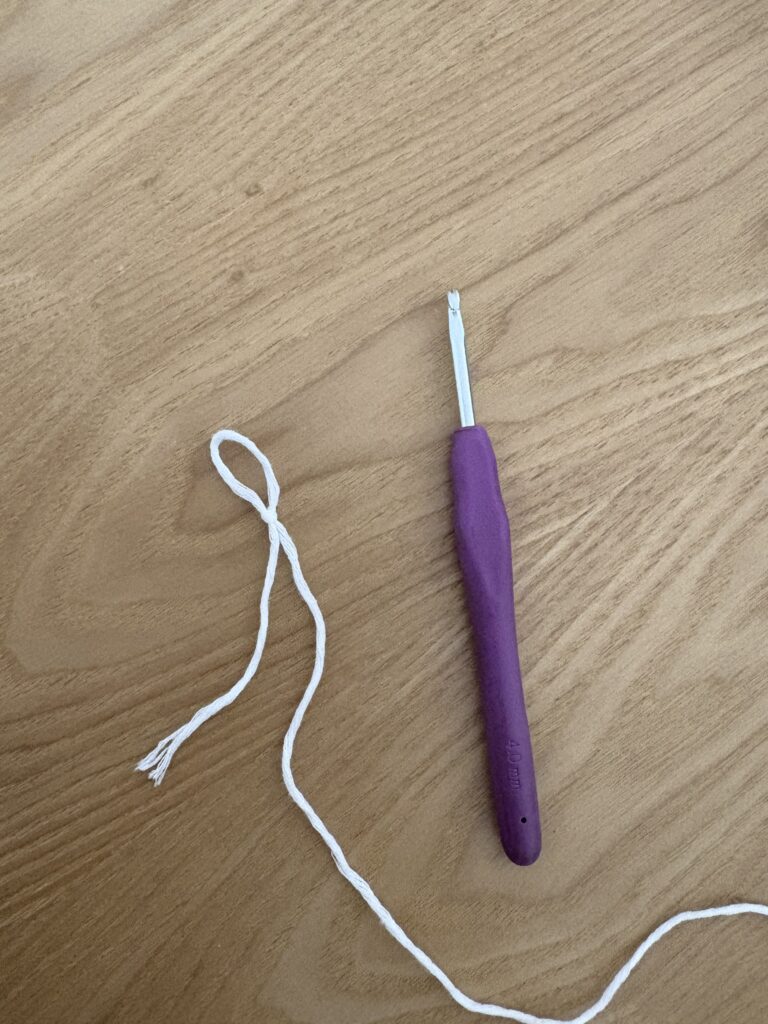
STEP III Straps (Neck & Back Cords)
For this bikini, we are not making simple, flimsy chains. We are making a thick, sturdy, and stretchy cord (similar to a Romanian cord or I-cord) that looks professional and won’t dig into your skin.
Hook Switch Alert: For these cords, switch to your smaller hook (2.5 mm). Using a smaller hook ensures the stitches stay tight, firm, and durable, preventing the straps from stretching out of shape!
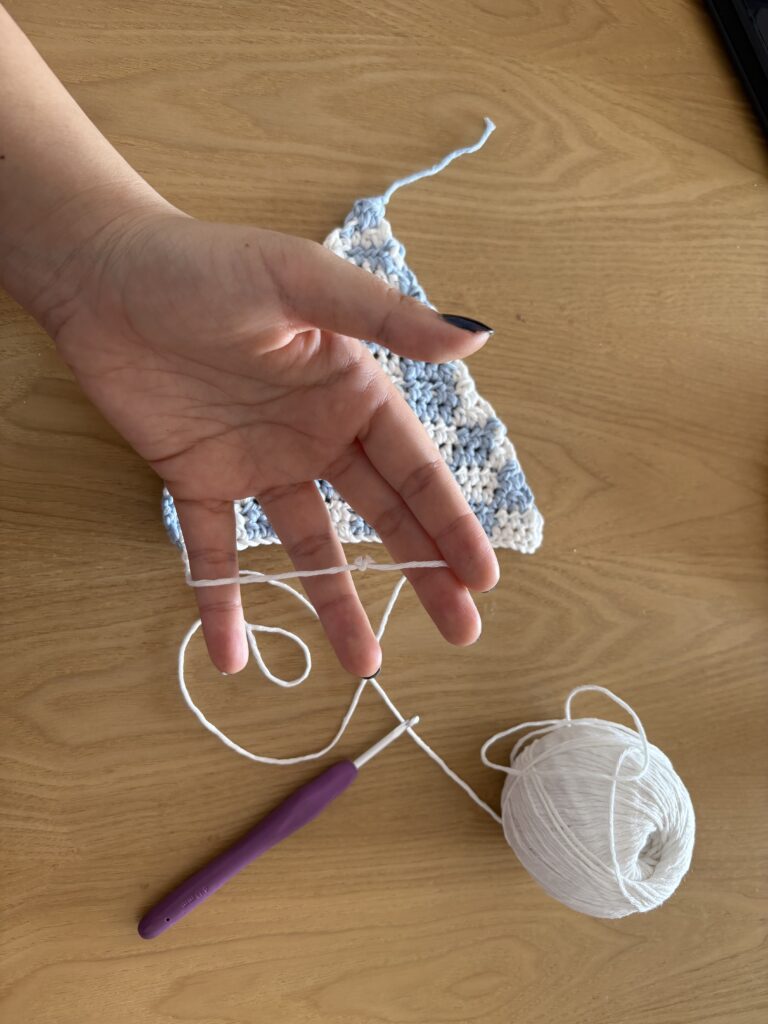
How to make the cord:
- The Double-Tail Slip Knot: Make a slip knot, but leave two tails: the long working yarn (connected to the ball) and a shorter tail (about 15 cm / 6 inches).
- The First Movement: Take the shorter tail and yarn over your hook from front to back.
- The Lock: Take the long working yarn, yarn over, and pull it through both loops on your hook. You now have one loop left on your hook.
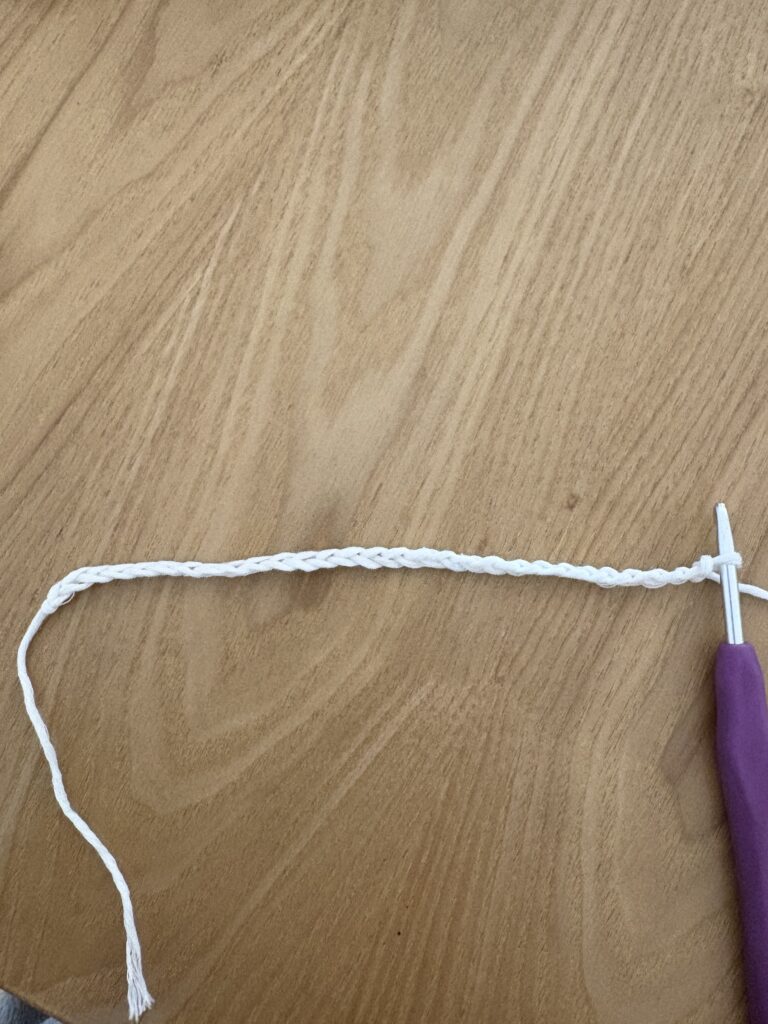
- The Repeat Pattern: Now, look at the right side of your stitch. You will see a small loop (or bar) on the side. Insert your hook into that right-side loop, yarn over with your working yarn, and pull through both loops on your hook.
- Repeat step 4 continuously until your cord reaches the desired length.
Since this technique is very visual, make sure to watch the quick video below to see the exact hand movement!
You need to make 3 cords in total:
Neck Straps (2): Make two identical cords (approx. 40–50 cm each). Attach one to the top apex of each triangle to tie behind your neck.
Back Strap (1): Make one very long cord (approx. 80–100 cm) and weave it back and forth through the underbust casing loops we made in Step 2.
STEP 4 Final Assembly
You are just one step away from rocking your bikini! Now, it’s time to attach the straps and thread the underbust channel.
1. Threading the Underbust Channel
Continue threading the cord into the second triangle, moving from the center toward the outer edge.
Take your longest cord (the back strap) and attach a safety pin or a bobby pin to one of the knotted ends. This will make it ten times easier to slide through!
Lay your two crochet triangles side by side, facing forward.
Take the cord and slide it through the ch-4 spaces (loops) of the first triangle’s underbust channel, moving from the outer edge toward the center.
2. Attaching the Neck Straps
- Take two of your shorter cords.
- Using your smaller hook (2.5 mm), secure one cord to the top apex (the highest point) of the first triangle with a tight slip stitch.
- Knot it securely, cut the yarn, and use your yarn needle to weave in the loose ends so they are completely hidden.
- Repeat the exact same process for the second triangle.
Styling Tip: The beauty of this design is that the triangles can slide along the back strap! This allows you to adjust the coverage and distance between the cups to perfectly fit your body shape for maximum comfort during pool parties or long festival days.
Your Checkered Bikini Top is officially finished!
Put it on, tie it up, and get ready to catch everyone’s eye. If you loved this pattern, don’t forget to save it to your Pinterest crochet board and tag me in your summer photos!
Pro Tips for a Perfect Finish
- Tip 1 The Clean Apex: When you reach the very top (the final rows), use only one color to work the last two stitches of the project. These final stitches will also end in a decrease, giving your top a neat, sharp point.
- Tip 2 Mindset: Make peace with the tangled yarn! Working with two skeins at once means they will twist, but just take it slow—the stunning result is totally worth it!
- Tip 3 Colorwork & Decreases: Managing color changes and decreases at the same time can get a bit tricky! Always check which color comes next by looking at your previous rows.
Love the Checkered Vibe? Complete Your Look!
If you are obsessed with this trendy grid style as much as I am, you cannot miss my Checkered Bandana Pattern!
It uses the exact same color-changing technique, and it makes the absolute perfect matching set with your new bikini top. Imagine rocking the matching top and bandana at your next pool party or summer festival… total outfit goals!
Click here to check out the Free Checkered Bandana Pattern and complete your look!

5 thoughts on “How to Crochet a Checkered Bikini Top – Free Pattern Step-by-Step.”