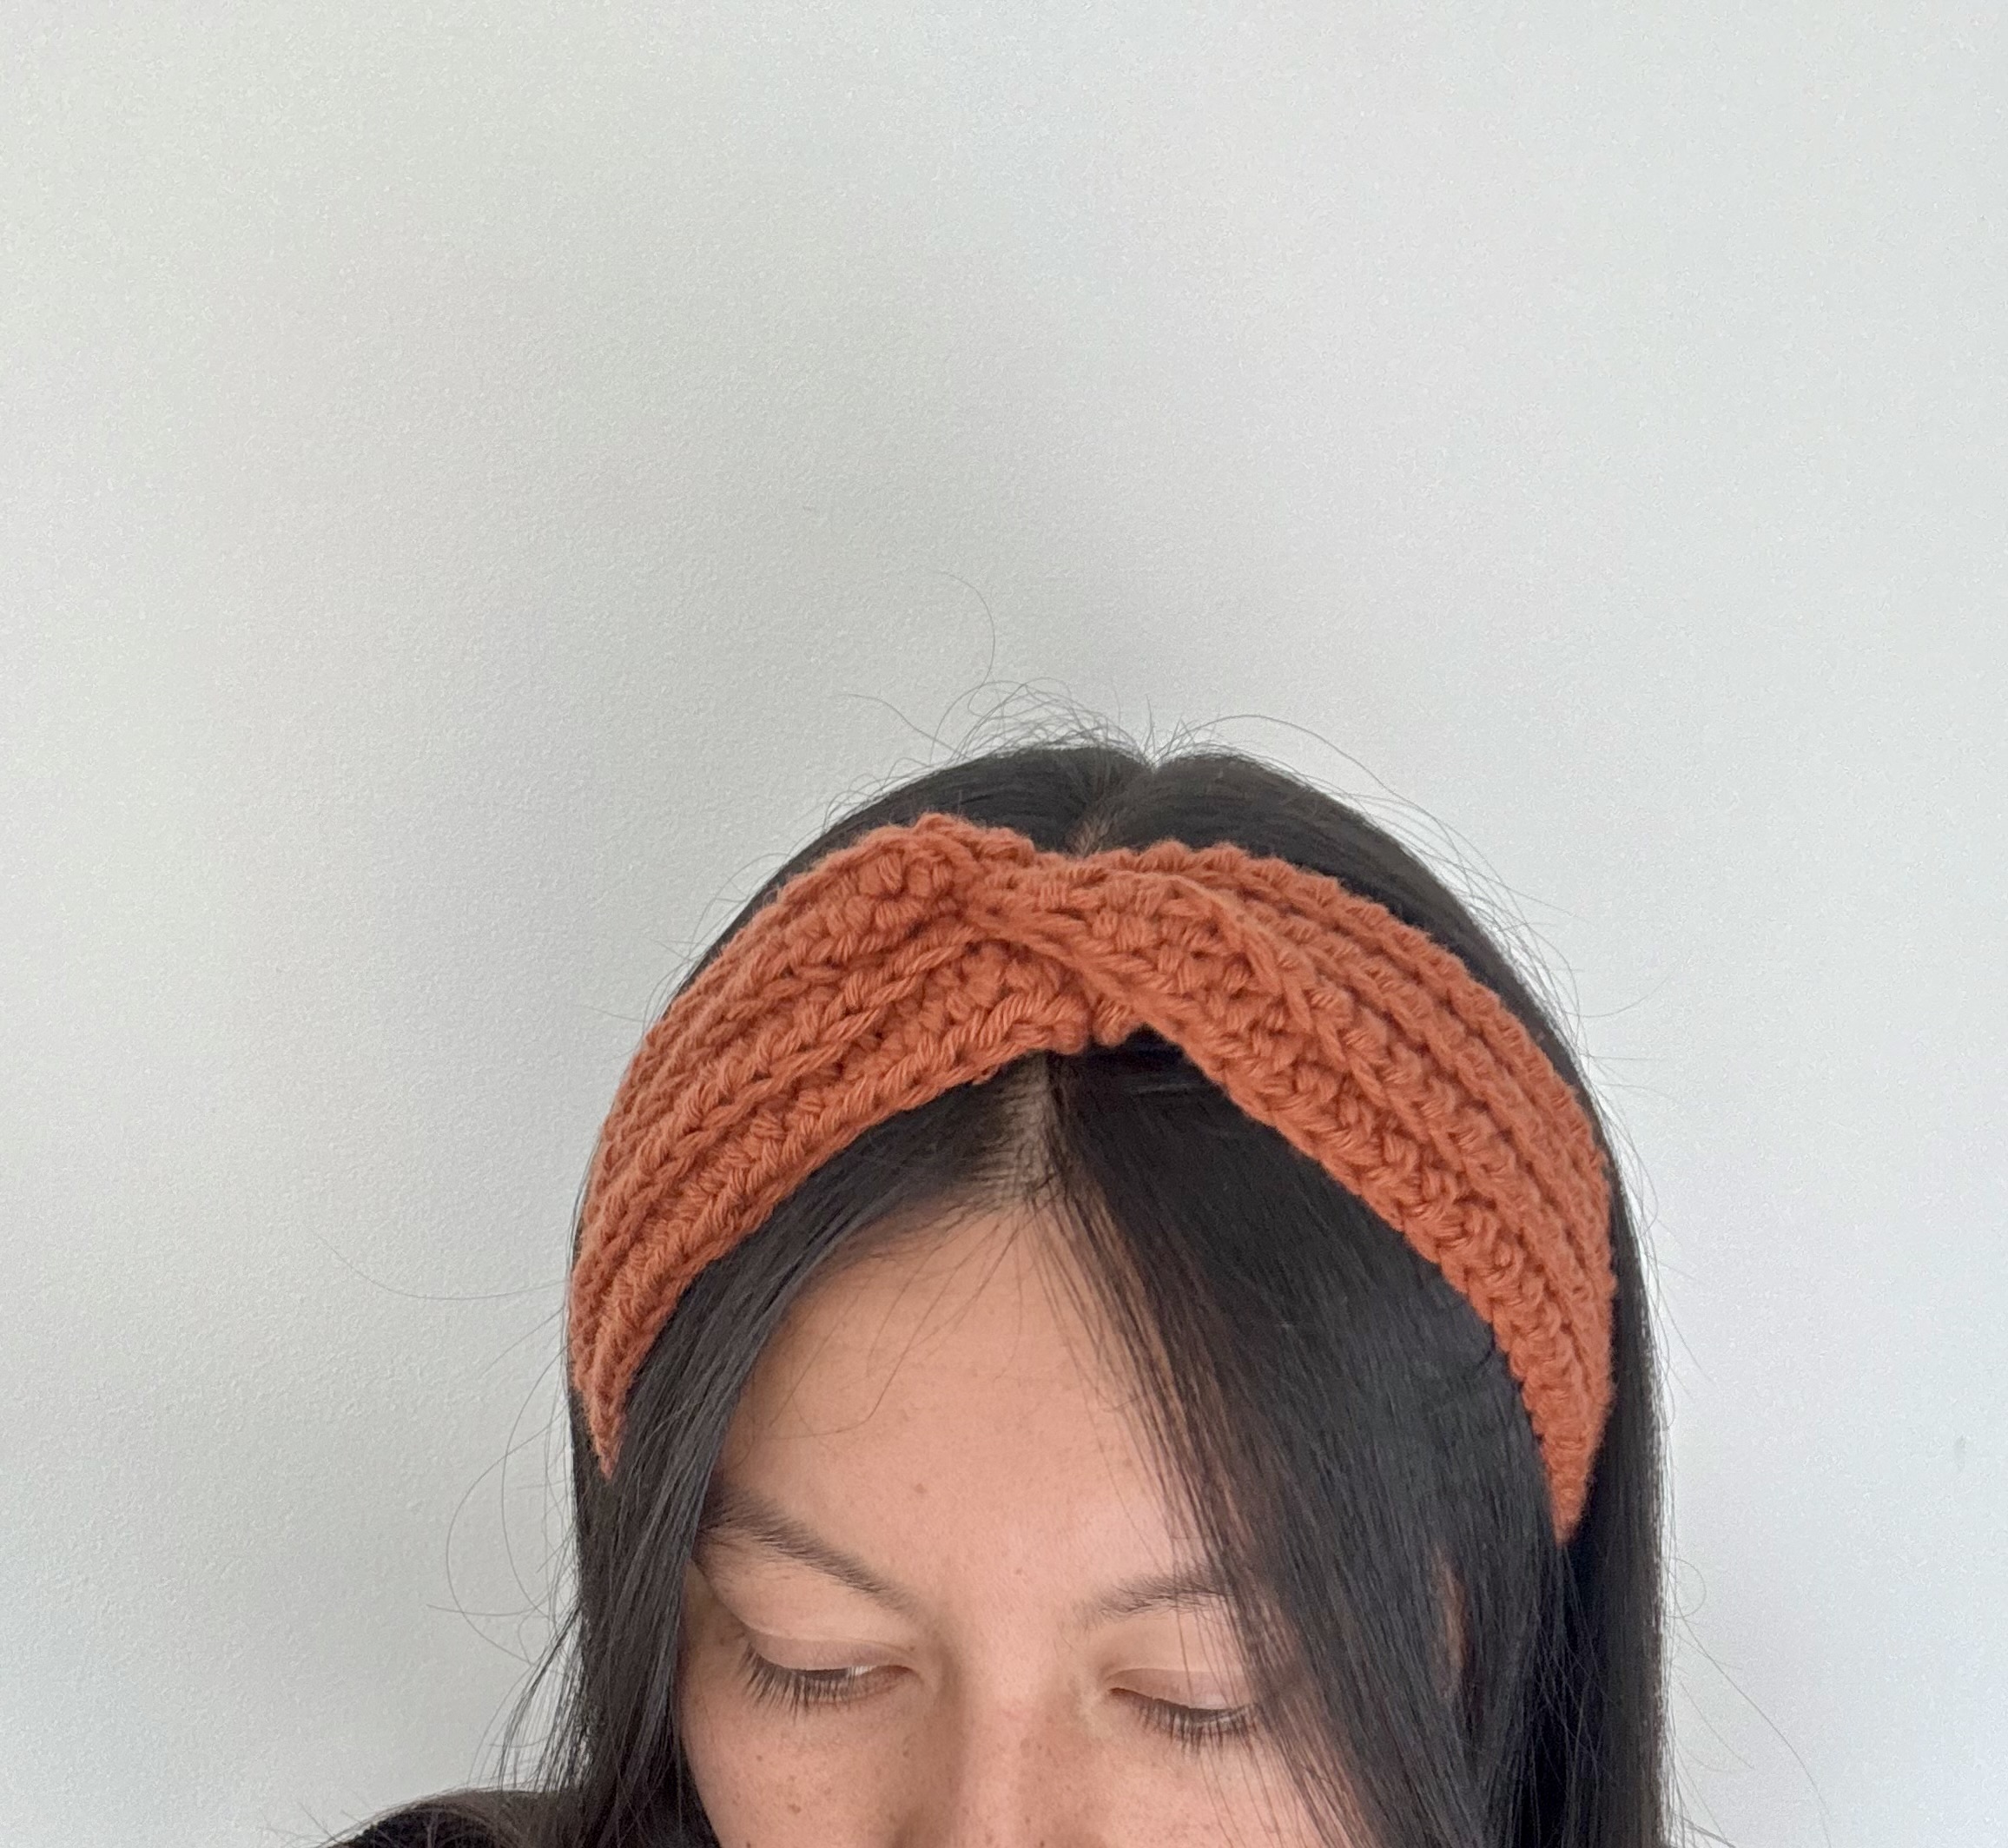
To make sure yours turns out absolutely flawless, I highly recommend using the visual guides I’ve prepared for you and watching the video tutorial below. Joining the ends can be a little tricky if you’ve never done it before, but the video will show you exactly how to seam it to get that gorgeous, seamless twisted look at the end. Also, a quick tip: try using a nice chunky yarn to give it that extra cozy, high-quality texture that everyone will love!
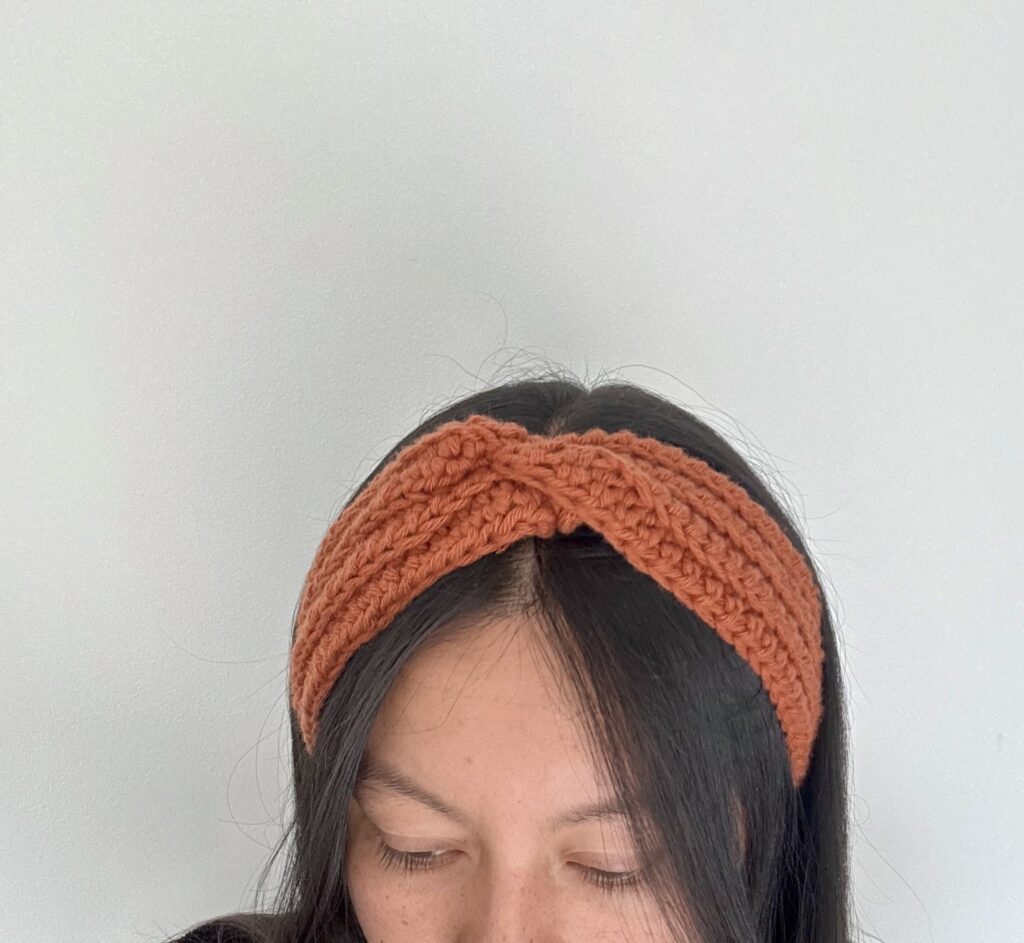
Headbands are truly the perfect accessory! If you love staying warm but completely hate how winter beanies flatten your hair and ruin your hairstyle every time you go outside, this is the amazing alternative you’ve been looking for. It keeps you looking beautiful and put-together while staying super cozy—which, let’s be honest, is the most important part when the weather gets freezing!
On the other hand, if you actually love beanies and don’t really care about the whole flattened hair situation, you are still in luck! I recently shared some amazing beanie patterns here on the blog that you will absolutely love. They are just as cozy, super fast to make, and perfect for keeping those freezing nights at bay. You can check them out right here and pick your next project
CUSTOMIZING THE PATTERN
This pattern is easy to customize to suit your personal style.
- Size: Adjust the size by adding or removing rows to make it larger or smaller.
- Yarn choice: Different yarn fibers and weights will affect the final texture and thickness. For best results, choose 100% acrylic yarn because it is much warmer. For my headband, I used a self-striping / variegated yarn, which automatically creates that beautiful colorwork transition throughout the project using just a single skein!
Pattern at a Glance
| Difficulty | Beginner |
| Skills | Chain, double crochet (dc), back loop only (BLO), seaming |
| Yarn | About 35 g (65-70 yd / 60 m of worsted weight; check your label) |
| Hook | 4.0 mm |
| Finished size | 7,5 cm wide x 68 cm around, before seaming |
| Gauge | 12 dc and 9 rows = 10 cm (4 in), dc in BLO, 4.0 mm hook |
| Stitch count | Row 1: Slip knot and ch 80. (80 ch) Row 2: Ch 2 (does not count as a stitch). Dc in the 3rd ch from hook and in each ch across. (78 dc) Row 3: Ch 2, turn. Dc in BLO in each stitch across. (78 dc) Rows 4-9: Ch 2, turn. Dc in BLO in each stitch across. (78 dc) |
MATERIALS
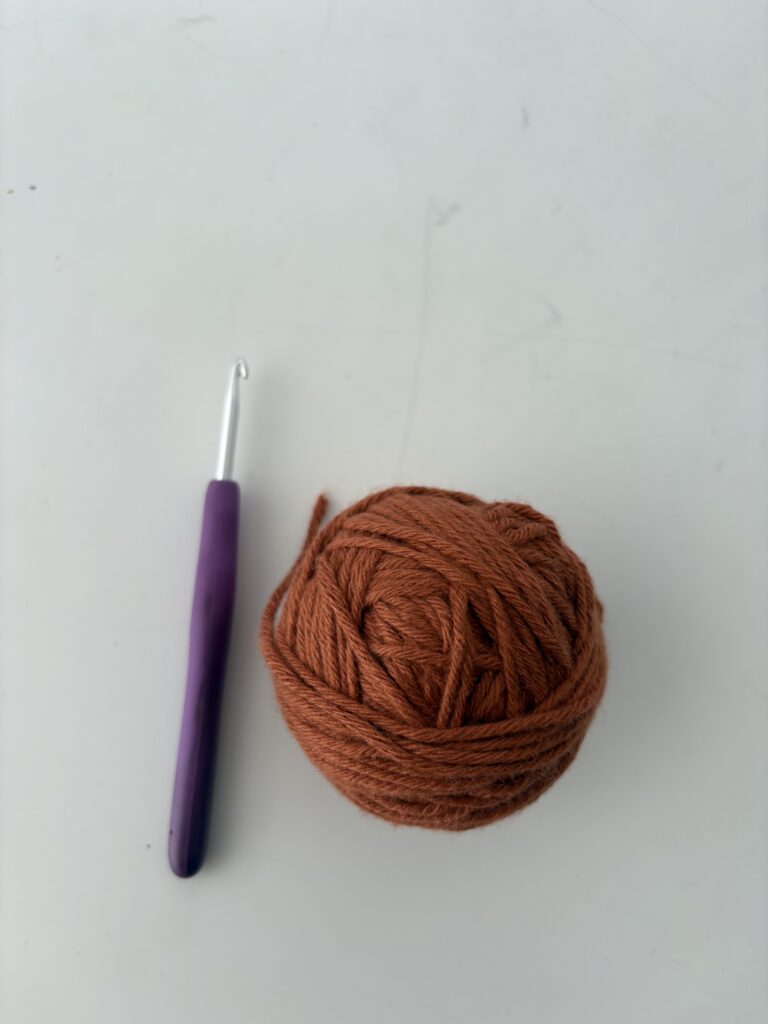
- Crochet hook (size recommended for your chosen yarn) I used a 4.0 mm
- Scissors.
- Yarn: One skein of yarn (approx. 35 grams—you can use scrap yarn you already have!). I used 100% acrylic yarn this time to make it extra warm! Note on color: I used a beautiful variegated yarn for this project. This means the color changes are built right into the skein, so you can achieve this multi-colored look without having to weave in extra ends from changing colors! (But a solid color or even cotton yarn works great too if you prefer).
- Yarn needle
Pattern Notes
- Read Ahead: Please read through the entire pattern before you begin to familiarize yourself with the project steps.
- Turning Chains: At the beginning of every single row, you must chain 2. This turning chain does not count as a stitch throughout the pattern.
- Visual Aid: Use the reference images provided throughout the post for guidance.
Stitch Abbreviations (US Terms)
- ch: chain
- dc: double crochet
- st(s): stitch(es)
- sc: single crochet
INSTRUCTIONS
Row 1 Slip Knot and Chain 80, or the number of chains you need to comfortably fit around your head, measuring from your forehead to the back of your neck.
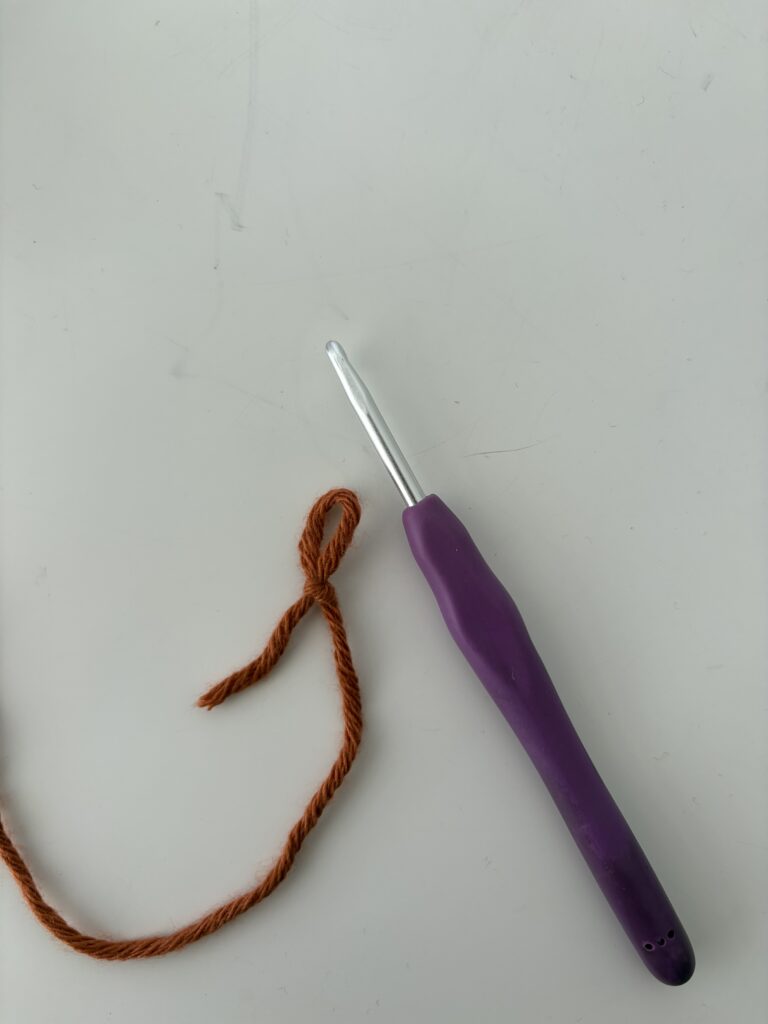
SUPER IMPORTANT NOTE: Don’t make it too tight! When you seam the ends together to create the twist, you will lose a little bit of the headband’s length. However, don’t make it too loose either, or it will just slip off your head!
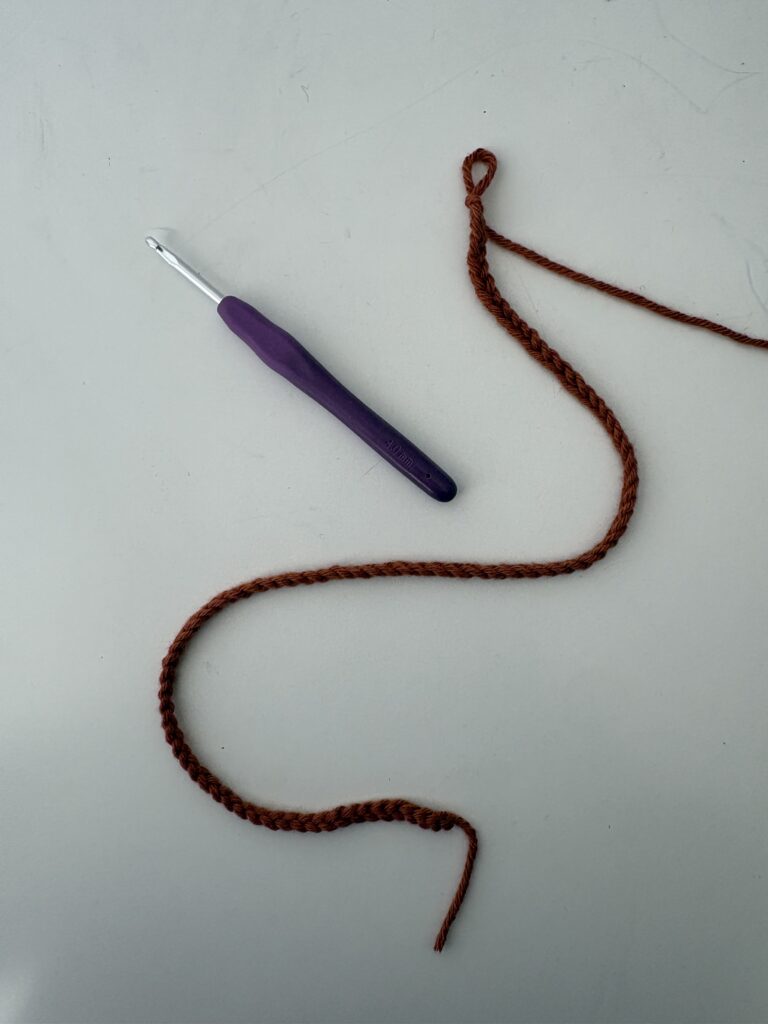
Row 2 Double crochet (dc) all the way across your chain.
Row 3 Double crochet again, but this time work only into the back loop (blo). This means you will insert your hook through just the back half of the “V” shape formed at the top of the stitches.
Rows 4 – 9 Continue to double crochet into the back loop until you reach your desired width. If you want the headband to completely cover your ears, you might need to add a few extra rows. On the other hand, if you’ve already reached your perfect width thanks to your chosen yarn and tension, there’s no need for extra rows.
At the end of the day, this completely depends on the yarn you use (whether it’s thick or thin, acrylic or cotton), your hook size, and your personal tension. Because of that, you might end up doing more or fewer rows. than I did. The best part is that this pattern is absolutely customizable, and adjusting the size to fit you perfectly is incredibly easy! Haha.
HOW TO SEAM THE TWIST (THE SANDWICH METHOD)
Once you finish your last row, fasten off your yarn, making sure to leave a long tail (about 12–15 inches) for seaming.
Pull the yarn through the last loop to secure it, and thread your yarn needle.
Now, let’s create that gorgeous twist!
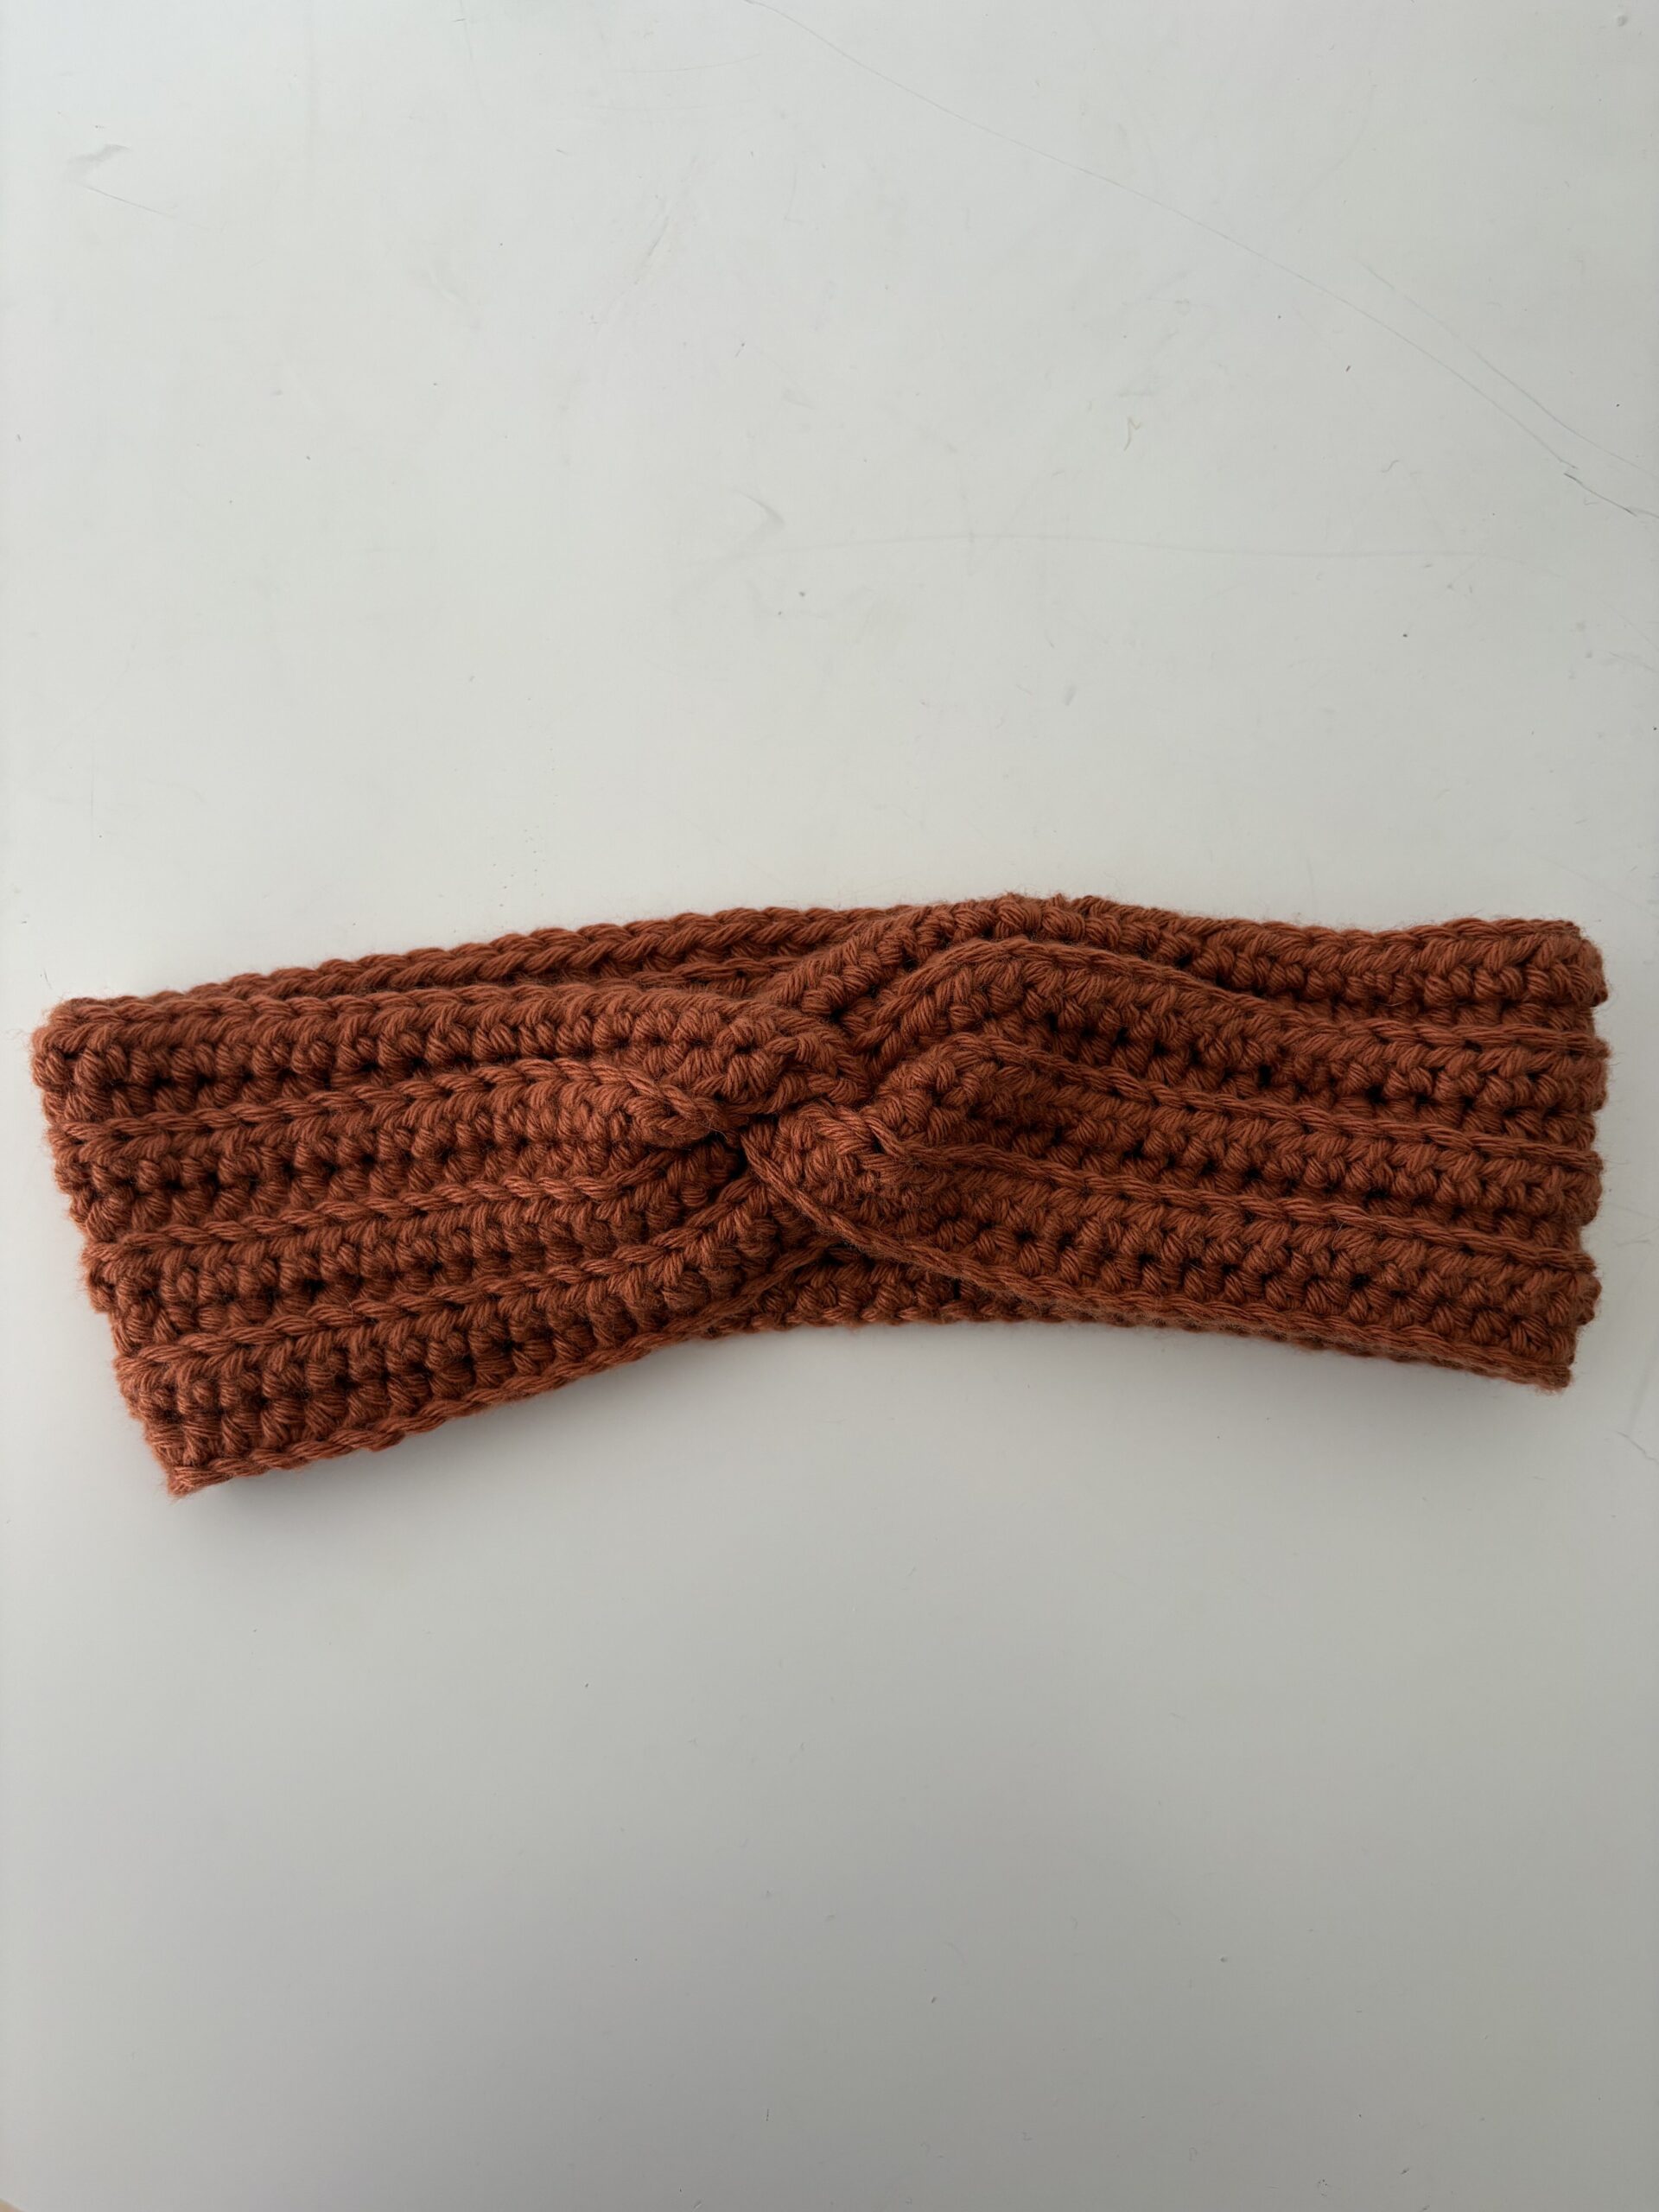
Step 1: Fold the ends into “C” shapes Lay your headband flat on a table. Take both short ends and fold them in half horizontally so they look like two “C” shapes facing each other.
Step 2: Interlock the ends Sandwich the two folded ends together by interlocking them. Slot the layers into one another so that you are holding four layers of fabric stacked together. Make sure the edges align perfectly.
Step 3: Sew across all 4 layers Take your yarn needle and insert it through all four layers at once. Sew back and forth across the edge using a simple running stitch or mattress stitch.
Tip: Be absolutely sure your needle goes through every single layer on every stitch, or you might end up with a hole when you turn it inside out!
Step 4: Secure and weave in ends Once you reach the other side, tie a secure knot to lock the stitches in place. Cut the excess yarn and weave in your loose ends using your yarn needle so they are hidden.
Step 5: The Magic Reveal! Now for the best part: reach inside the headband and flip it right-side out. This will hide the seam completely on the inside and reveal your beautiful, flawless twisted front!
Common Mistakes (and How to Fix Them)
- Counting the turning chain as a stitch. The edges start to slant. Count 78 stitches at the end of every row.
- Working Row 3 onward in both loops. You lose the ridged texture and the stretch. Insert the hook in the back loop only.
- Sewing through only two layers. When you flip the headband you get a hole. Go through all four layers on every stitch.
- Foundation chain too tight. The headband will not stretch over your head. Use a hook one size larger for the chain.
- Mixing yarn weights. The band turns wavy. Use one yarn type from start to finish.
And there you have it! A super quick, beautiful twisted headband that is as fun to make as it is to wear. Whether you made this to keep your own hair perfectly styled during the chilly months, as a thoughtful last-minute gift, or just to clear out some of your beloved yarn stash, I truly hope you enjoyed this pattern. Don’t forget to save this post to your favorite Pinterest boards for later, and if you share your finished piece on Instagram, please tag me @TheCrochetLab—seeing your gorgeous creations always makes my day. Until next time, happy stitching!