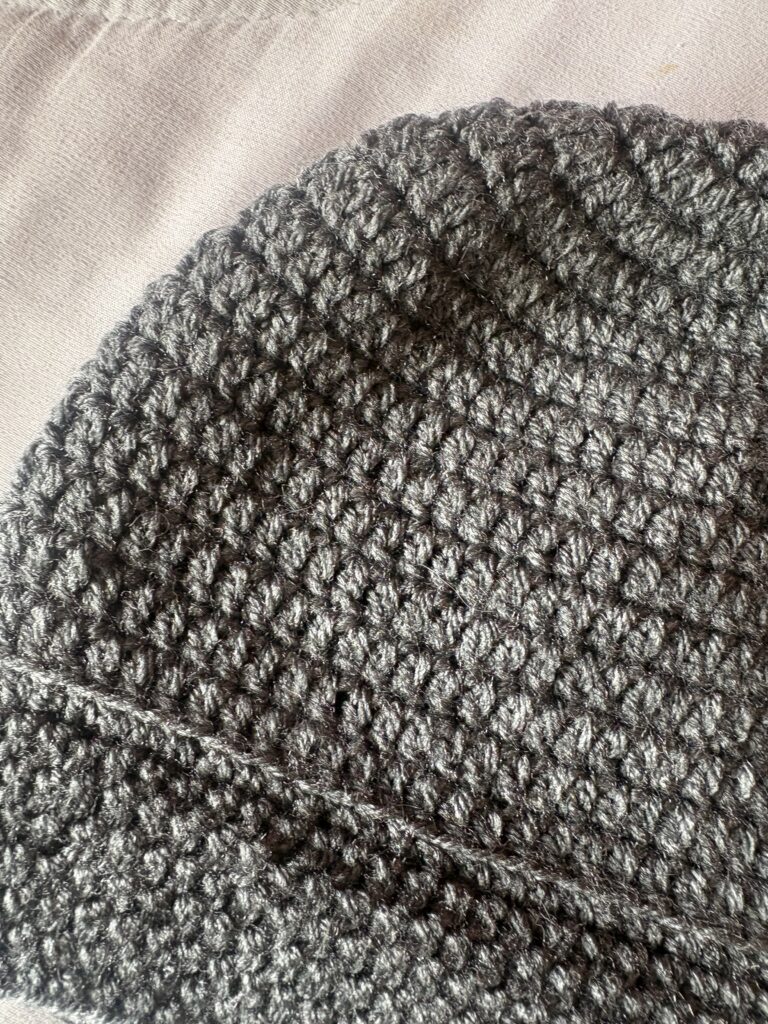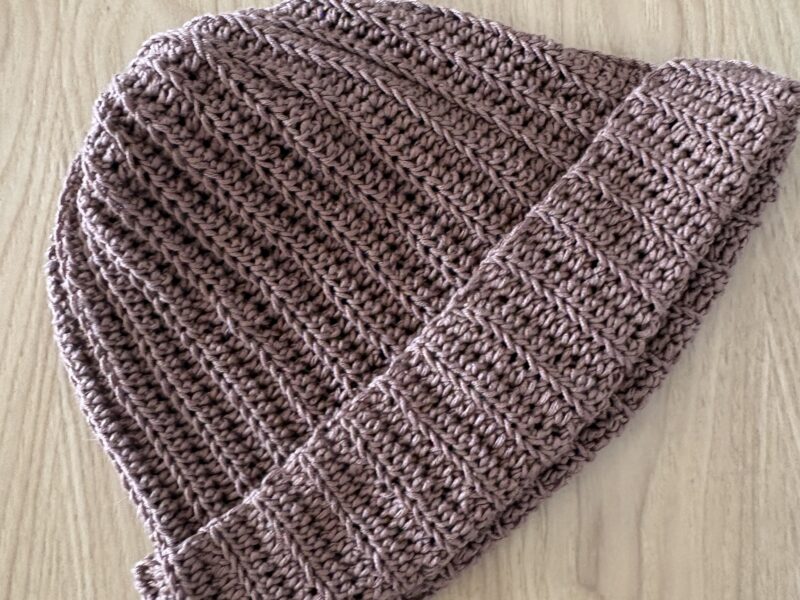
Lately, I’ve been completely obsessed with the fact that the best time of the year is just around the corner. You know, that cozy season where I can wear all the beanies I want because the crisp, chilly weather finally allows it! Just can’t wait!
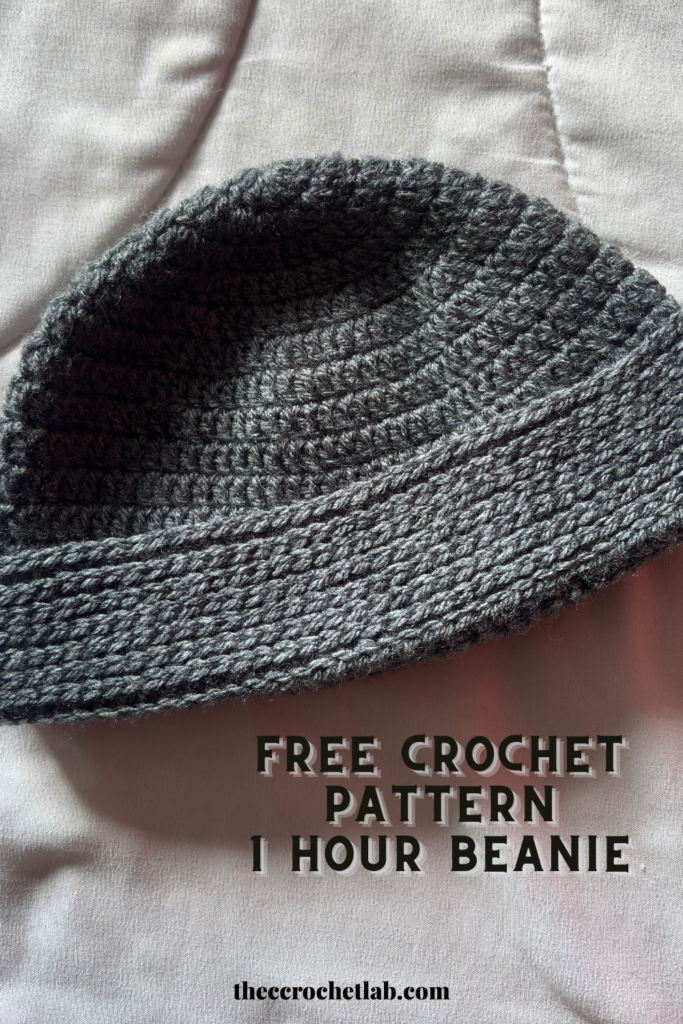
After designing and finishing my ribbed beanie, I really wanted to try a different approach. My grandpa asked me for a beanie with a folded brim in the front, and he needed it to be super warm because the previous one I made for him out of cotton just wasn’t cutting it for the cold nights. So, I experimented with this new pattern, and let me tell you, it turned out to be even easier and way faster than I expected.
These beanies work up so incredibly fast, making them the perfect project for when you need something satisfying and quick. They are ideal for building up your own autumn or winter wardrobe, especially if you love having a different color for every outfit.
Plus, because of how quickly they come together, they are great for thoughtful handmade gifts, getting ready for upcoming craft markets, or even dedicating some time to crochet for charity and giving back to those who need a little extra warmth this season. I hope you enjoy making this one as much as I did!
CUSTOMIZING THE PATTERN
This pattern is easy to customize to suit your personal style.
- Size: Adjust the size by adding or removing rounds to make it larger or smaller.
- Yarn choice: Different yarn fibers and weights will affect the final texture and thickness. For best results, choose 100% acrylic yarn, and because it´s warmer.
MATERIALS
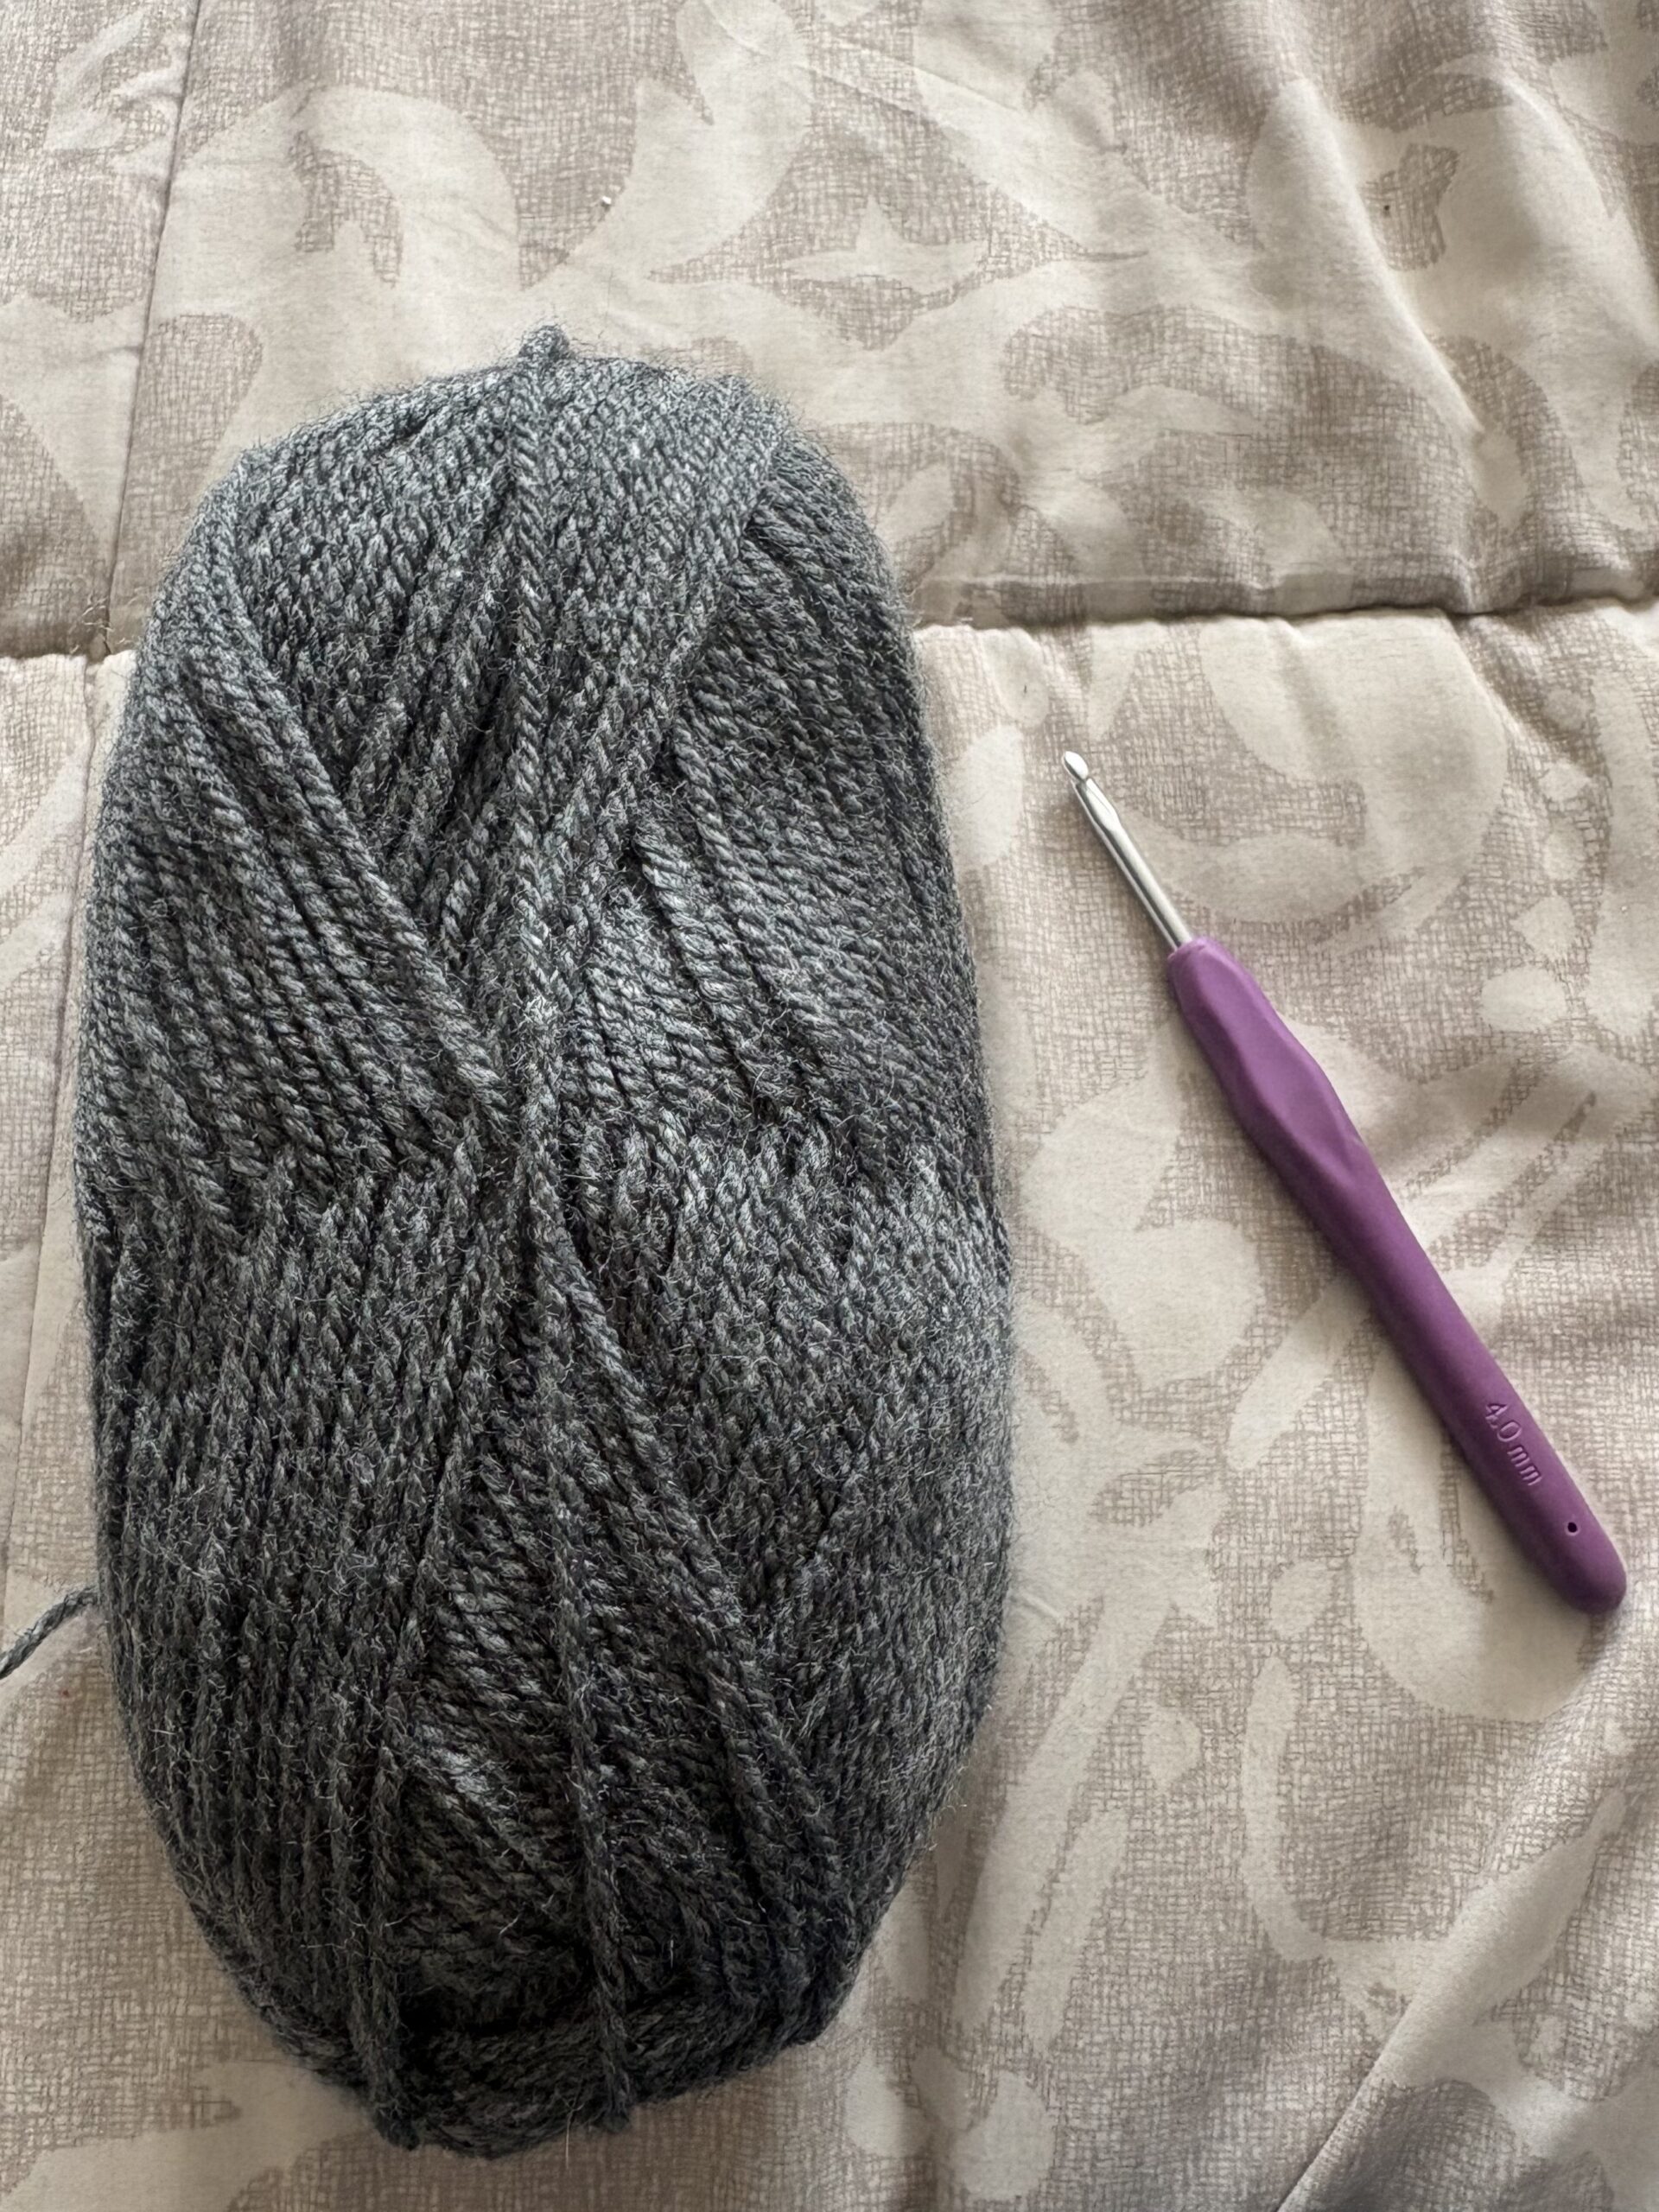
- 1 skein of yarn (approx. 100 grams): I used acrylic yarn this time, and it worked wonderfully for this project—especially to make it extra warm! (But a cotton yarn works great too if you prefer).
- Crochet hook: Use the size recommended for your chosen yarn (I used a 4.0 mm hook).
- Scissors.
Pattern Notes
- Read Ahead: Please read through the entire pattern before you begin to familiarize yourself with the project steps.
- Turning Chains: At the beginning of every single round, you must chain 2. This turning chain does not count as a stitch throughout the pattern.
- Visual Aid: Use the reference images provided throughout the post for guidance.
Stitch Abbreviations (US Terms)
- ch: chain
- dc: double crochet
- st(s): stitch(es)
- sc: single crochet
- inc (Increase)
INSTRUCTIONS
Round 1
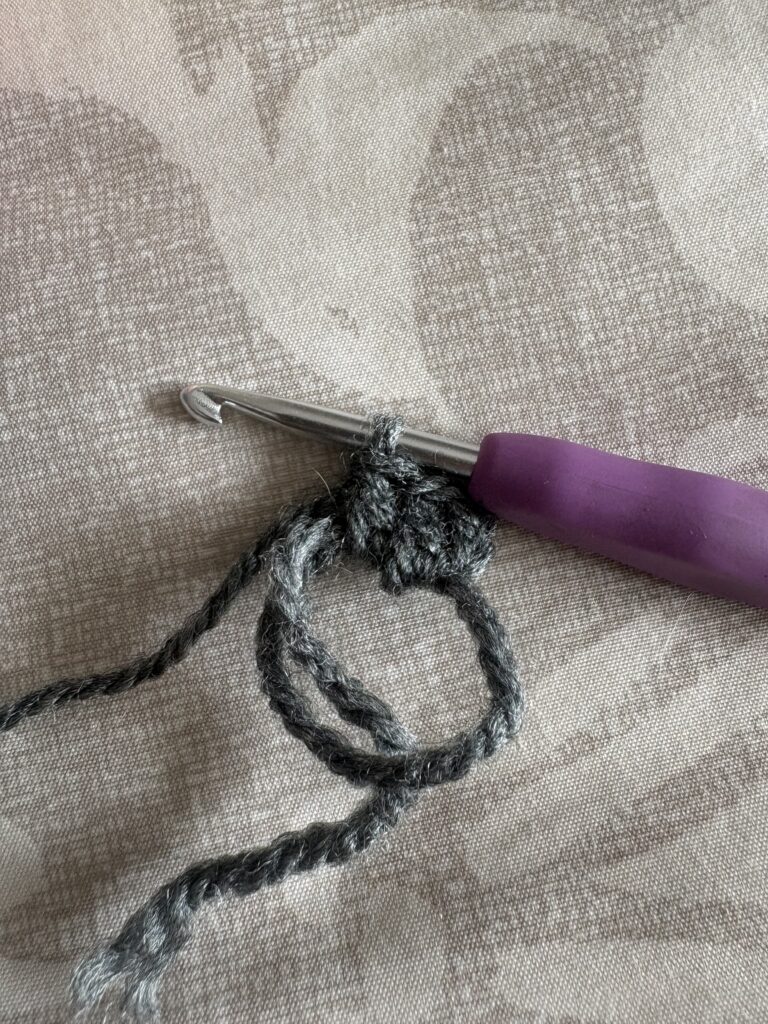
- Create a magic ring.
- Work 12 dc into the magic ring.
- Pull the ring tight and join with a sl st to the first dc
- Ch 2 (does not count as a stitch).
Round 2
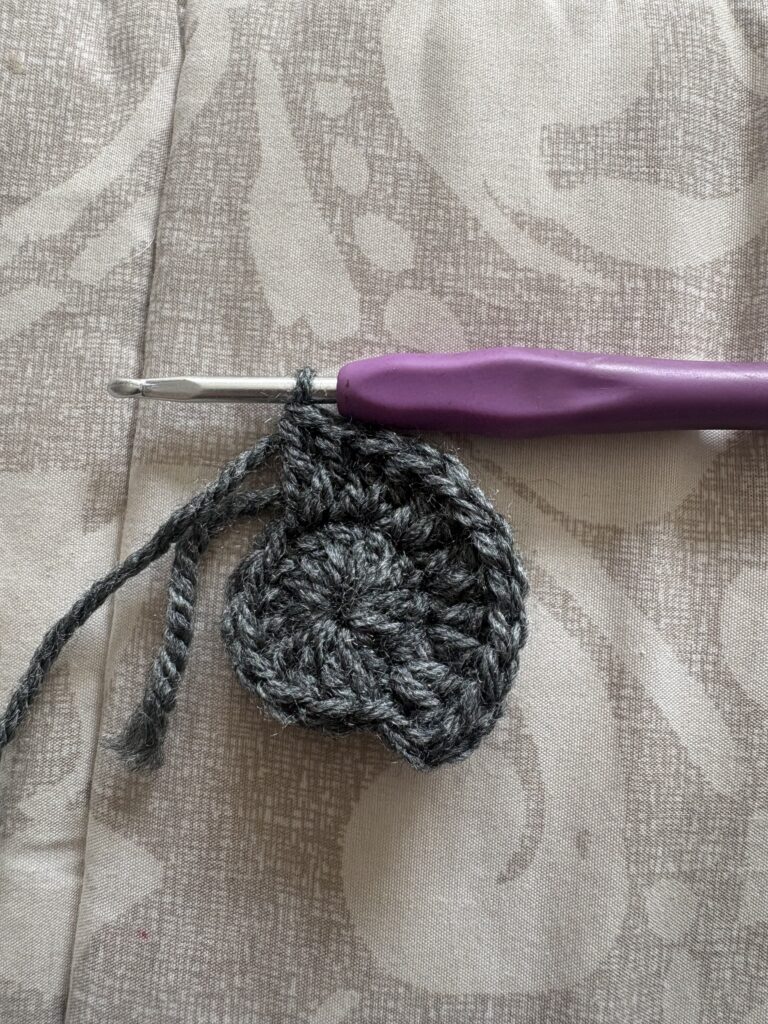
- Ch 2 (does not count as a stitch).
2 dc in each st around.- Join with a slip stitch. (24 sts)
Round 3
- Ch 2 (does not count as a stitch).
- [1 inc, 2 dc] repeat around.
- Join with a slip stitch. (36 sts)
Round 4
- Ch 2 (does not count as a stitch).
- [1 inc, 3 dc] repeat around.
- Join with a slip stitch. (48 sts)
Round 5
- Ch 2 (does not count as a stitch).
- [1 inc, 4 dc] repeat around.
- Join with a slip stitch. (60 sts)
Round 6
- Ch 2 (does not count as a stitch).
- [1 inc, 5 dc] repeat around.
- Join with a slip stitch. (72 sts)
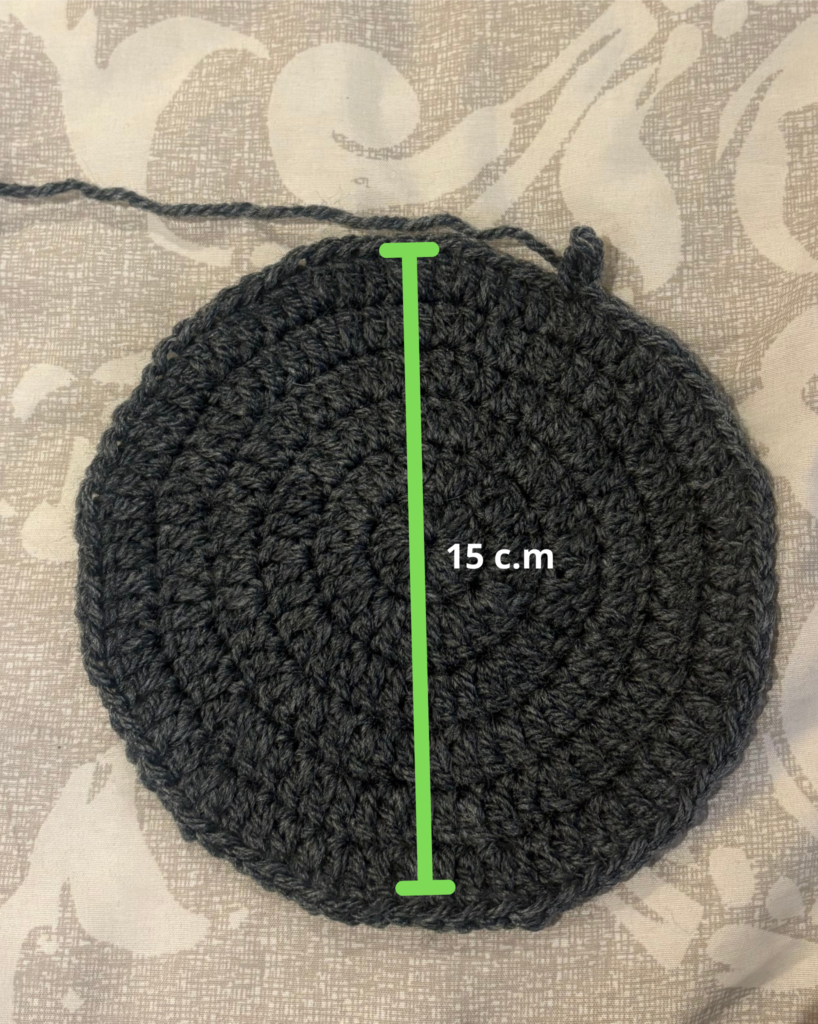
Note: I did 6 rounds, which equals 72 stitches. With my personal tension, the yarn weight, and the hook size I used, this measured approximately 15 cm (about 6 inches). Use this as a guide to adjust for your own project!
Rounds 7–14 (The Body of the beanie)
For these rounds, we will stop increasing! Working straight rounds without any increases is what will give the bucket hat its height. I did 8 rounds for mine, but if you prefer a deeper or slouchier fit, feel free to add a few more rounds here, you can make more if you want it to fold it, but less if dont, keep sizing it until it reach the lenght you want! (72 sts)
The brim
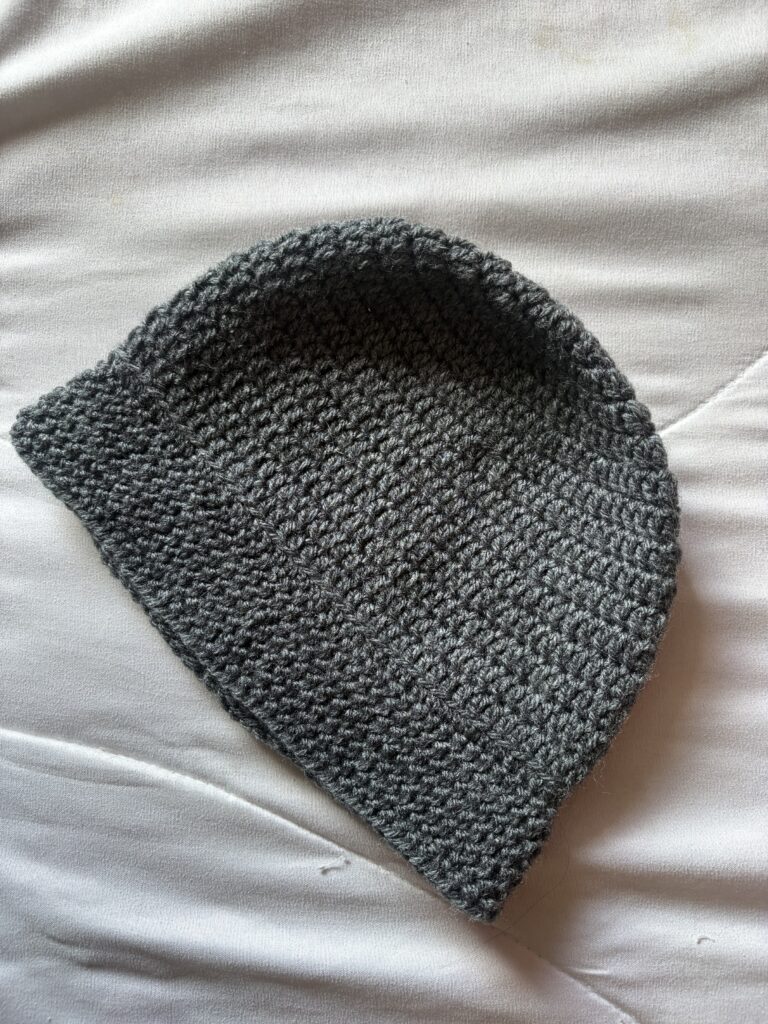
Round 15
- Ch 1 (does not count as a stitch)
- Single crochet in the back loop only
- Join with a slip stitch. (72 sts)
Why BLO? Working Round 15 in the Back Loop Only (BLO) is the secret sauce of this pattern! It creates a clean, natural crease line that allows the brim to fold upward perfectly and lay flat against the beanie without looking bulky.
Round 16 – 20
- Ch 1 (does not count as a stitch)
- Single crochet
- Join with a slip stitch. (72 sts)
FREQUENTLY ASKED QUESTIONS
- Can I use a different yarn weight for this 1-hour beanie? Absolutely! This pattern is designed for Worsted weight (Category 4) yarn. If you decide to use Chunky or Bulky yarn (Category 5 or 6), you will need fewer increase rounds and a larger hook to match the measurements.
- How can I make sure the beanie doesn’t look wavy while increasing? If your flat circle starts curling like a bowl or waving like a ruffle, it usually means your tension is either too tight or too loose. Make sure your turning chain-2 doesn’t count as a stitch, and count your stitches at the end of every round!
- Is this pattern truly beginner-friendly? Yes! If you know how to make a magic ring, double crochet, and single crochet, you can easily tackle this project. It is the perfect first garment for anyone learning how to crochet.
Share Your Work! I would absolutely love to see your finished beanies! If you make one (or ten, because they are addictive!), please tag me on Instagram at @TheCrochetLab or use the hashtag #TheCrochetLab. Let’s fill the feed with cozy handmade warmth!
Don’t forget to pin this pattern to your Pinterest boards so you can easily find it later!