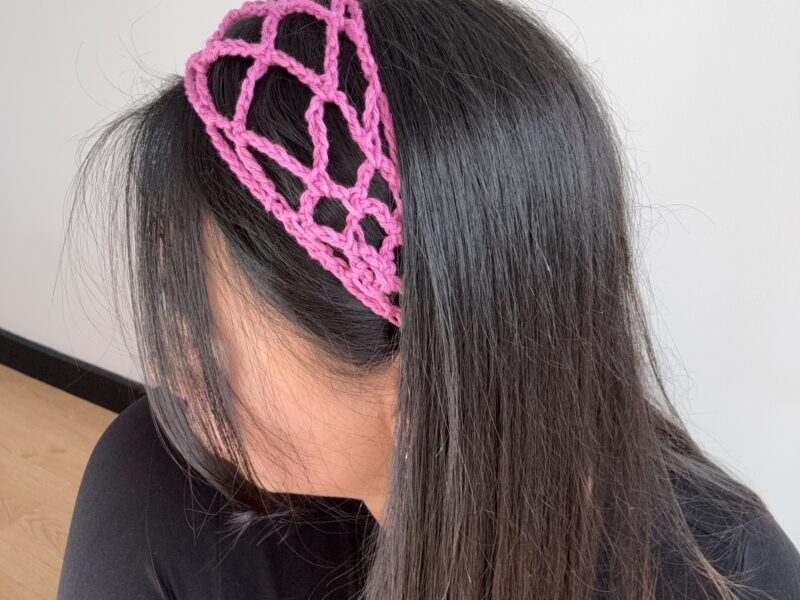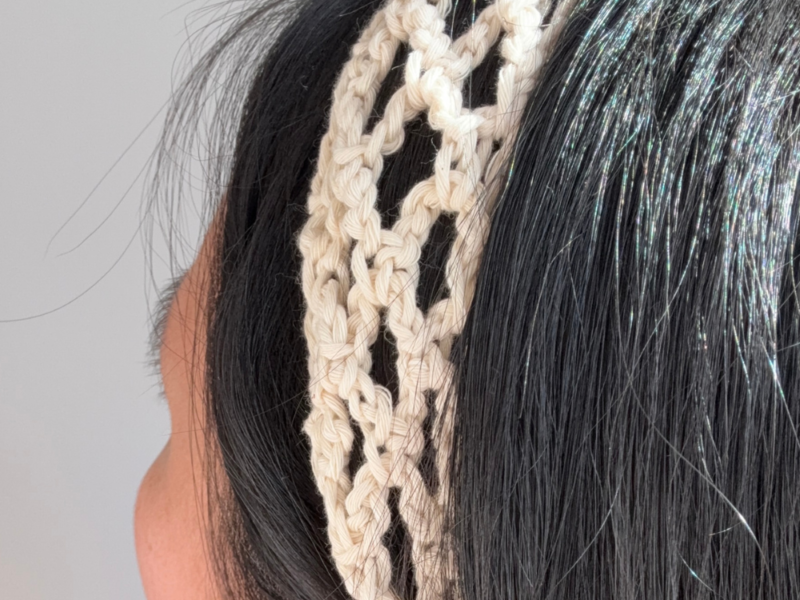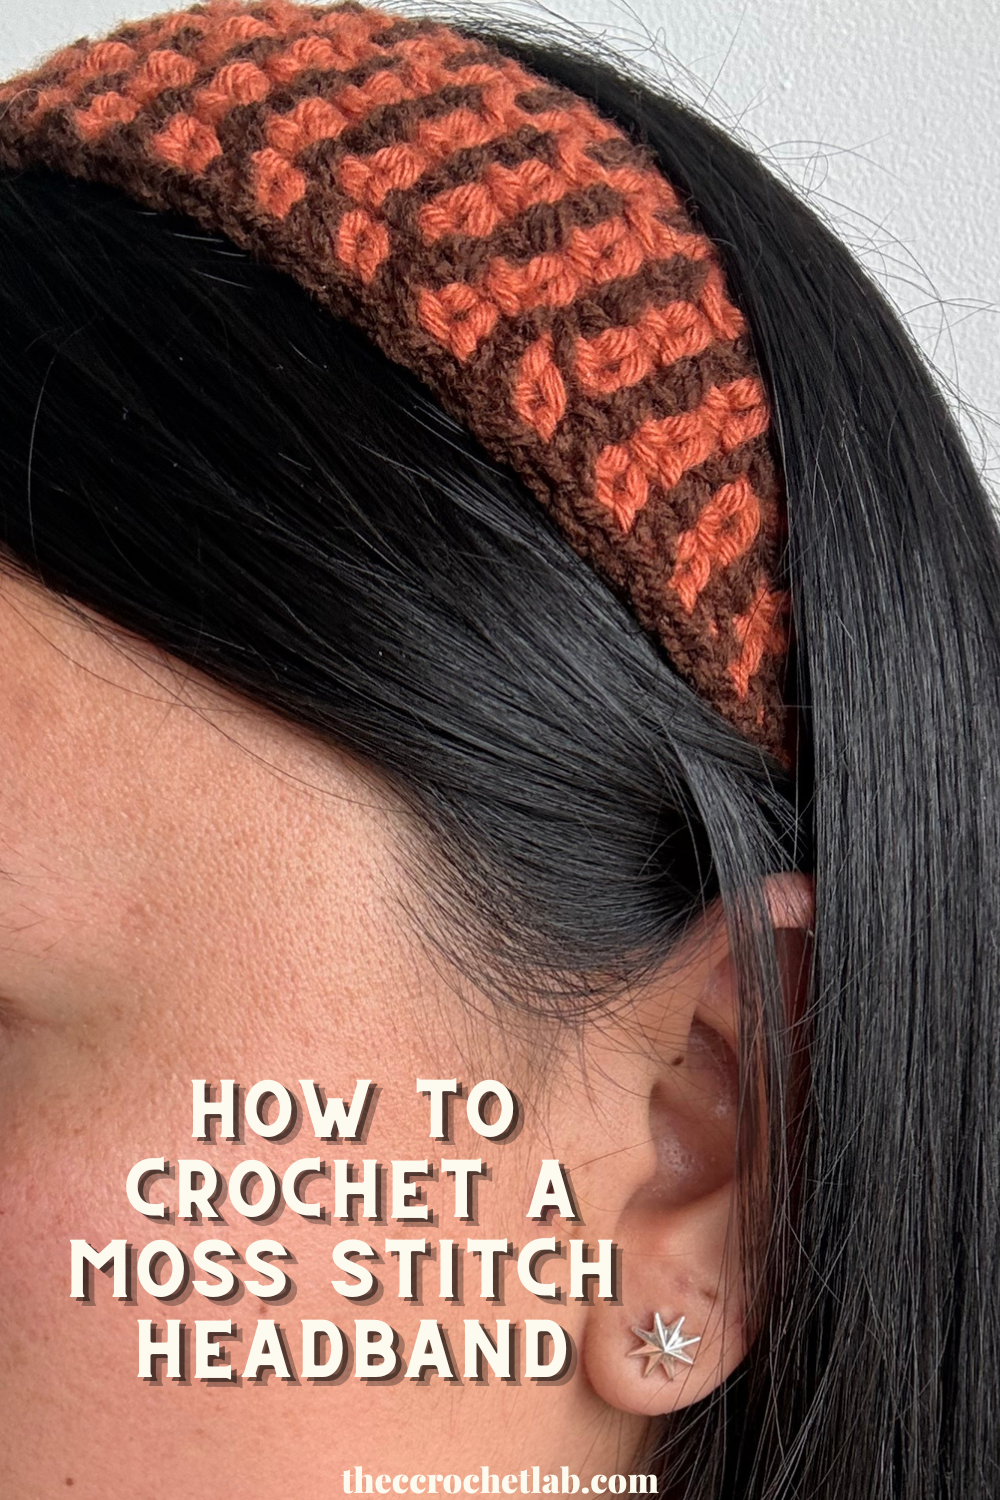
My obsession with making crochet hair accessories is getting out of hand—but I honestly just want to make them all!
After falling in love with creating bandanas and mesh headbands, I knew I had to design this Moss Stitch Headband. Don’t let the beautiful texture fool you; this is not a difficult project at all! It is incredibly fast to work up, and the woven-like finish of the moss stitch is 100% worth it.
If you are a beginner looking for an easy crochet headband pattern, this is the one for you. I highly recommend everyone master the moss stitch (also known as the linen or granite stitch) because it is one of the most versatile crochet stitches out there.
Once you get the hang of it, you can easily use it to make tops, cardigans, and even cozy crochet blankets. Honestly, if you succeed with this headband, you will be ready to tackle any other project using this stitch!
I absolutely love the drape and effect it creates. Personally, I crocheted this ear warmer using two cozy, earthy tones because I am already planning my winter outfits. However, the best part about this pattern is how customizable it is.
You can mix and match any colors you want! It looks stunning in warm earth tones, soft pasteles, bright blues for summer vibes, or your absolute favorite color combo (personally, I think a red and pink mix would look incredibly cute!).
Ready to upgrade your crochet style? Below, you’ll find the step-by-step moss stitch tutorial and headband pattern!
PATTERN CUSTOMIZATION
This pattern is easy to customize to suit your personal style.
- Pick your palette: Pair bold, contrasting colors for impact, or complementary tones for a delicate look.
- Set your size: Add or remove rounds to tailor the overall dimensions.
- Choose the right yarn: Stick with 100% acrylic yarn to achieve ideal texture, drape, and stitch definition.
YOU ARE GOING TO NEED
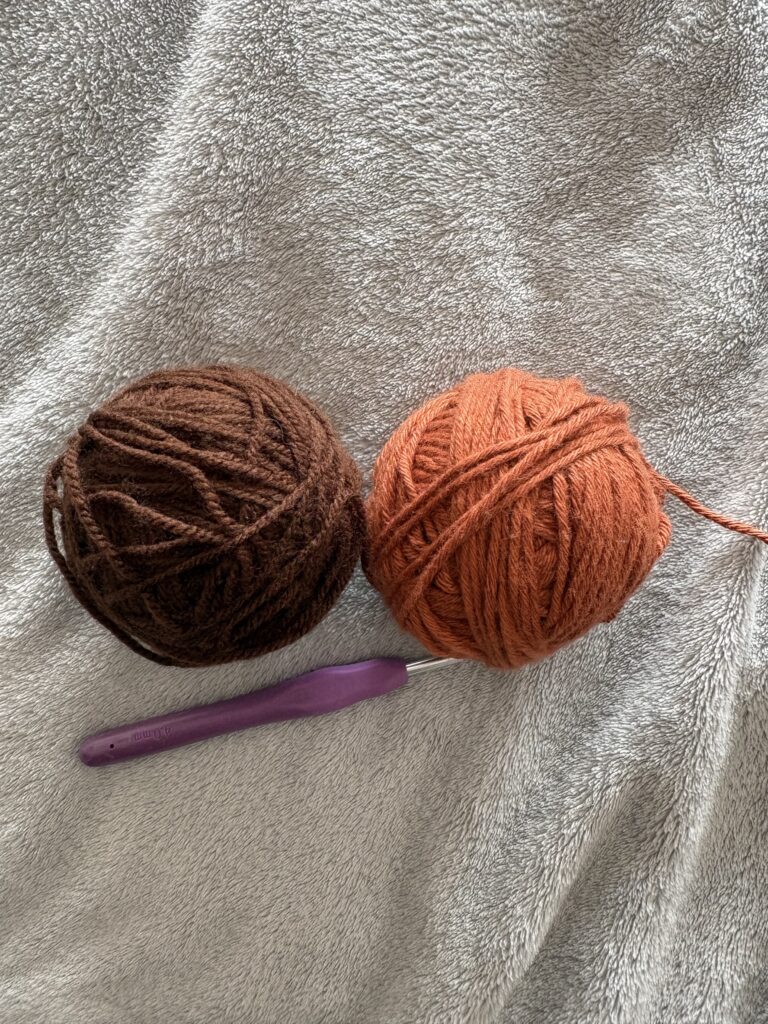
- 2 skeins of yarn in different colors (if you want), I used acrylic yarn, and it worked very well for this project.
- Crochet hook (size recommended for your chosen yarn) I used a 4.0 mm
- Scissors.
Pattern Notes
- Read Ahead: Please read through the entire pattern before you begin to familiarize yourself with the project steps.
- Turning Chains: At the beginning of every single row, you must chain 2. This turning chain does not count as a stitch throughout the pattern.
- Yarn Consistency: Make sure to use the same type and weight of yarn for both colors in your project. Using a thinner yarn for one color may affect the look of the color changes and result in an uneven finish.
- Visual Aid: Use the reference images provided throughout the post for guidance.
Stitch Abbreviations (US Terms)
- ch: chain
- dc: double crochet
- st(s): stitch(es)
- sc: single crochet
- inc (Increase)
INSTRUCTIONS
Row 1: Using Color A, chain an even number of stitches until your chain is long enough to fit comfortably around your head.
Row 2: Still using Color A, chain 2. Skip the first chain stitch from your hook, and make 1 single crochet into the next stitch. From here, simply repeat this easy sequence until you reach the end of your chain: chain 1, skip 1 stitch, and make 1 single crochet into the next stitch.
Row 3:Drop Color A and introduce Color B into your work using the tapestry crochet technique. To do this smoothly, carry your non-working yarn (Color A) along the top of your previous stitches and crochet directly over it with Color B. This keeps your ends neat and prevents loose threads!
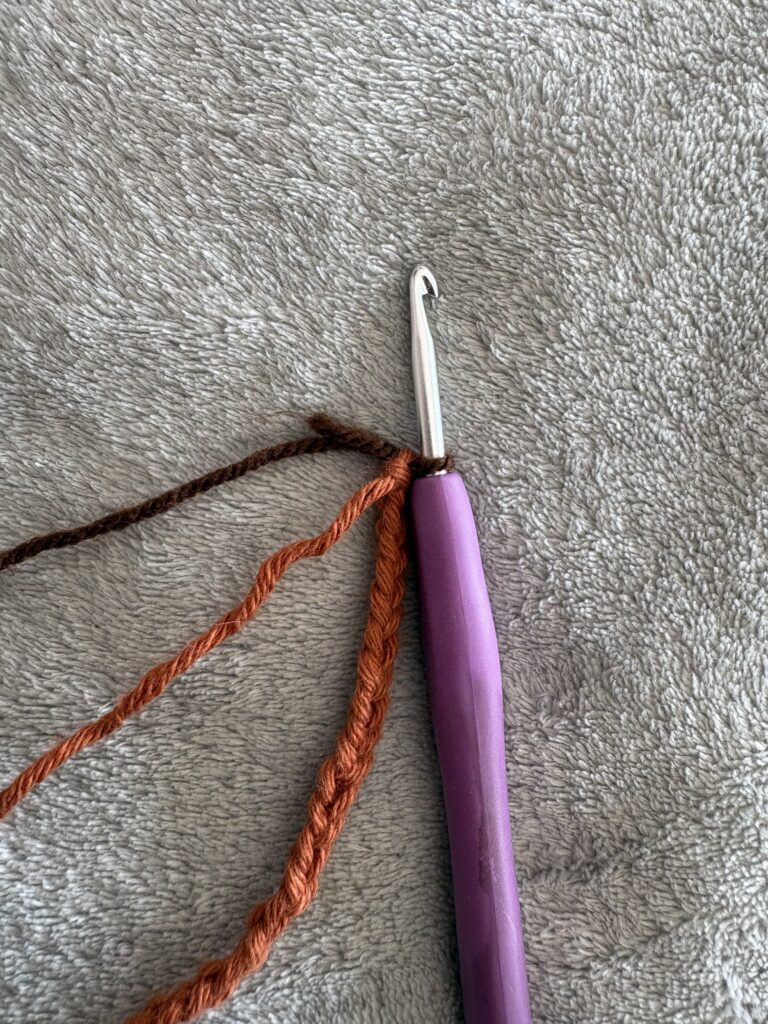
(Note: If you’re new to changing yarn or want a quick refresher on seamless transitions, check out my step-by-step guide on How to easily Change Color in Crochet)
Chain 2 with Color B and turn. Look for the small chain-spaces (the gaps or “bridges”) created by the previous row. Work 1 single crochet into the first chain-space, then chain 1. Continue this sequence all the way across: work 1 single crochet directly into the next chain-space, then chain 1. Finish the row with a single crochet in the last space.
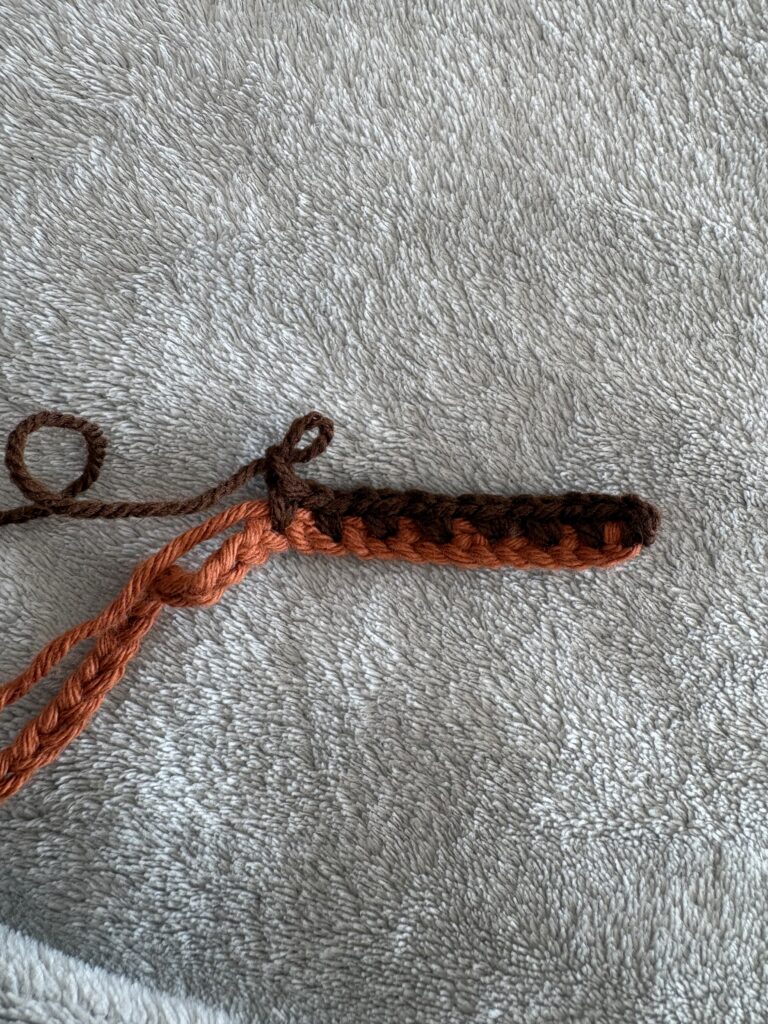
Row 4: Switch back to Color A using the tapestry technique. Chain 2 and turn. Repeat the same sequence across: work 1 single crochet into the chain-space from the previous row, then chain 1.
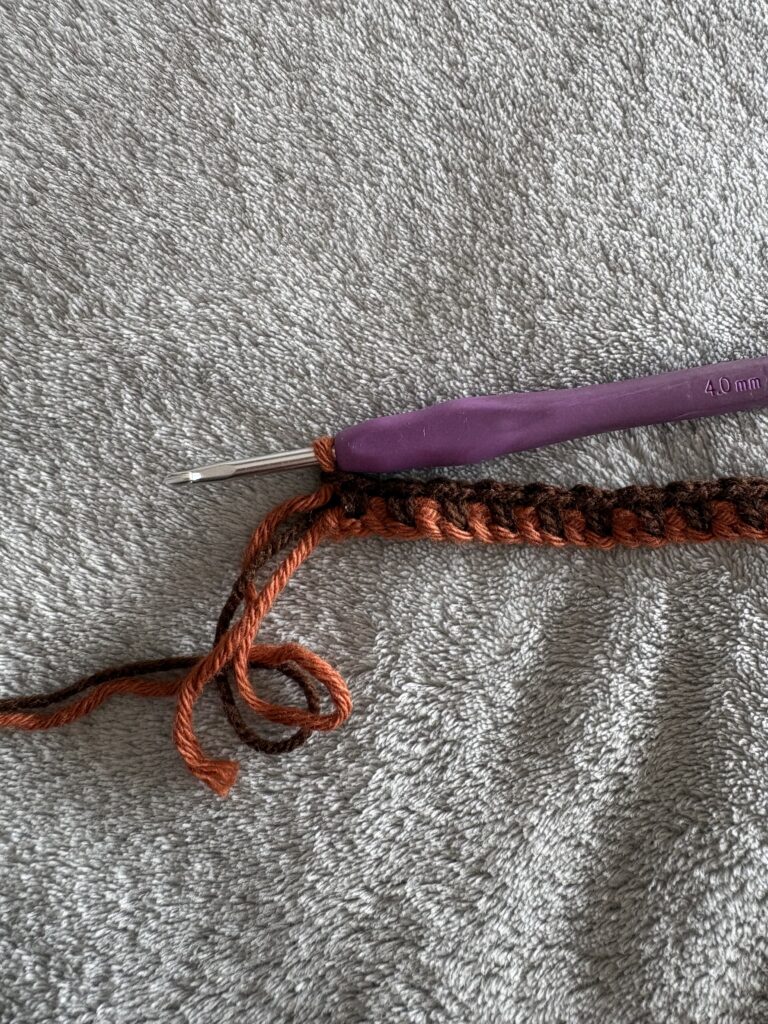
Row 5: Switch back to Color B. Chain 2 and turn. Work 1 single crochet into each chain-space, followed by a chain 1, all the way across the row.
Row 6: Switch back to Color A. Chain 2 and turn. Continue working 1 single crochet into every chain-space and chain 1 across the row.
Row 7: Switch back to Color B. Chain 2 and turn. Repeat the sequence: 1 single crochet into the chain-space, chain 1, across to the end of the row.
Row 8: Switch back to Color A for your final row. Chain 2 and turn. Work 1 single crochet into each chain-space and chain 1 across the row. Fasten off and weave in your ends!
How to join your headband
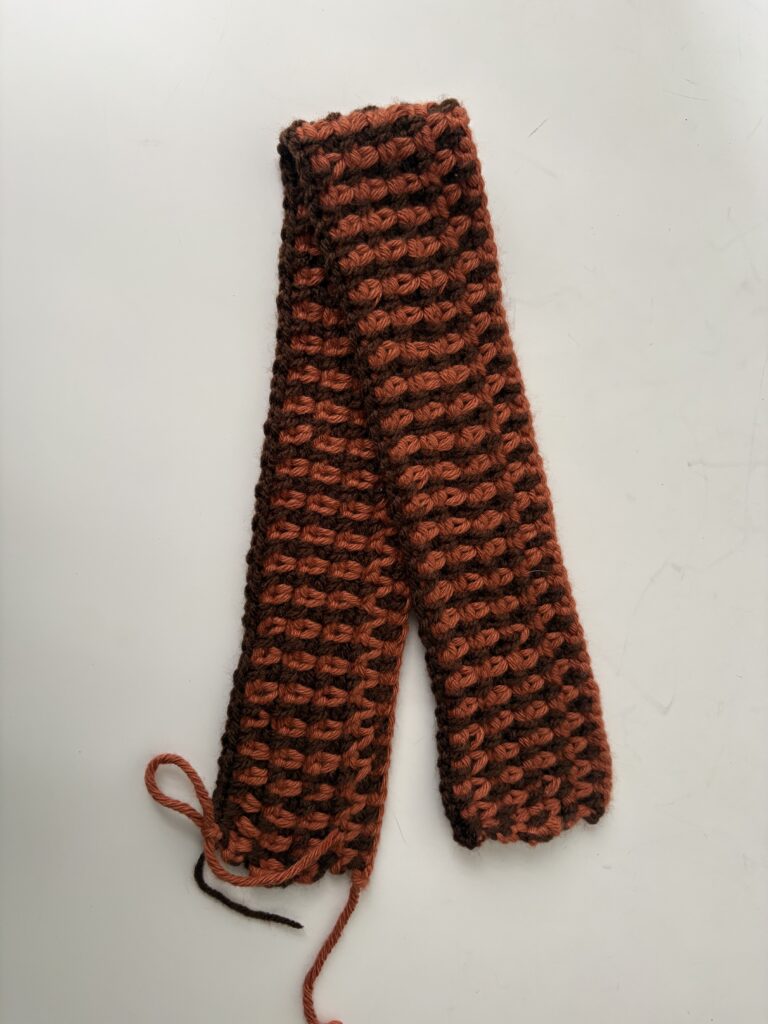
Option 1: Using a Yarn Needle (Sewing)
- Fasten off your yarn, leaving a long tail (about 12 inches / 30 cm).
- Fold your headband so the two short ends meet.
- Thread your yarn tail onto a yarn needle (or tapestry needle) and sew through the loops of both ends, stitch by stitch, to secure them.
- Tie a knot and weave in your loose ends!
Option 2: Using Slip Stitches (Crochet Hook Only)
- Do not cut your yarn at the end of Row 8.
- Fold your headband in half so the two short ends align.
- Insert your crochet hook through both the front and back layers of the first stitch, yarn over, and pull through to make a slip stitch (sl st).
- Repeat this across all stitches until both sides are completely joined together.
- Fasten off and weave in the end!
FAQ:
- Is the moss stitch stretchy? Yes! The combination of single crochets and chain spaces gives the moss stitch an amazing elastic texture, making it perfect for headbands, beanies, and garments.
- Can I use a different yarn weight? Absolutely! You can use DK or Light Worsted yarn; just make sure to chain an even number that matches your head measurement.
- How much yarn do I need for this headband?
- You’ll only need about 40 to 50 grams (or under 100 yards) of yarn in total! It’s the ultimate yarn-buster project, perfect for using up leftover skeins from your stash.
- Why is my moss stitch headband curling?
- Don’t panic! It is totally normal for the first couple of rows to curl a little bit. As you add more rows, the fabric will flatten out. Keeping your foundation chain relaxed (or using a hook half a size larger for the chain) also helps prevent curling!
- Is the moss stitch reversible?
- Yes! One of the best things about the moss stitch (linen stitch) is that it looks completely identical on both the front and back sides.
- Can I adjust the width of the headband?
- Absolutely! If you want a wider ear-warmer style headband, simply add a few more row repeats (e.g., 10 or 12 rows instead of 8). If you prefer a thinner, delicate hair accessory, stop at 6 rows.
- Why is it called the Moss Stitch?
- It gets its name from the dense, woven texture that resembles natural moss! Depending on where you live or what pattern you’re reading, it’s also known as the Linen Stitch or Granite Stitch.