Step by step guide
Have you seen those mesh hats that are super trendy all over the world right now? I definitely have!
But to be honest, those hats are just not my thing because I really don’t like that 100% flattened-hair look—plus, they can get so hot during the summer!
If you’re like me and want to stay cool while keeping your hair in place, you are going to absolutely love this project. Not only is it super easy to make, but it also gives you that exact same trendy look without the sweat or completely crushing your hair underneath a heavy hat.
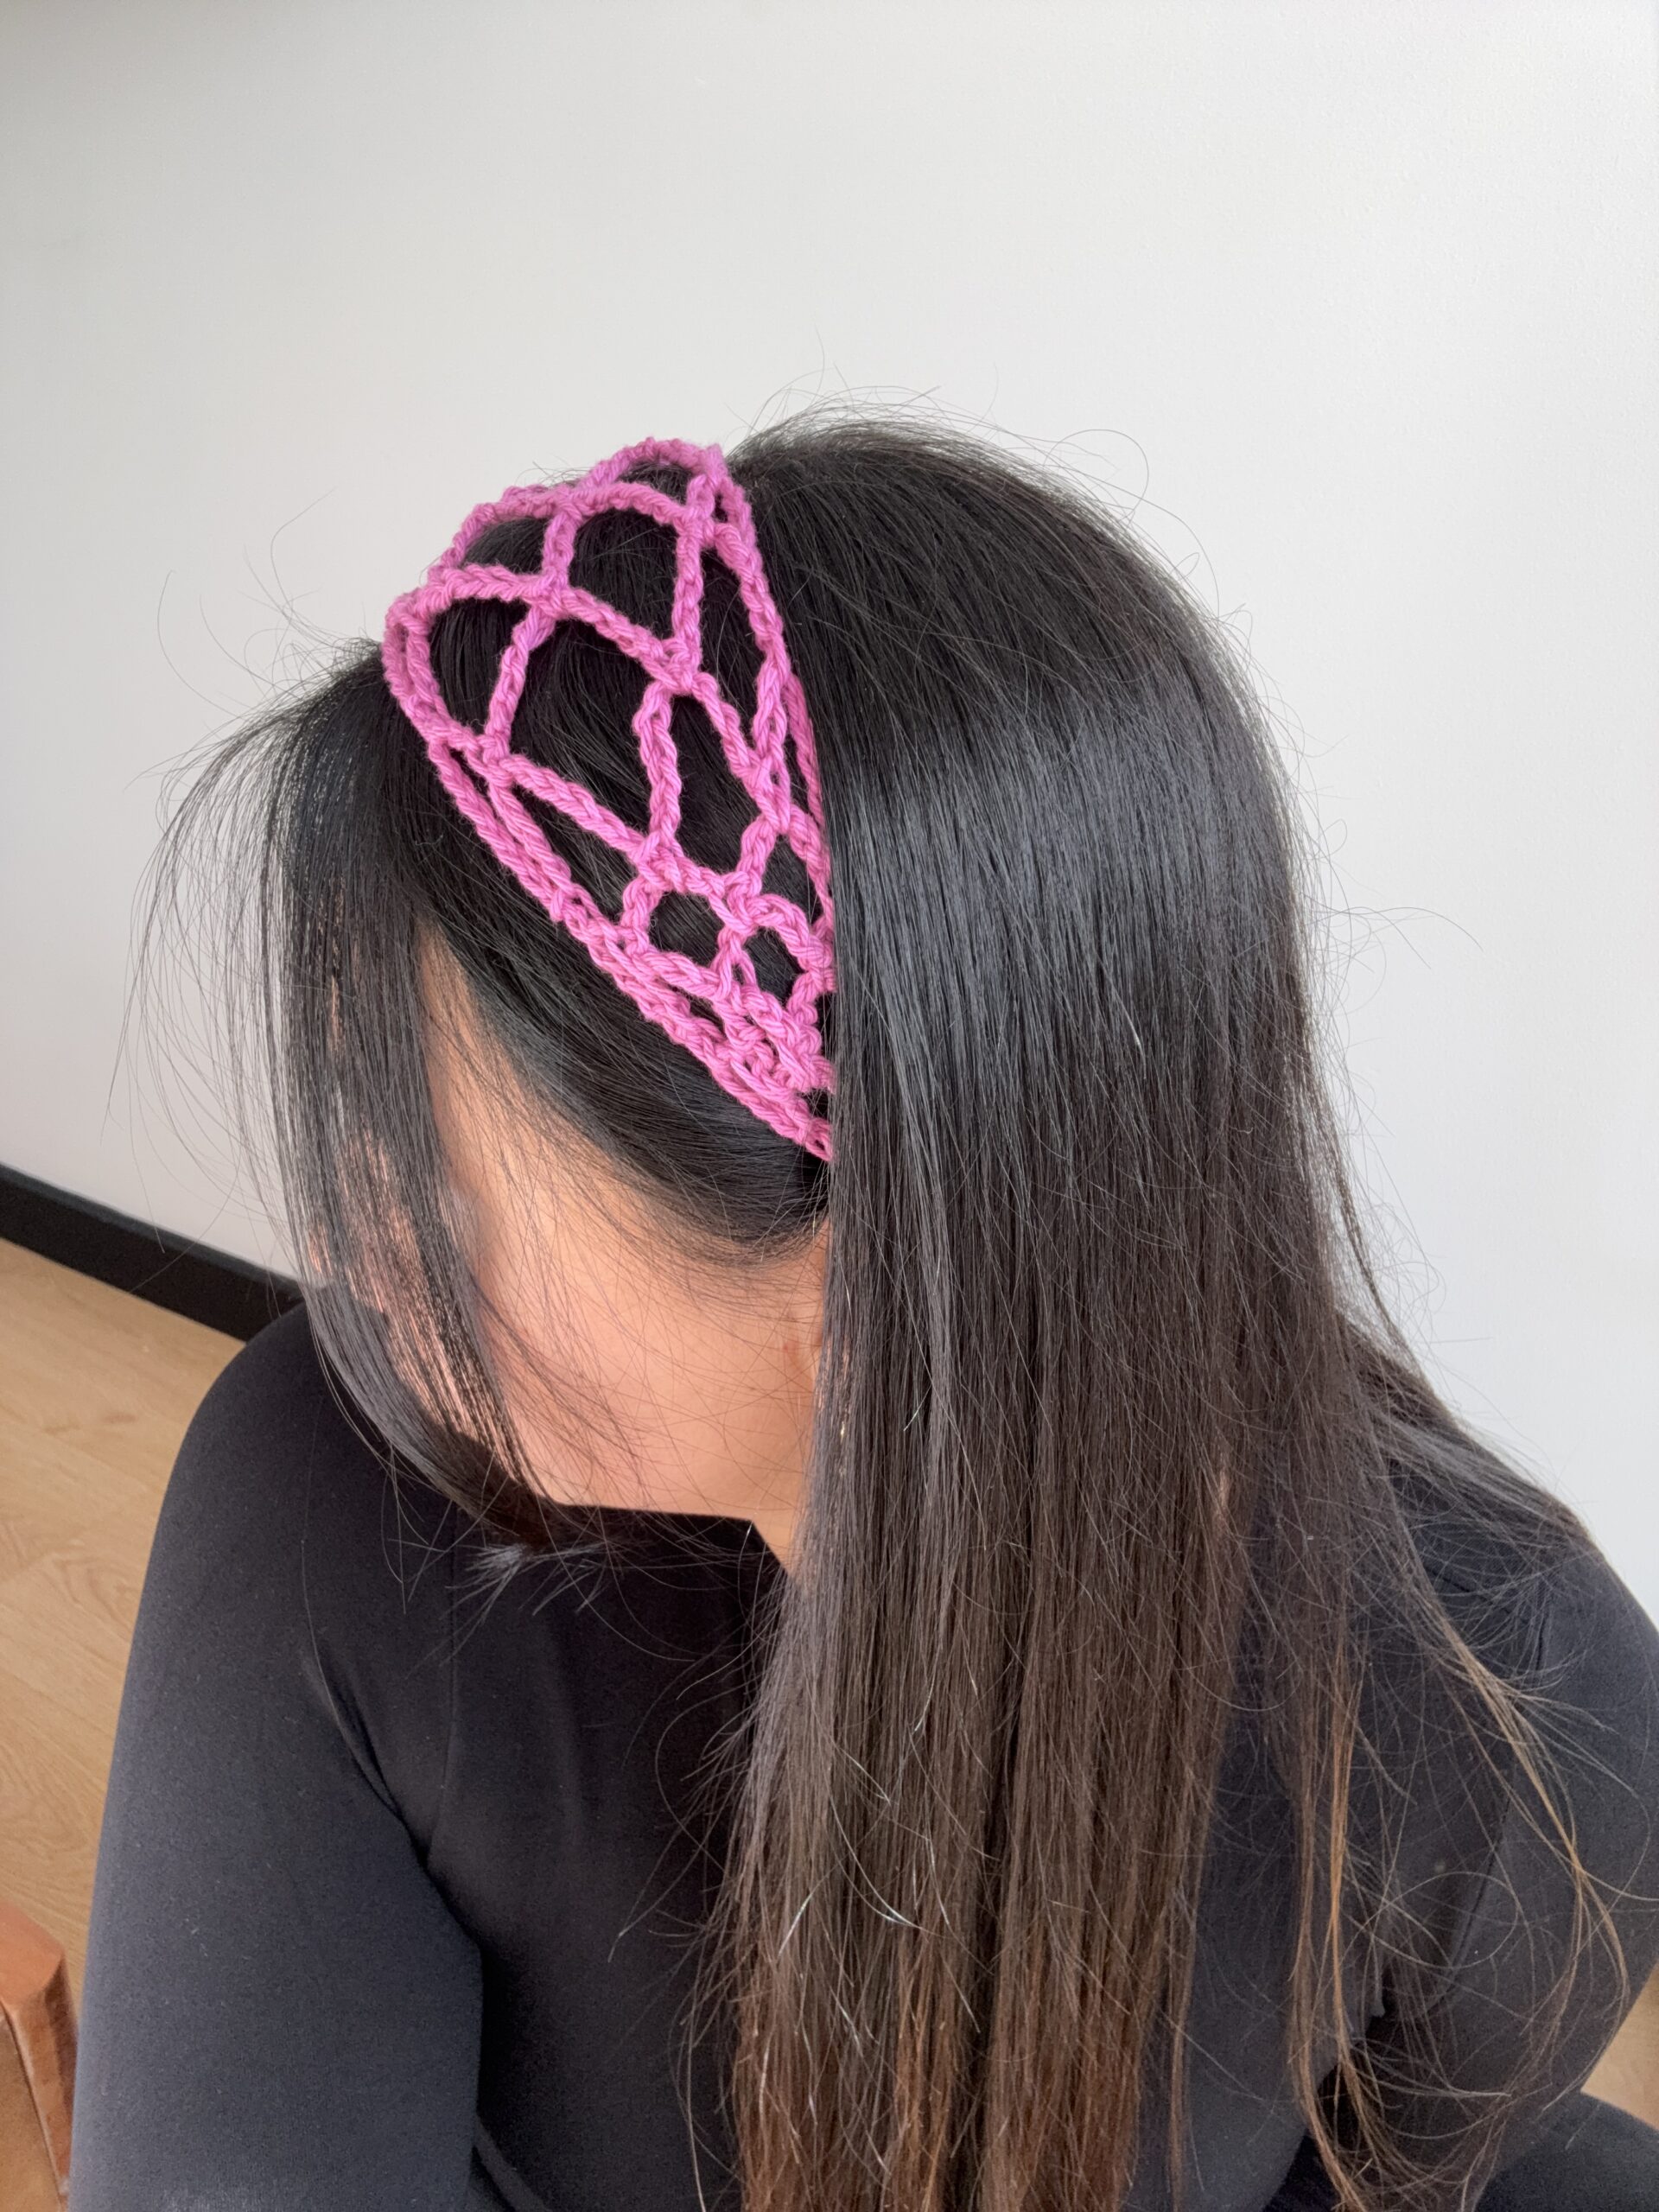
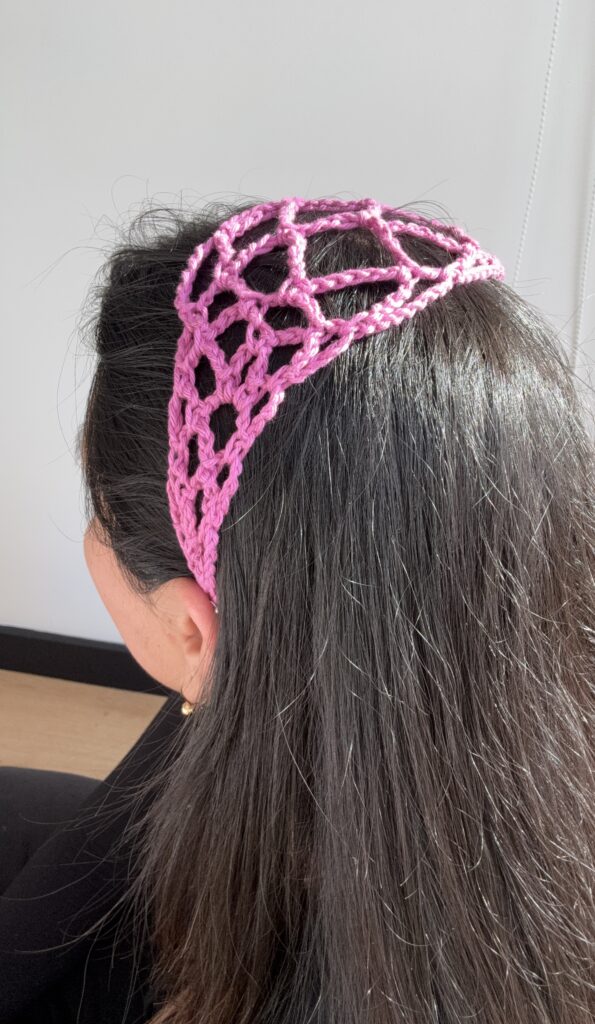
This tie-back headband adds the perfect boho touch to any outfit, making it your ultimate lightweight accessory for the beach, pool days, summer vacations, concerts, and music festivals!
How to Style it
This tie-back mesh headband is incredibly versatile and the perfect lightweight accessory to elevate any casual summer look. Whether you want to beat the heat or just add a boho touch to your wardrobe, here are three easy ways to wear it:
1. Sunglasses Look
Wear your headband slightly back from your hairline with your hair down or in a loose low bun, and slide on your favorite oversized or vintage sunglasses. The headband keeps your hair perfectly out of your eyes while framing your face, making it the ultimate effortlessly cool aesthetic for sunny days.
2. The Festival Statement Piece
Make this headband the absolute main character of your outfit! If you crochet it in a vibrant, bold neon or bright summer shade (like hot pink, electric blue, or lime green), it instantly transforms into a stunning statement piece. It is the perfect, fresh accessory to stand out in the crowd at music festivals or summer concerts.
3. Beach Bikini Vibe
This mesh headband is the absolute perfect companion for your favorite swimwear! Slide it on to keep your hair stylishly out of your face while lounging by the pool or sunbathing on the sand. Pair it with a matching bikini, an oversized linen button-down shirt left open as a cover-up, and some gold hoop earrings.
CUSTOMIZING THE PATTERN
This pattern is easy to customize to suit your personal style.
- Add a Pop of Texture (Beads & Charms): Before you start your chains, thread some small wooden or colorful beads onto your yarn. You can slide them into the mesh stitches as you go, or add a cute charm to the very ends of the tie straps for a beautiful boho touch.
- Play with Colorwork: Instead of a solid color, try using a self-striping or variegated cotton yarn. The mesh stitch creates a gorgeous, stained-glass effect when worked with changing colors!
- Adjust the Width: If you want a wider, more dramatic bandana-style headband, simply add a few more stitches to your base row setup. If you want a super thin, minimalist hairband, reduce the initial count!
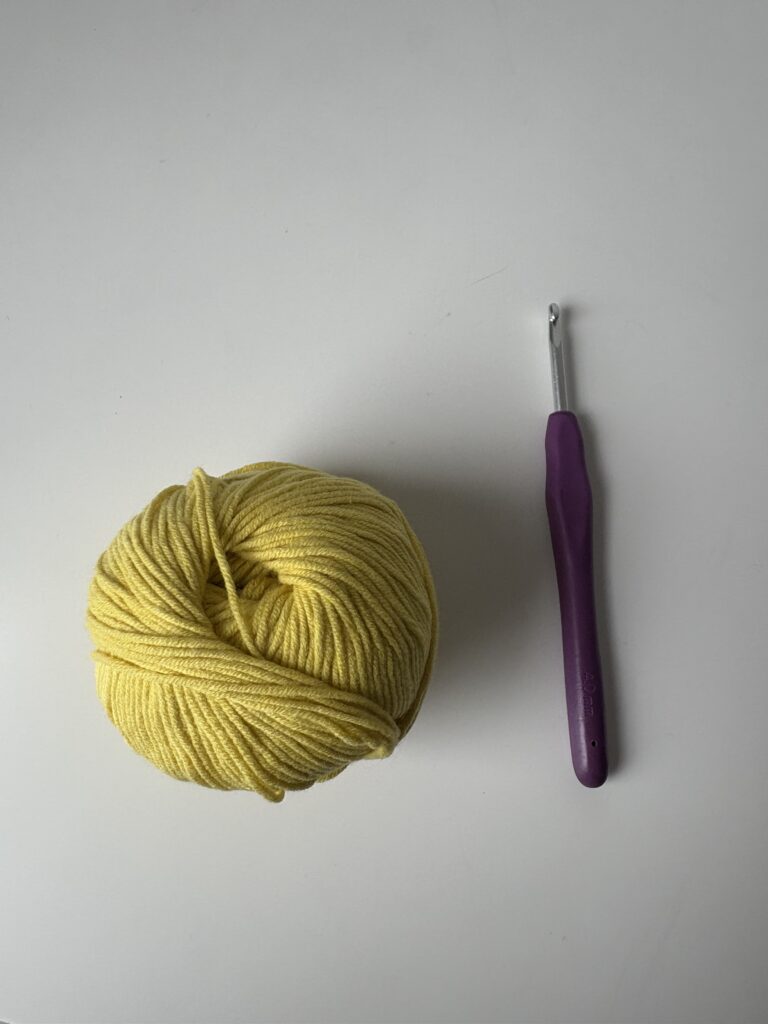
MATERIALS
- Yarn: 20 to 40 grams of cotton yarn. (Perfect for using up your scrap yarn leftovers!)
- Crochet hook: Size recommended for your chosen yarn I used a 4.0 mm
- Notions: Scissors, and a tape measure.
STITCH ABBREVIATIONS (US TERMS)
- sk: Slip Knot
- ch : Chain
- sts: Stitches
- hdc : Single Crochet
- dec: Decrease
PATTERN NOTES
- Stitch Count: Make sure to count your stitches carefully at the end of each row to ensure your headband stays perfectly even.
- Images: Use the reference images provided for guidance
- Tension: Try to keep an even, slightly firm tension. If your stitches are too loose, the headband might slip off your hair.
INSTRUCTIONS
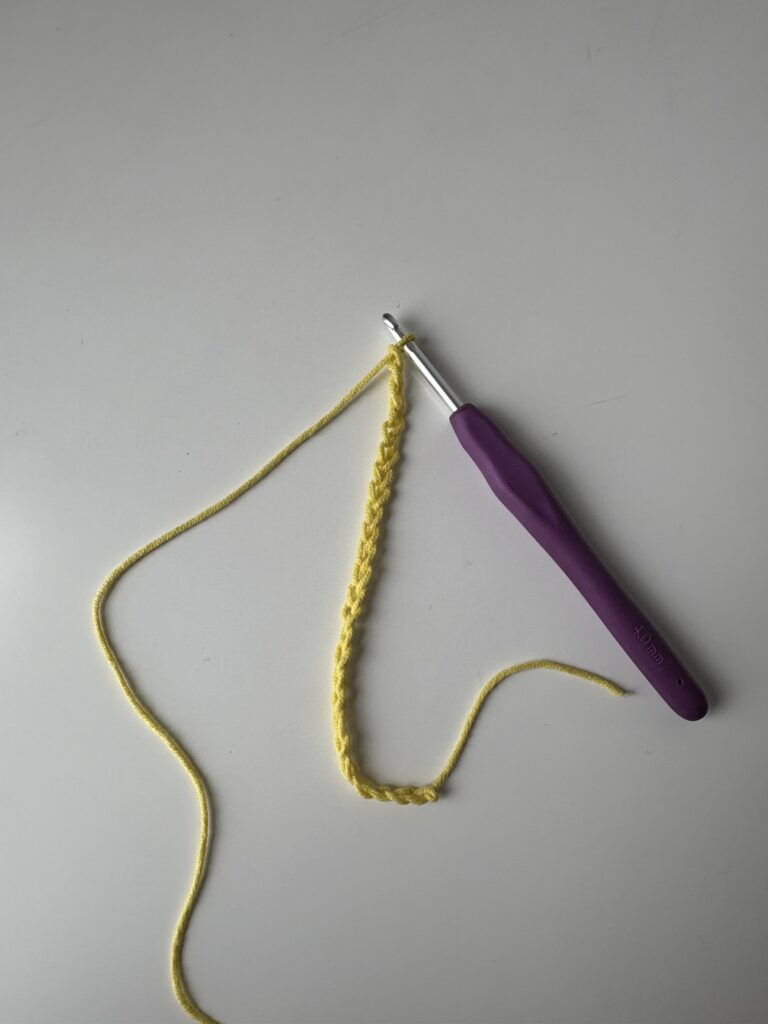
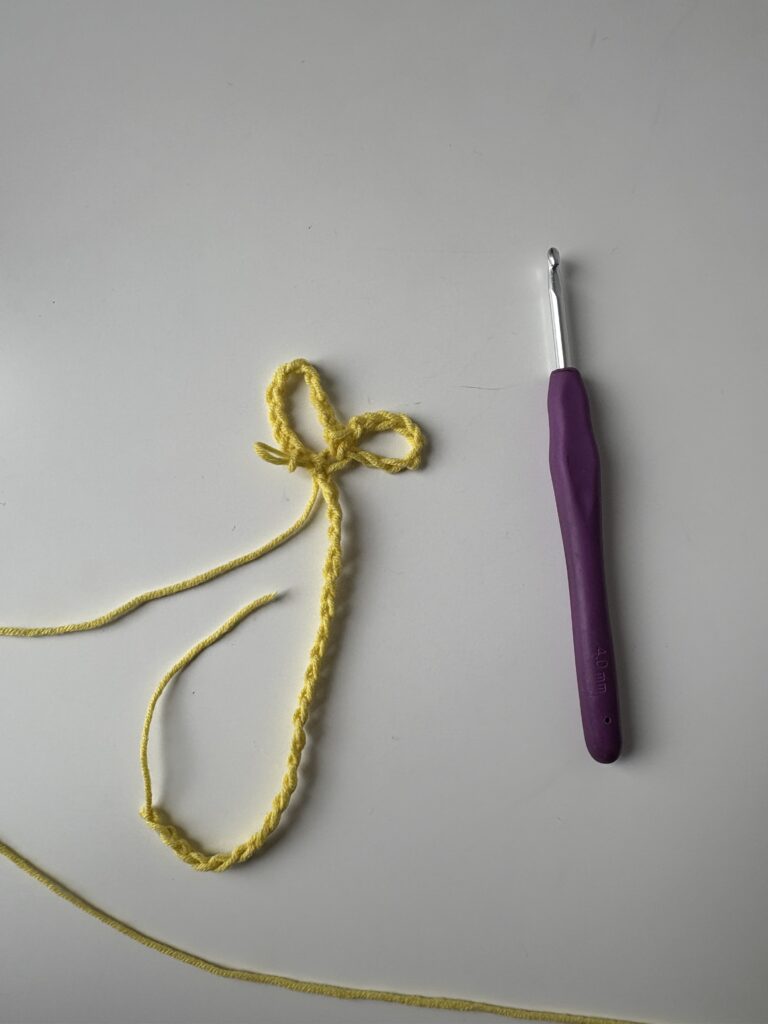
Row 1: Make a slip knot and ch 25. This chain will form the first tie strap used to secure the headband at the nape of your neck.
Row 2: Chain 10 and make a single crochet into the 5th chain from the hook. Repeat this step once more into the exact same stitch. You will now have two small chain loops in the same stitch, which will serve as the base for your headband.
Row 3: Chain 10, then make 1 single crochet into the first loop. Next, chain 10 again, and make 1 single crochet into the second loop.
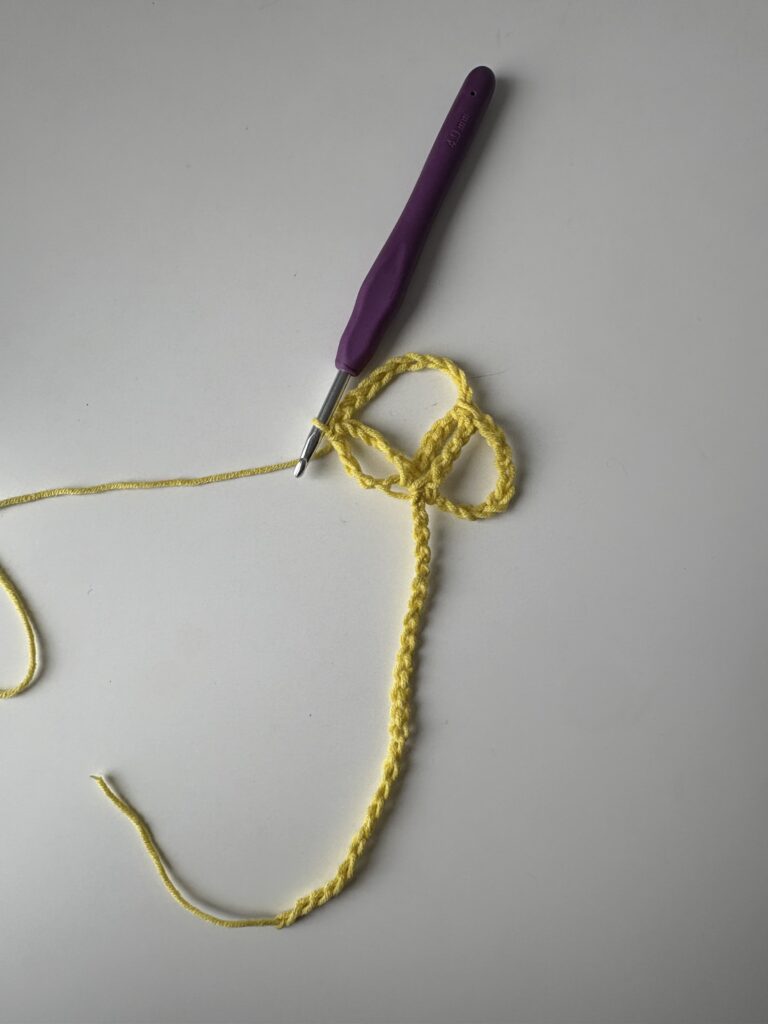
Row 4 – final : Chain 10, then make 1 single crochet into the first loop. Next, chain 10 again, and make 1 single crochet into the second loop.
This is what your work should look like at this point!
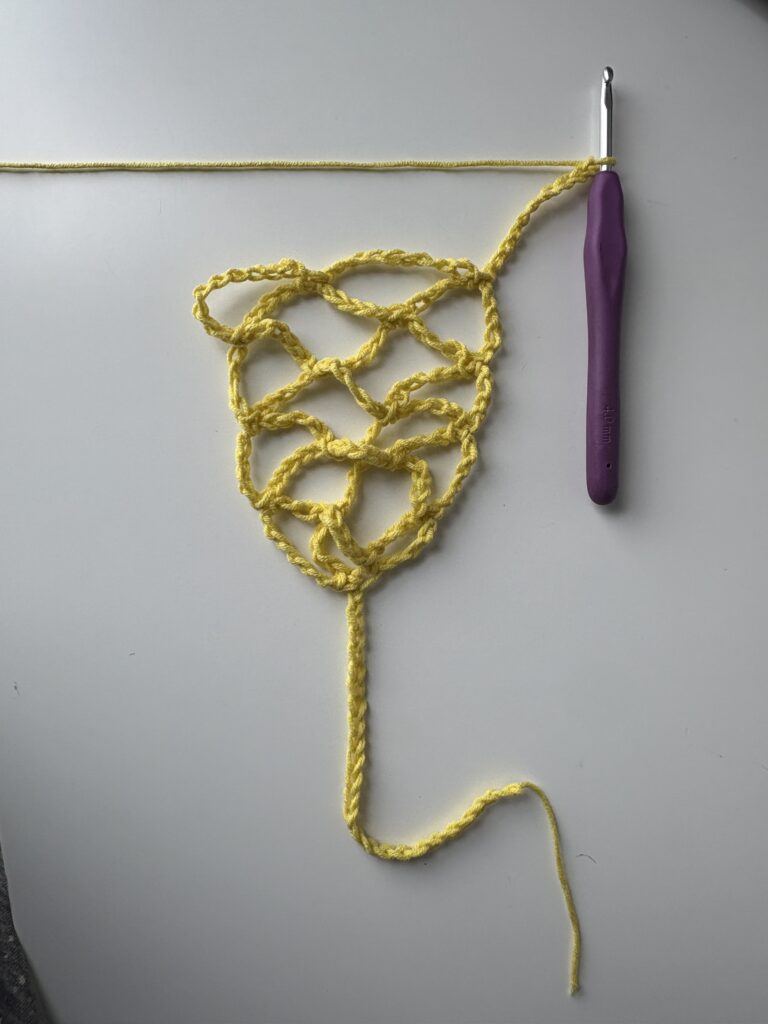
Repeat this process until you reach your desired length. I highly recommend wrapping the headband around your head as you go to check the fit. It might look a bit small at first, but keep in mind that this mesh-like stitch stretches quite a bit!
Final Stitches
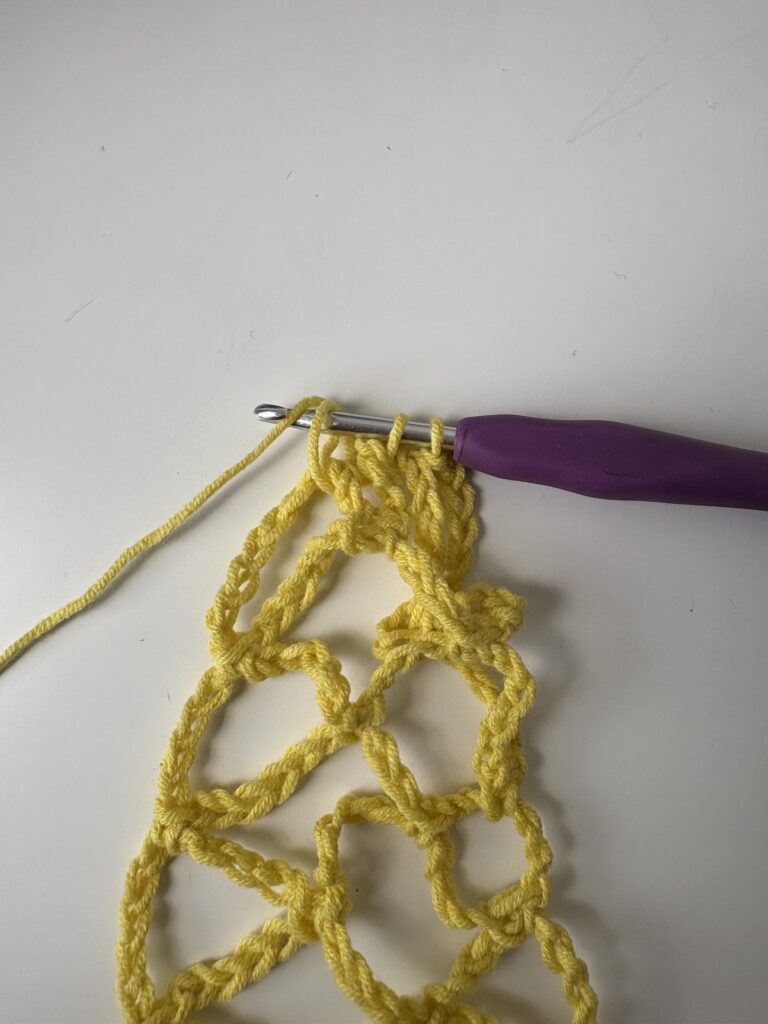
To finish your headband, you are going to make a decrease. First, insert your hook into the loop, yarn over, and pull up a loop (just like an unfinished single crochet). Immediately insert your hook into the next mesh loop, yarn over, and pull up another loop.
You will now have 3 loops on your hook. Yarn over one last time and pull through all 3 loops. This creates your final stitch and perfectly closes the headband shape!
Next, chain 25 to create the other tie strap to secure the headband behind your head.
And that’s it! This is what my finished headband looks like!
FAQ!
- Can I use acrylic yarn instead of cotton? Yes, but cotton I highly recommended for this specific pattern. Acrylic tends to stretch out permanently over time and doesn’t absorb sweat, while cotton keeps its structural integrity and feels fresh on hot days.
- How long does it take to make this headband? This is a super quick project! Because it uses a simple mesh stitch, it usually takes between 30 to 45 minutes to finish, making it a perfect last-minute gift or market bake product.
- Is this pattern suitable for absolute beginners? Yes! If you know how to chain and make a single crochet, you can absolutely make this. Plus, you can follow along with the step-by-step video tutorial included in this post.
If you loved this pattern, you might also want to check out my Tiny Mesh Bandana Crochet Pattern! It’s another perfect, beginner-friendly accessory that is absolutely ideal for summer. Happy Crocheting 🙂
One thought on “Easy and Cute Crochet Mesh Headband – Summer Essential”