Let me tell you a little secret about this pattern: when I first sat down with my yarn back in autumn, I honestly had no idea it would turn out to be a top! Jaja. I was actually trying to crochet a cozy scarf for the colder months, but as the project grew, I realized the stitch structure was just too perfect to be hidden away in a winter closet.
The process turned out to be so simple, intuitive, and fun that it completely changed my plans—and honestly, it can easily become the foundation for so many other creative projects in your crochet journey.
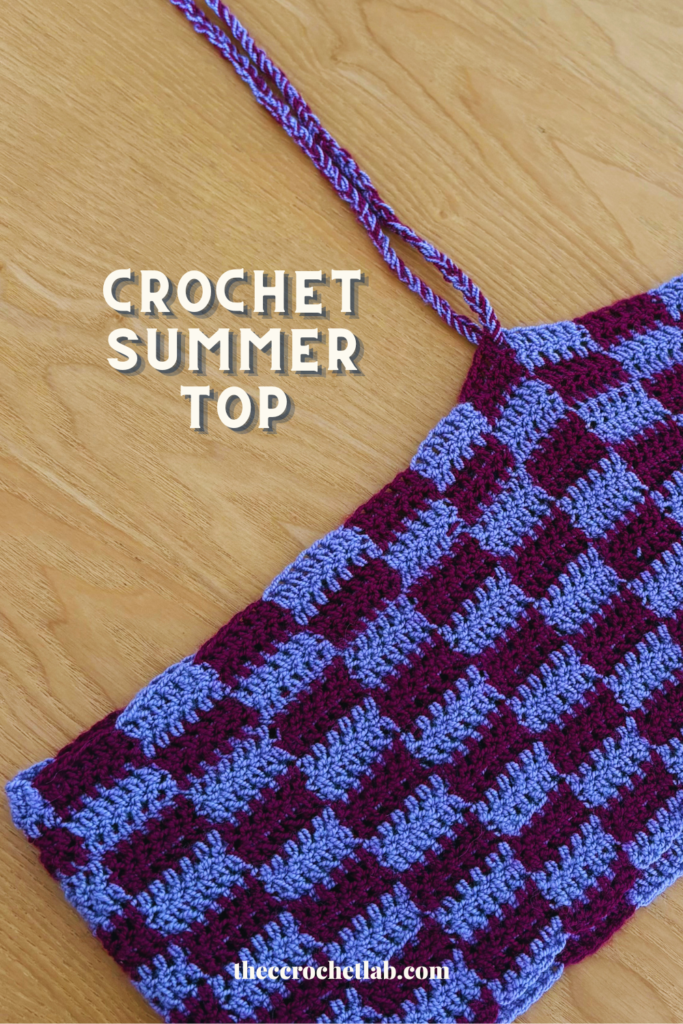
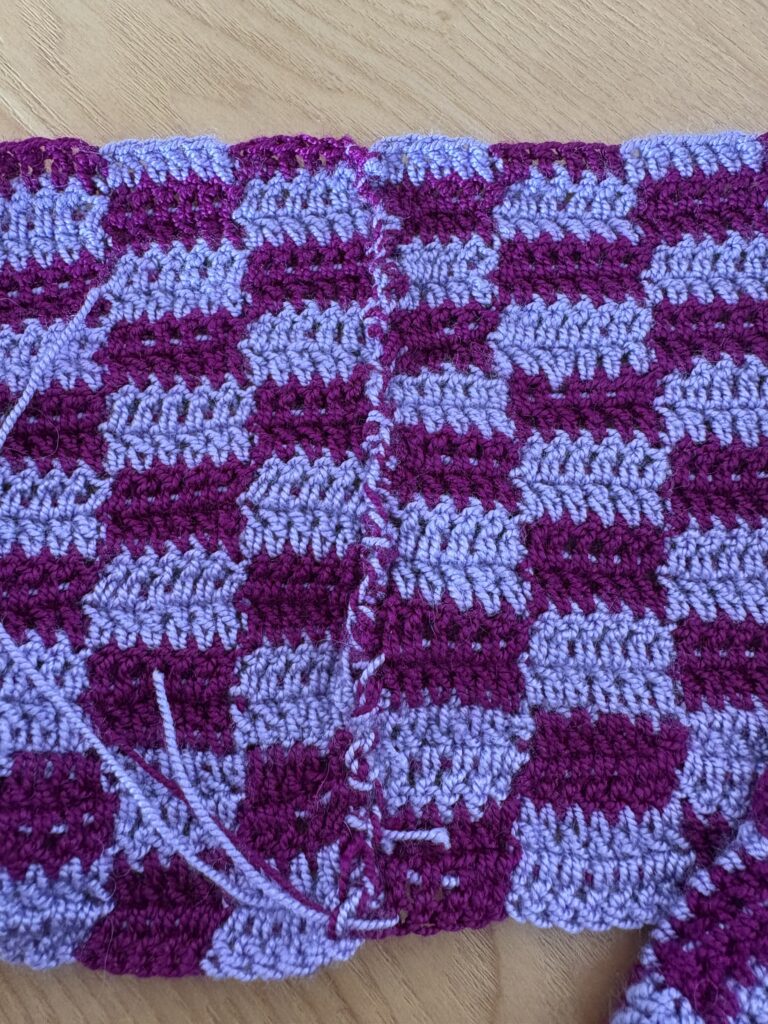
This is a 100% beginner-friendly pattern, even if it doesn’t look like it at first glance! I know that checkered designs can seem incredibly intimidating to recreate, especially if you’ve never tried colorwork before, but I promise you it is an absolute breeze once you get into the rhythm.
Plus, there’s a huge bonus: since I chose to make it with lightweight acrylic yarn, it dries super fast! That means it’s incredibly versatile—you can wear it as a cute casual outfit or even rock it as a stylish bikini top at the beach or pool. It’s easy, cute, versatile, and comfy—literally everything you could ever need for a sunny summer day.
Think of it as the perfect 2-in-1 piece to add to your handmade wardrobe!
Want to create the trendiest matching set for your next beach trip or festival? Check out the Free Crochet Mesh Bandana Pattern and hook the perfect summer accessory to match your new top!
How to Easily Customize Your Crochet Summer Top
- Color changes: Feel free to experiment with different color combinations. Use high-contrast colors for a bold look, or similar tones for a more subtle, cohesive design.
- Size: Adjust the size by adding or removing chains to make it larger or smaller.
- Yarn choice: Different yarn fibers and weights will affect the final texture, size and thickness.
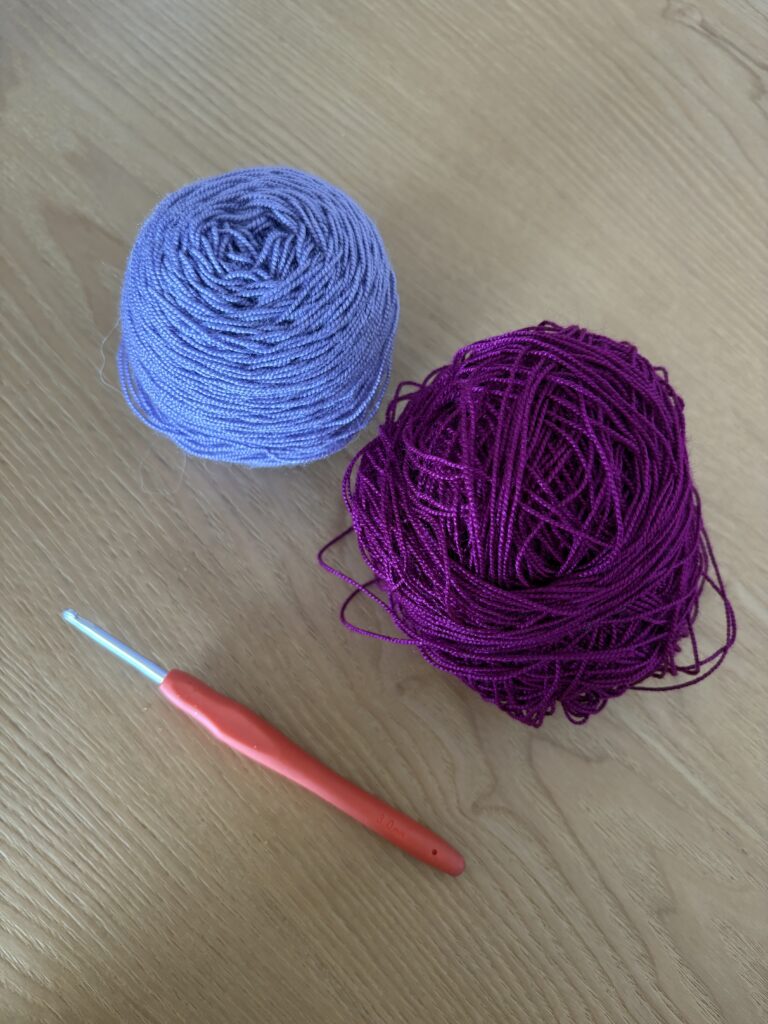
Materials Needed
- Yarn: 2 skeins of cotton or acrylic yarn in contrasting colors. For this project, I chose Acrylic Yarn because it’s incredibly lightweight, dries super fast, and is perfect for a breezy beach look!
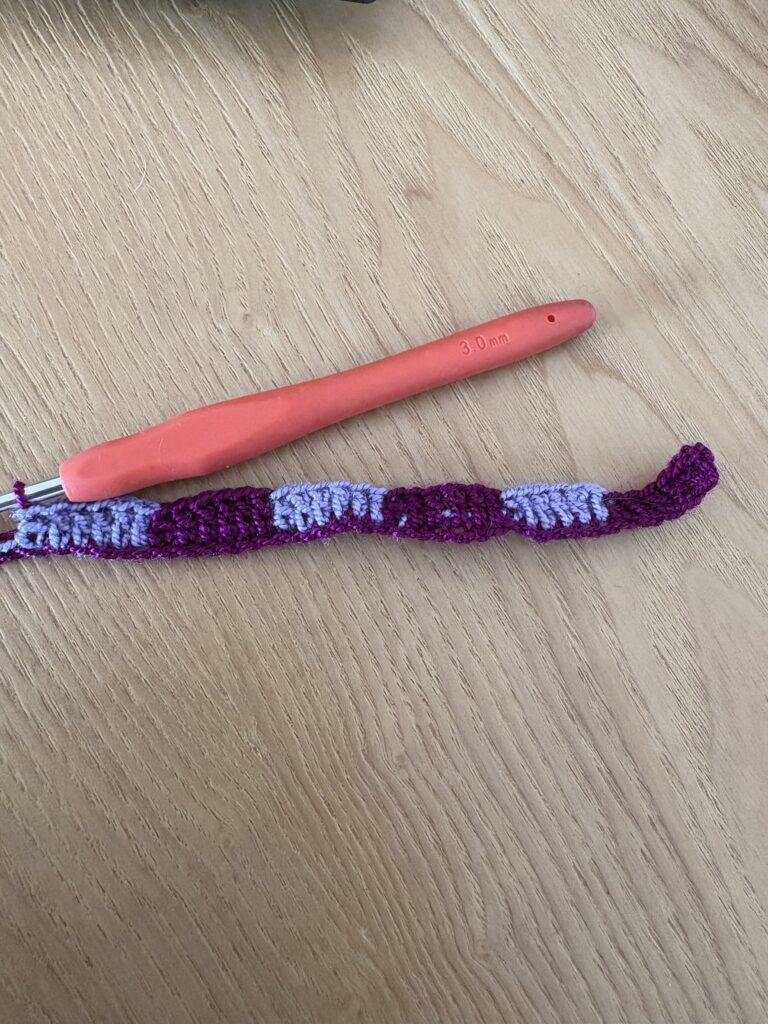
- Crochet Hook: A 3.0mm hook (or the size that matches your chosen yarn).
- Scissors.
- Yarn needle.
Pattern Notes
- Read Ahead: Please read through the entire pattern before you begin to familiarize yourself with the project steps.
- Turning Chains: At the beginning of every single row, you must chain 2.
- Yarn Consistency: Make sure to use the same type and weight of yarn for both colors in your project. Using a thinner yarn for one color may affect the look of the color changes and result in an uneven finish.
- Visual Aid: Use the reference images provided throughout the post for guidance.
Instructions
Foundation
Start by making a slip knot and chaining a strip that equals the total width of your body circumference. It’s going to be long, but don’t panic!
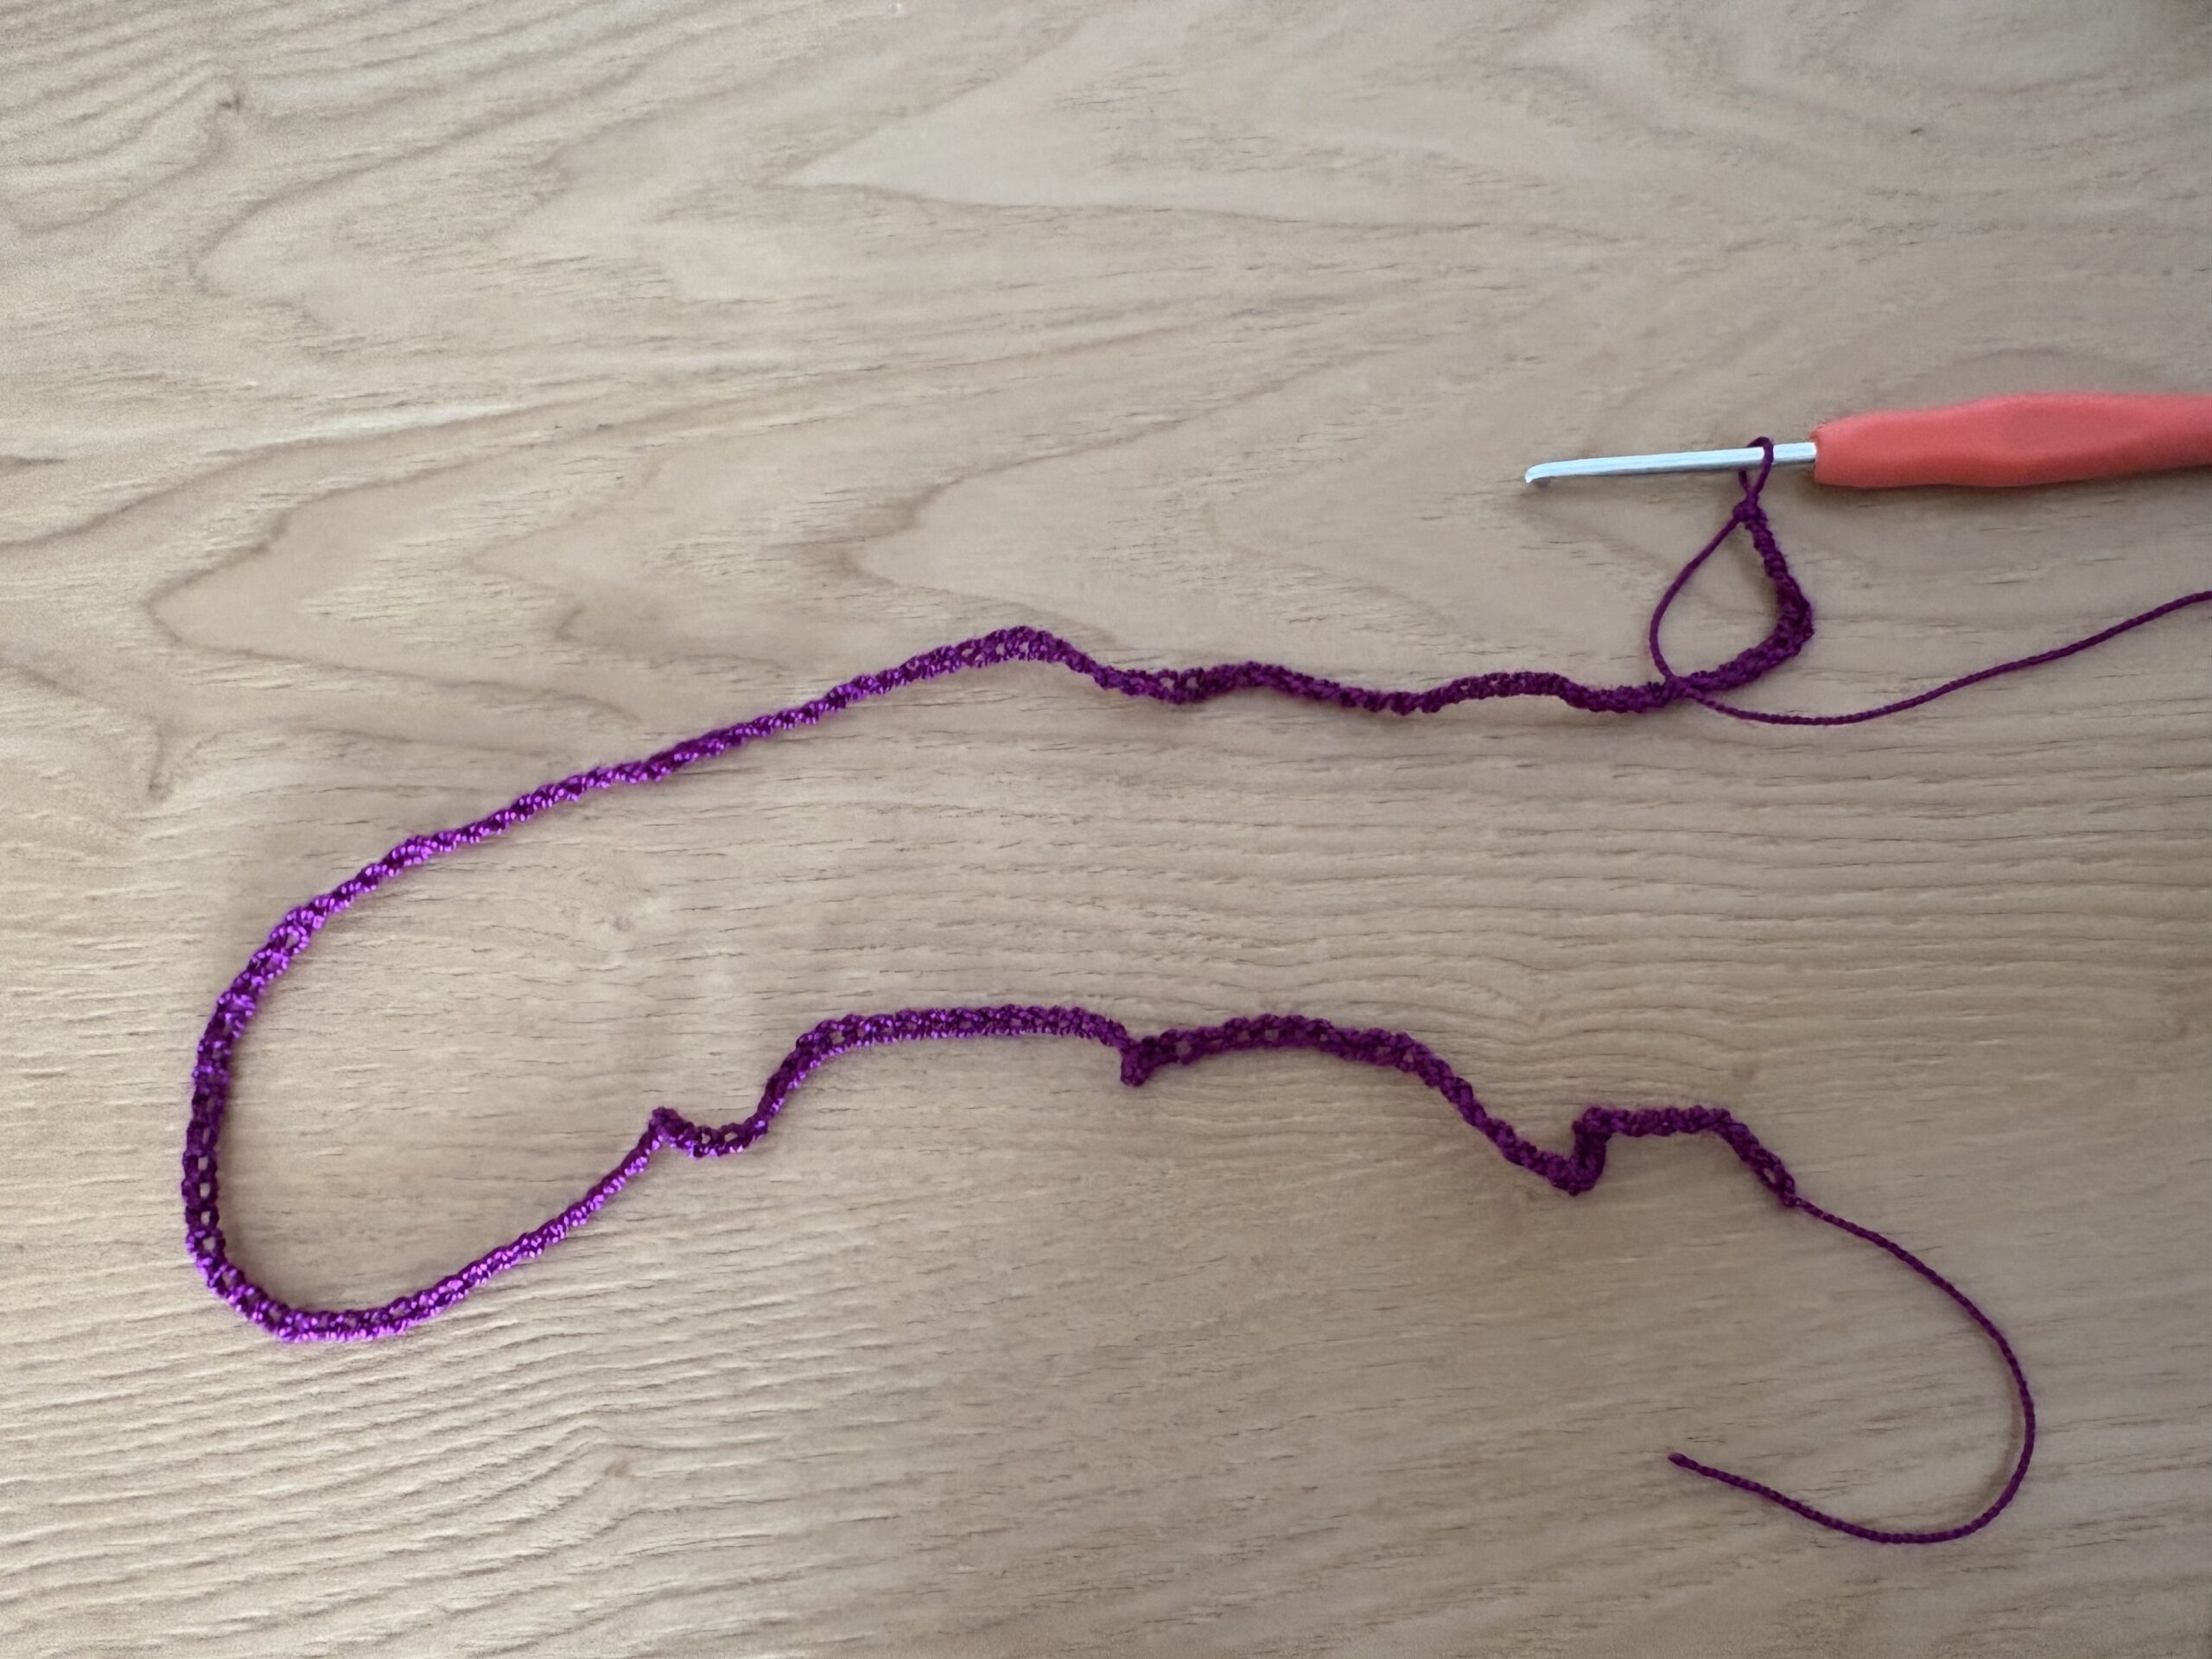
Row 1
Work your first double crochet into the 3rd chain from your hook (the first two skipped chains count as your first stitch). Continue making double crochets until you have 6 stitches in total.
The Color Switch: Before closing that 6th double crochet—right when you still have 2 loops left on your hook—grab Color B, make a slip knot if needed, and pull it through those last two loops to complete the stitch with the new color.
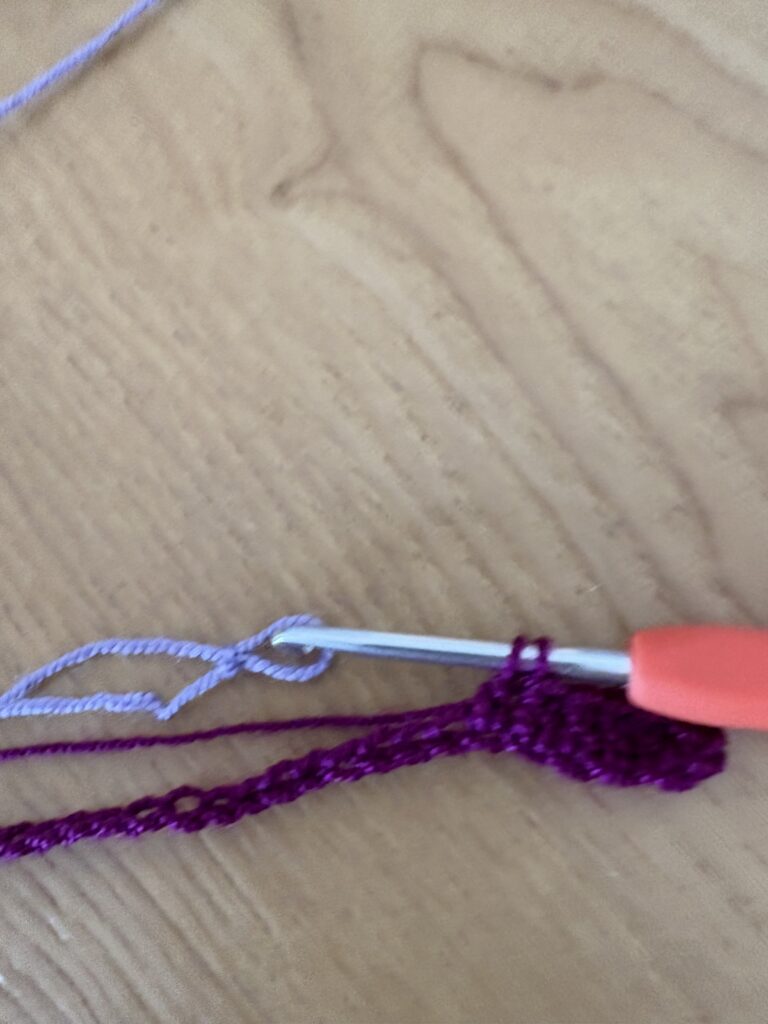
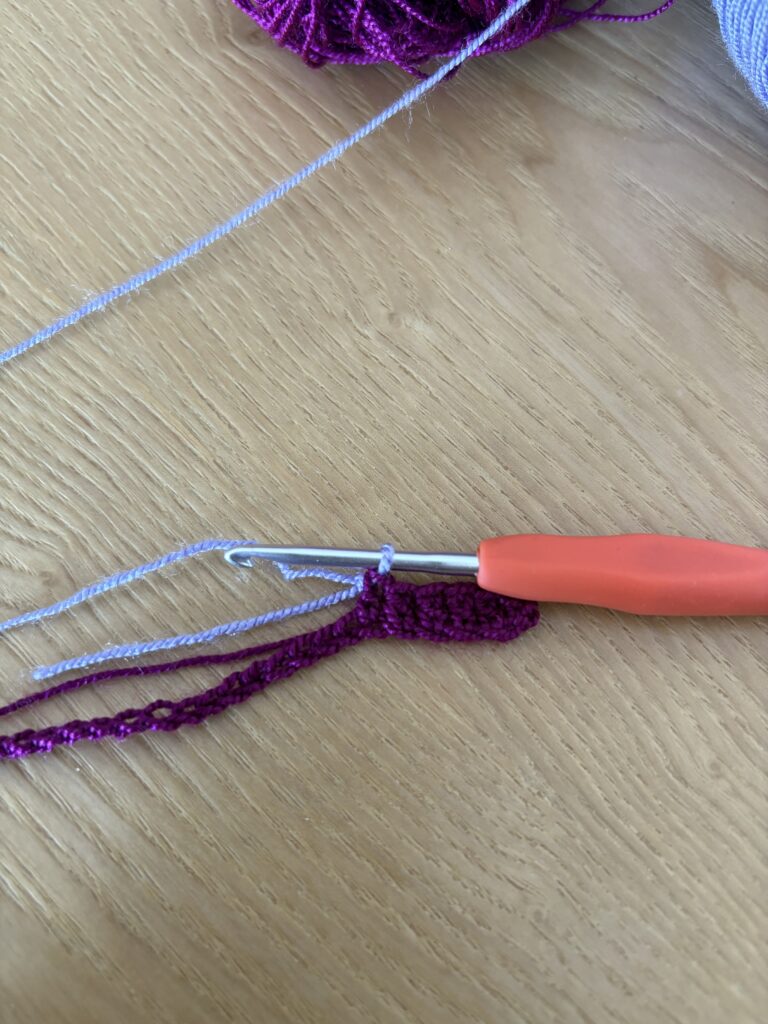
Carrying the Yarn: We are not going to cut the yarn! To hide the unused color, you will carry it along inside your stitches. Use your non-dominant hand to hold the unused strand flat against the foundation chain, and simply crochet over it as you go.
The Sequence: Repeat this exact sequence across the entire first row, alternating your yarn colors every 6 double crochets.
Row 2
For the second row, repeat the exact same color order directly on top of the previous row to build your solid color squares.
Row 3
To start the third row with a different color pattern, you need to make the color switch at the very last stitch of Row 2. Chain 2 using the new color. (Unlike the first two rows where you kept the same color, here you switch from Color A to Color B to create the checkered look!)
Rows 4 – 20:
Keep alternating your color blocks every 2 rows until you have completed 20 rows total.
Seaming the Ends: Once your 20 rows are finished, fold the piece in half. Connect both ends of your fabric to form the tube body. You can easily join them together using a yarn needle to sew the edges, or by crocheting a row of slip stitches across the seam.
Neck Strap
For this top we are not making simple, flimsy chains. We are making a thick, sturdy, and stretchy cord (similar to a Romanian cord or I-cord) that looks professional and won’t dig into your skin.
Note: To make the straps, hold both yarn colors together and crochet them at the same time. This creates a thicker, sturdier cord and blends both colors beautifully!
How to make the cord:
- The Double-Tail Slip Knot: Make a slip knot, but leave two tails: the long working yarn (connected to the ball) and a shorter tail (about 15 cm / 6 inches).
- The First Movement: Take the shorter tail and yarn over your hook from front to back.
- The Lock: Take the long working yarn, yarn over, and pull it through both loops on your hook. You now have one loop left on your hook.
- The Repeat Pattern: Now, look at the right side of your stitch. You will see a small loop (or bar) on the side. Insert your hook into that right-side loop, yarn over with your working yarn, and pull through both loops on your hook.
- Repeat step 4 continuously until your cord reaches the desired length.
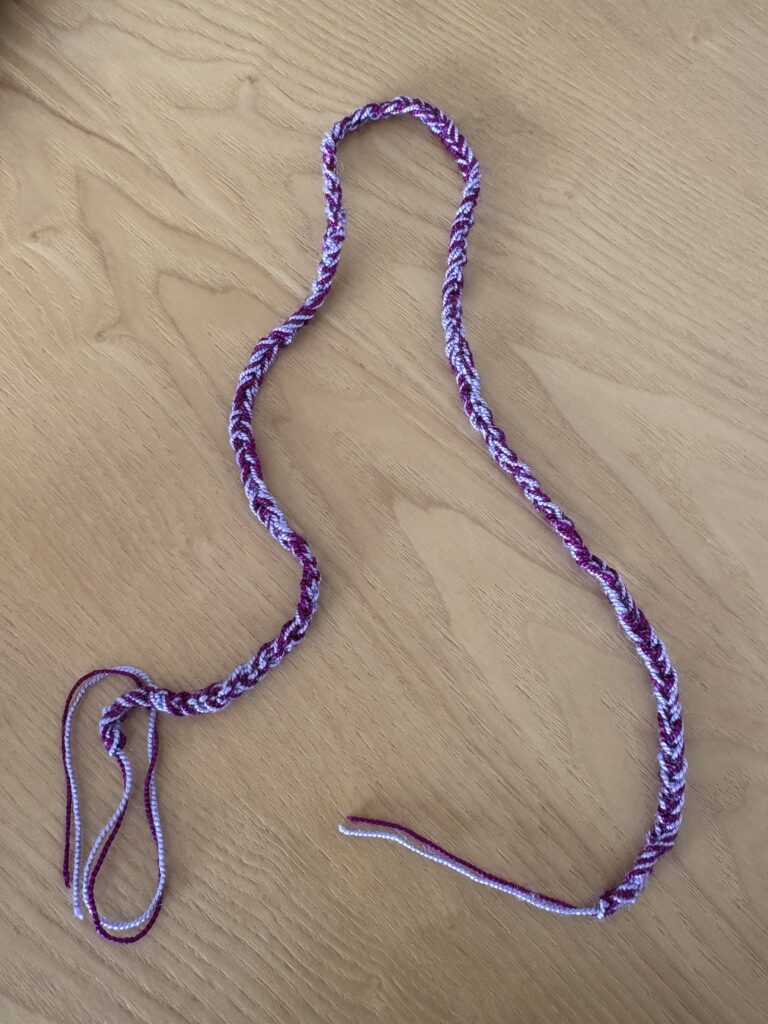
Since this technique is very visual, make sure to watch the quick video below to see the exact hand movement!
Final Assembly – Attaching the Cord to the Body
Now, let’s turn this piece into an adjustable top!
- Lay your seamed body tube flat and identify the exact center of the piece.
- Take your long double-stranded cord and weave it straight through the natural gaps and spaces created by your double crochet rows.
- Thread it from one side all the way through to the other side at the center line.
- Pull both ends of the cord to cinch and gather the fabric, creating a beautiful fruncido effect, and tie a bow!