Do you have forgotten clothes in your closet that you want to bring back to life? With this super easy crochet project, you can have a brand-new piece to style in just a few minutes.

These flowers are incredibly easy to make, and you only need to know a couple of basic stitches that any beginner can master.
Personally, the first time I tried it, it took me only 5 minutes to finish my very first flower.
How to Style Them
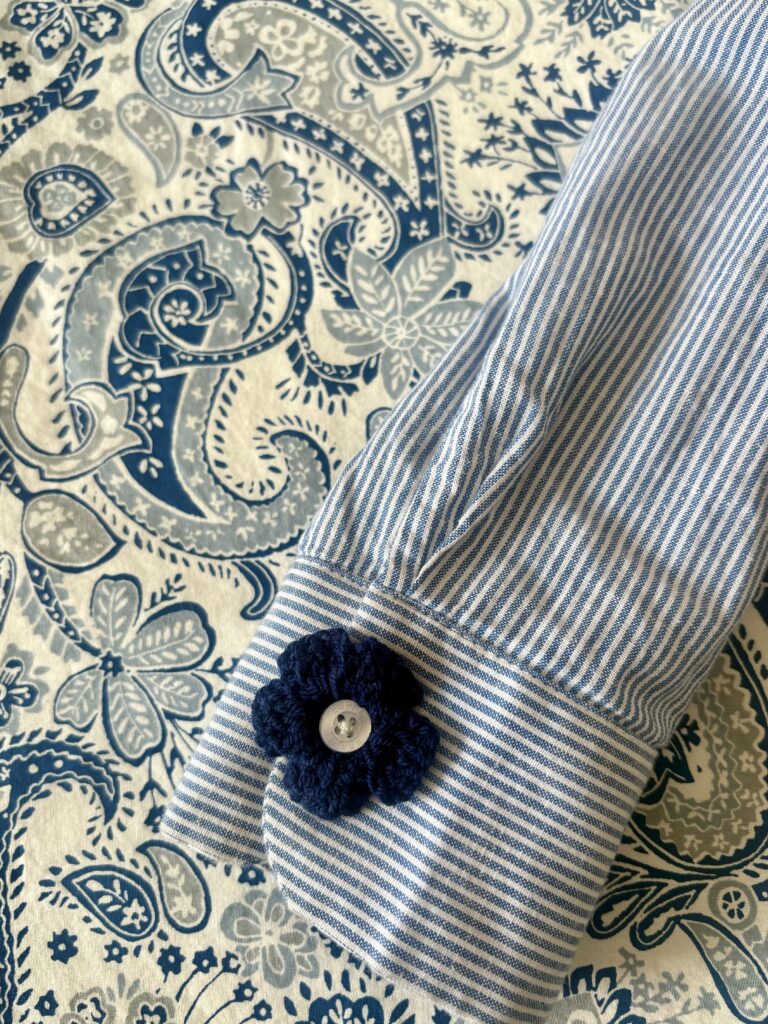
- Classic Shirt: Place pastel-colored flowers on the cuffs or the collar button of a basic white shirt.
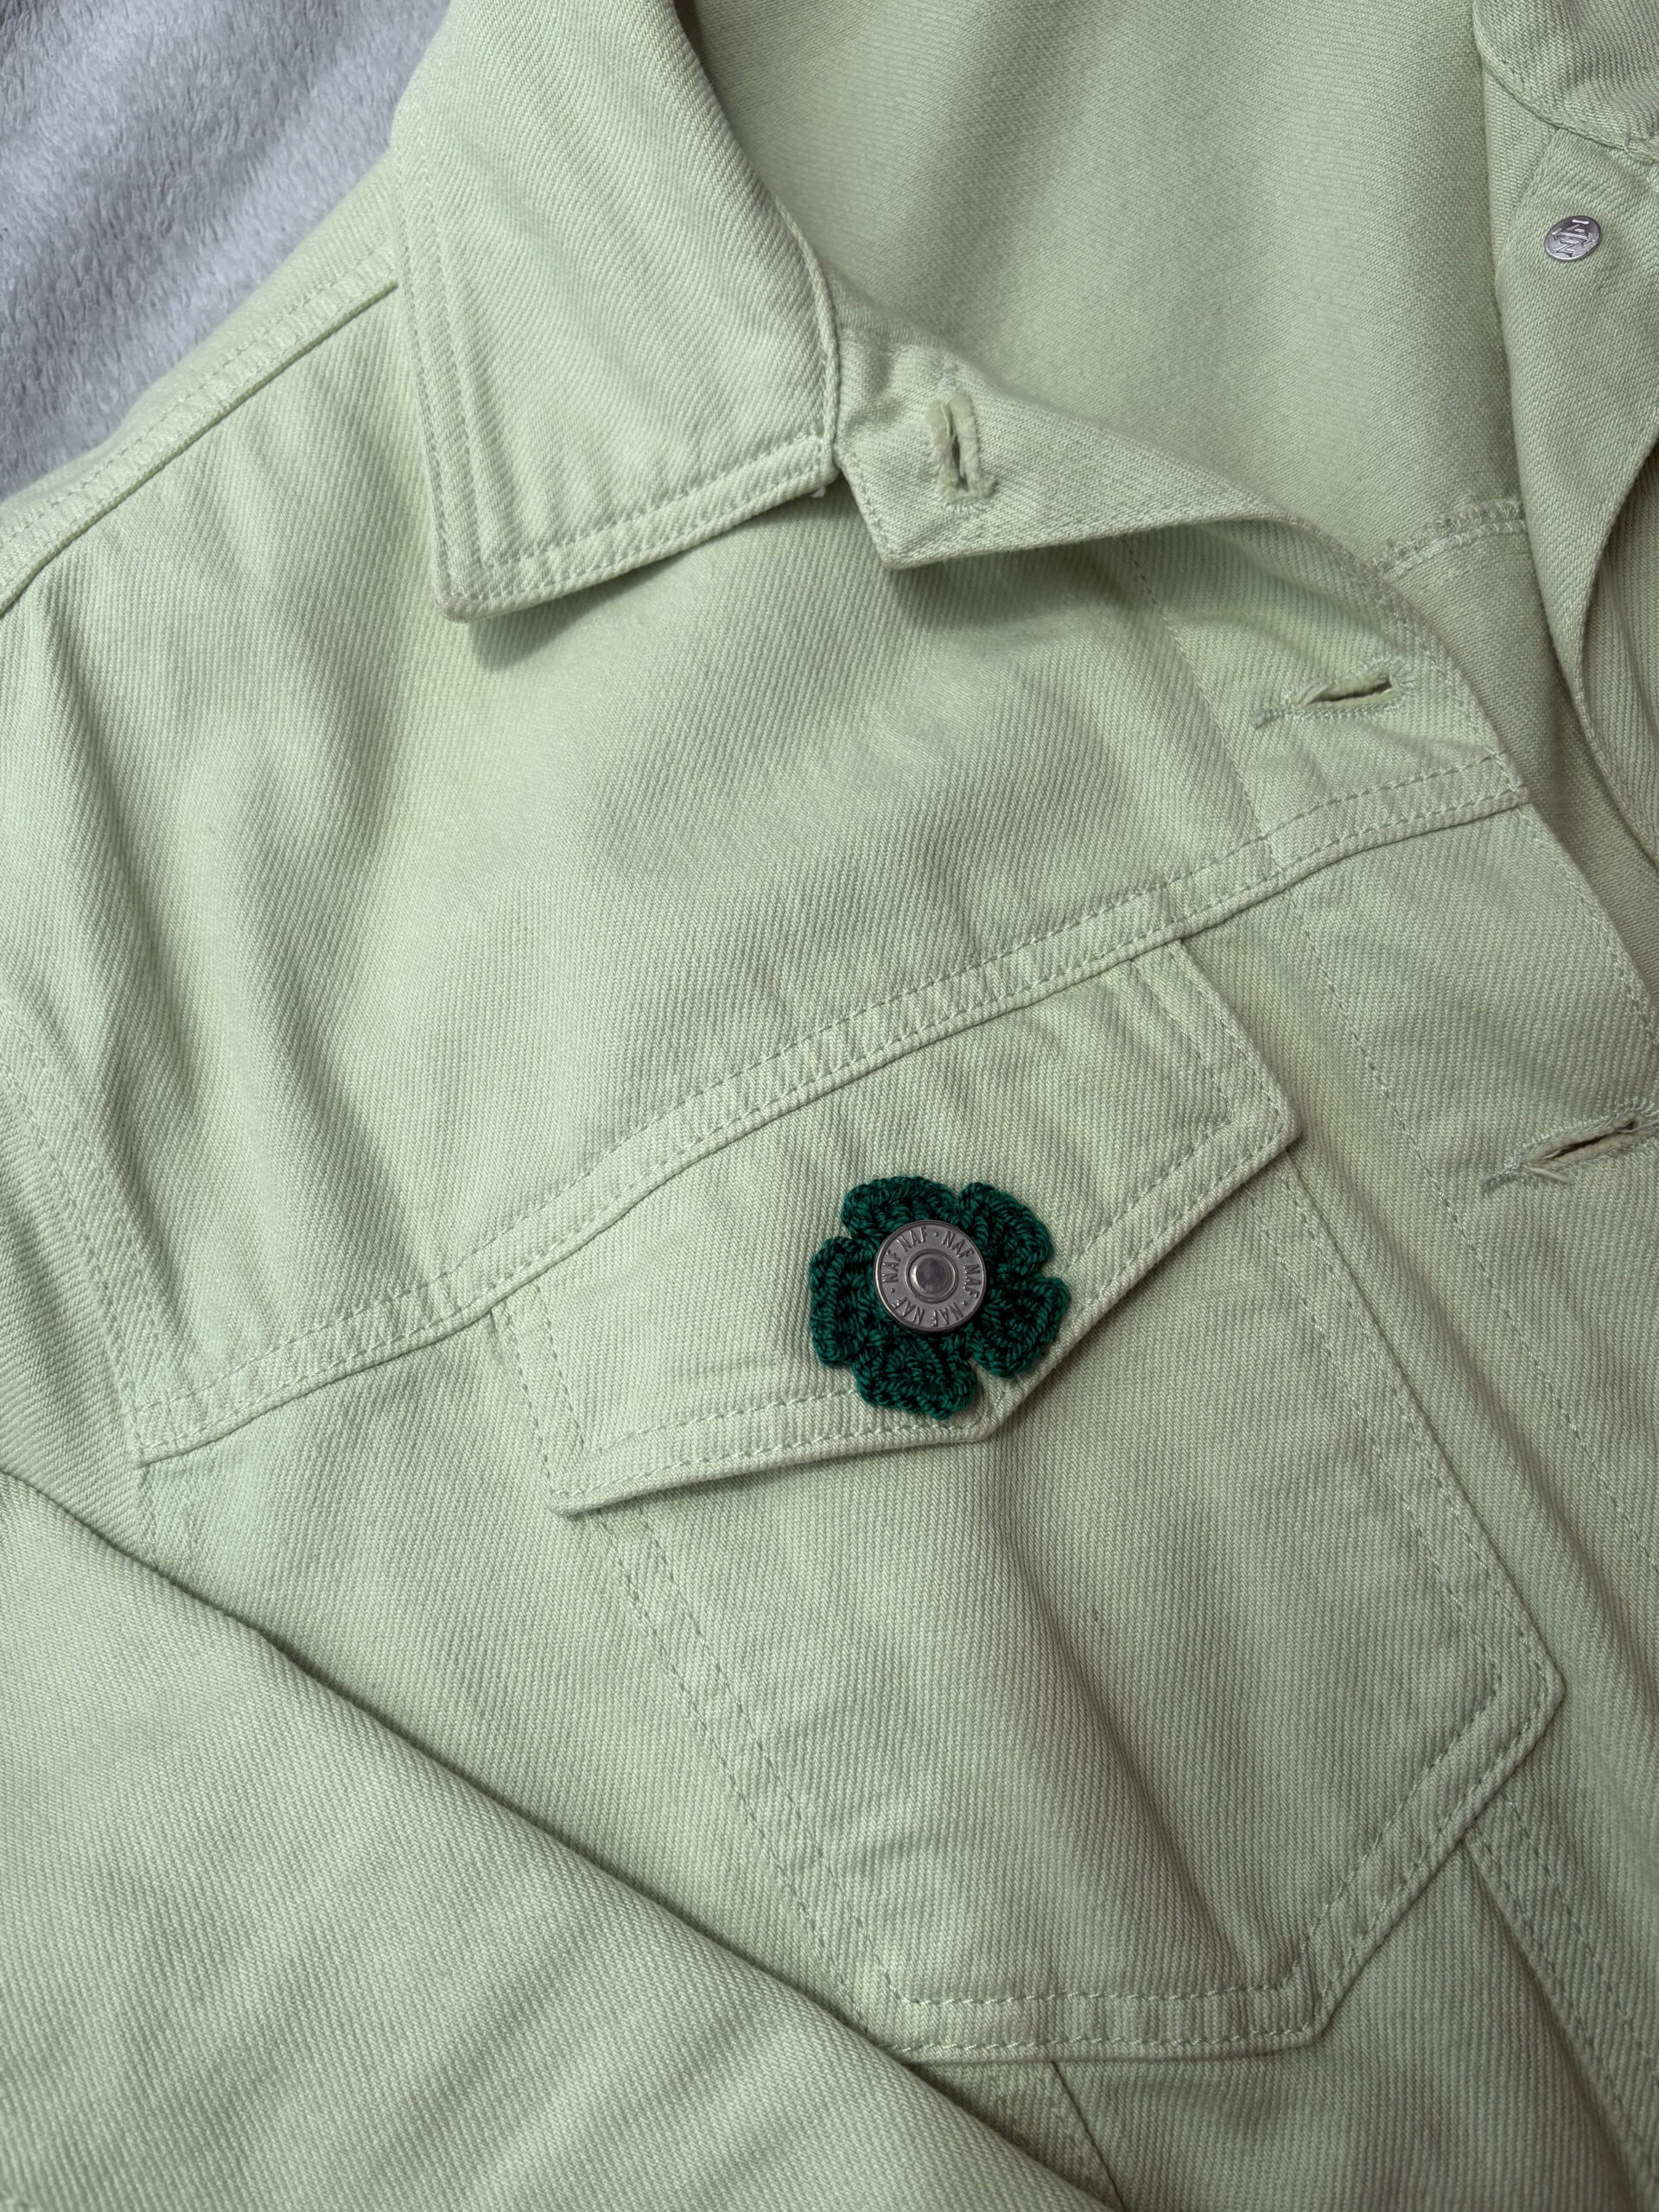
- Cardigans & Jackets: Use larger flowers made with chunky yarn for the main buttons of a denim jacket or a knit cardigan.
- Sleeve: Adding them to the sleeve cuffs of your jackets is also an excellent option to give your outerwear a unique, custom detail.
Materials Needed:
- Scissors
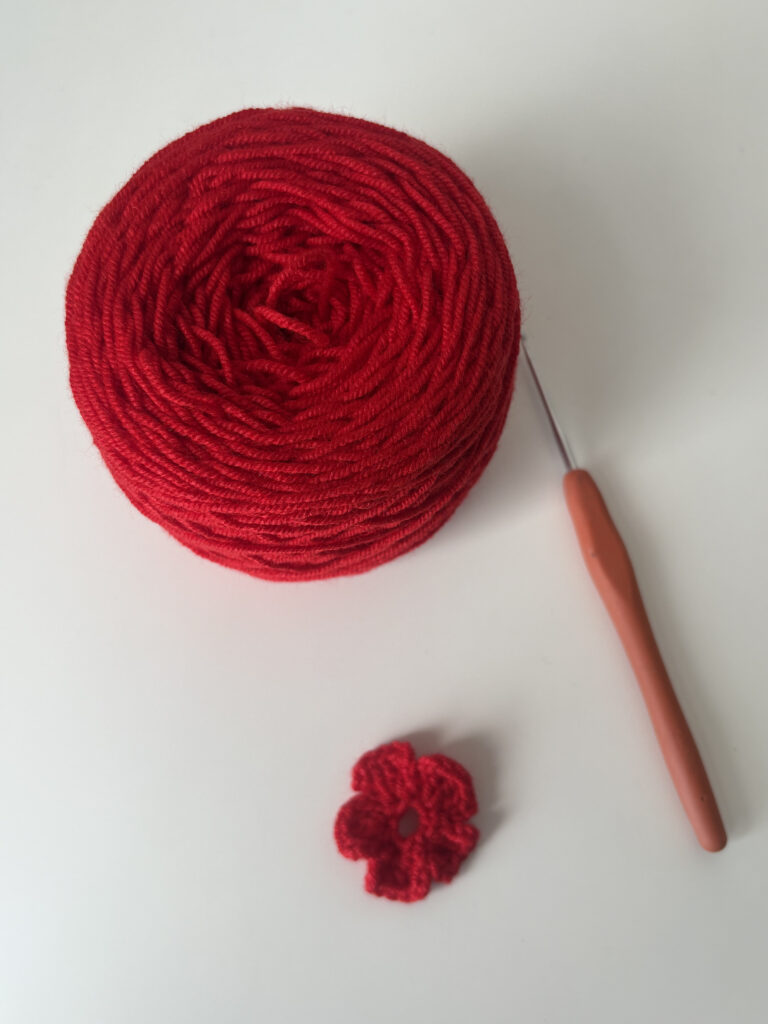
- I used acrylic yarn and it has worked very well for this project, but cotton yarn is also another perfect option.
- Crochet hook (size recommended for your chosen yarn, I used a 2.5 mm.
Abbreviations US Terms:
- mg: Magic Ring
- ch : Chain
- st: Slip Stitch
- sts: Stitches
- dc : Double Crochet
Instructions:
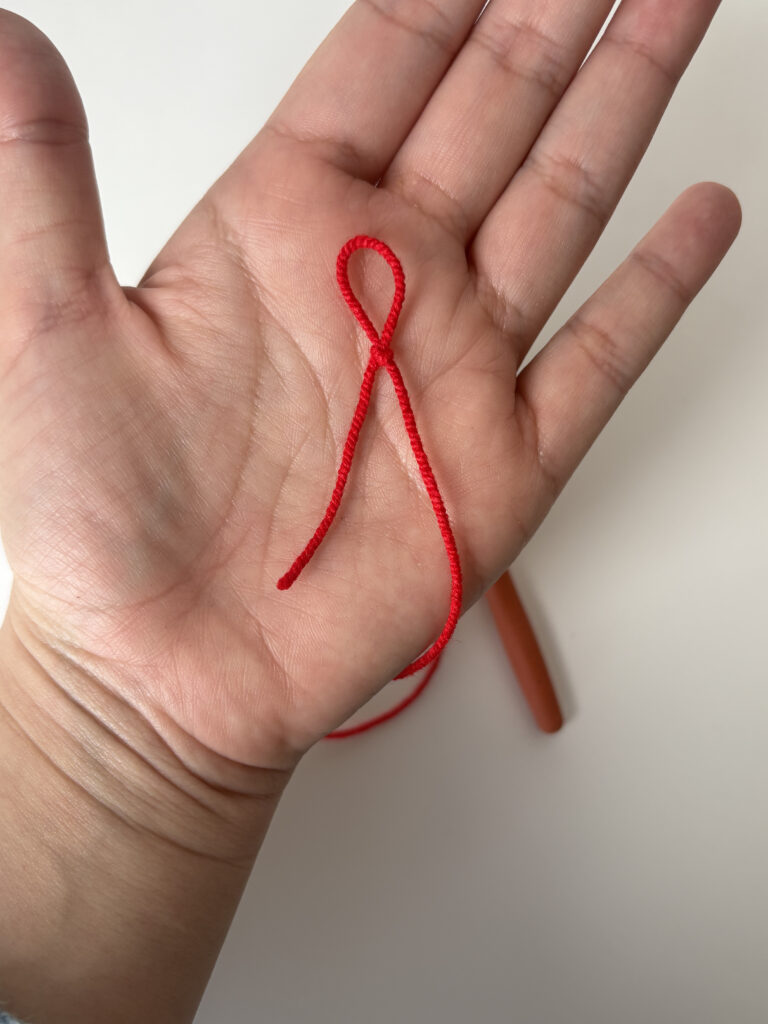
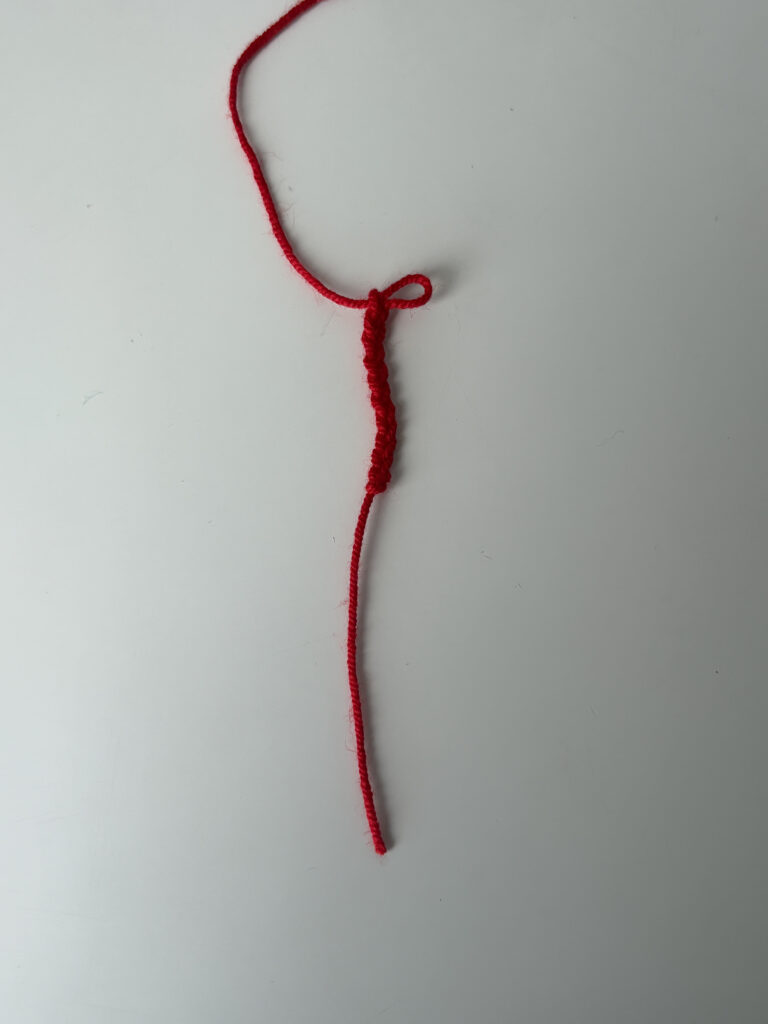
1. Slip Knot
2. Foundation chain
Once you have your magic ring and chain 10, it should look like the picture below.
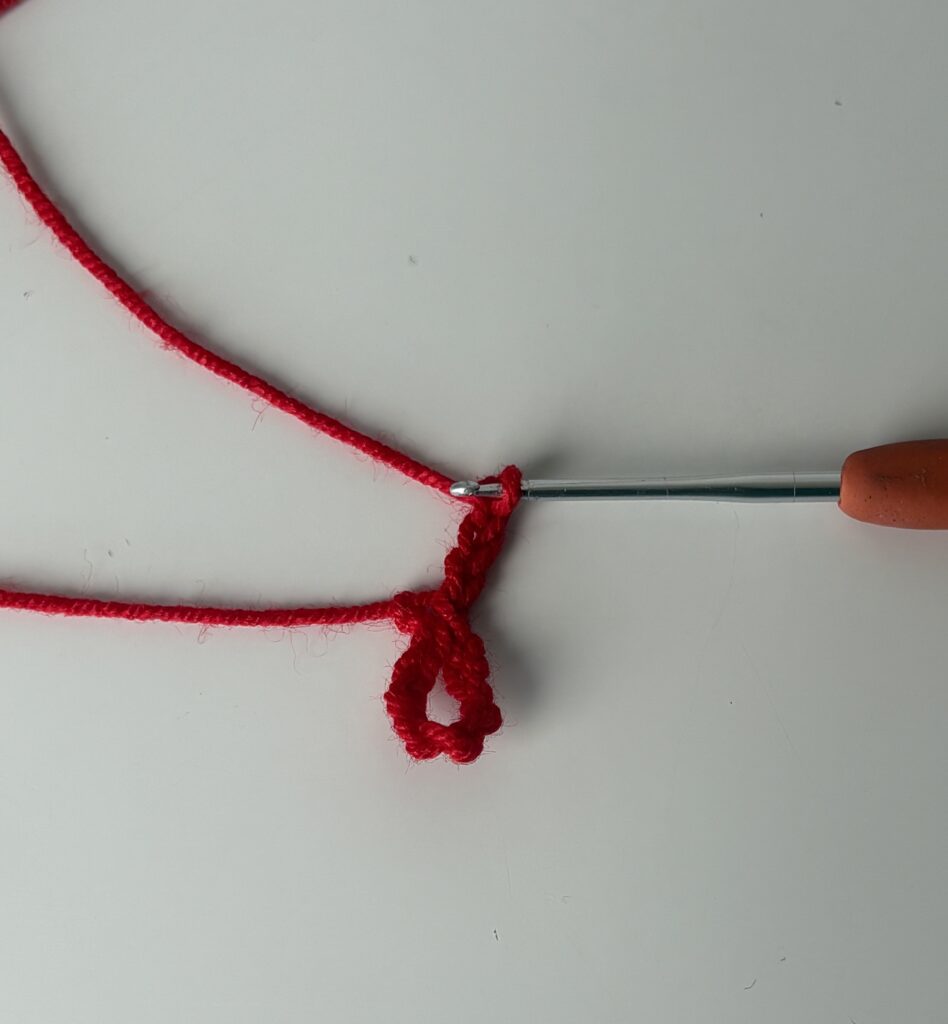
3. Ring
Join the ends of your chain with a slip stitch to form a ring.
4. Petals
The flower will have 5 petals in total, so you will repeat the following sequence 5 times (once for each petal) inside the ring:
- Step 1: Ch 3 (this gives the petal its initial height).
- Step 2: Work 3 Double Crochets (dc) into the next chain.
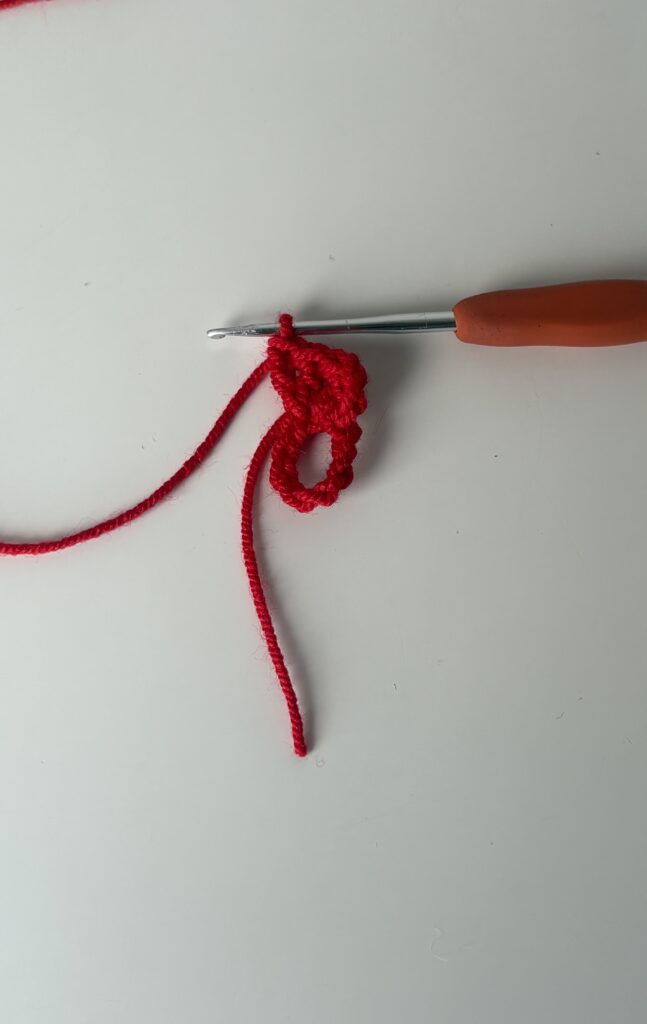
- Step 3: Ch 3 (to balance the shape and bring the stitch height back down).
- Step 4: Work 1 Slip Stitch (sl st) into the next chain to close and secure the petal.
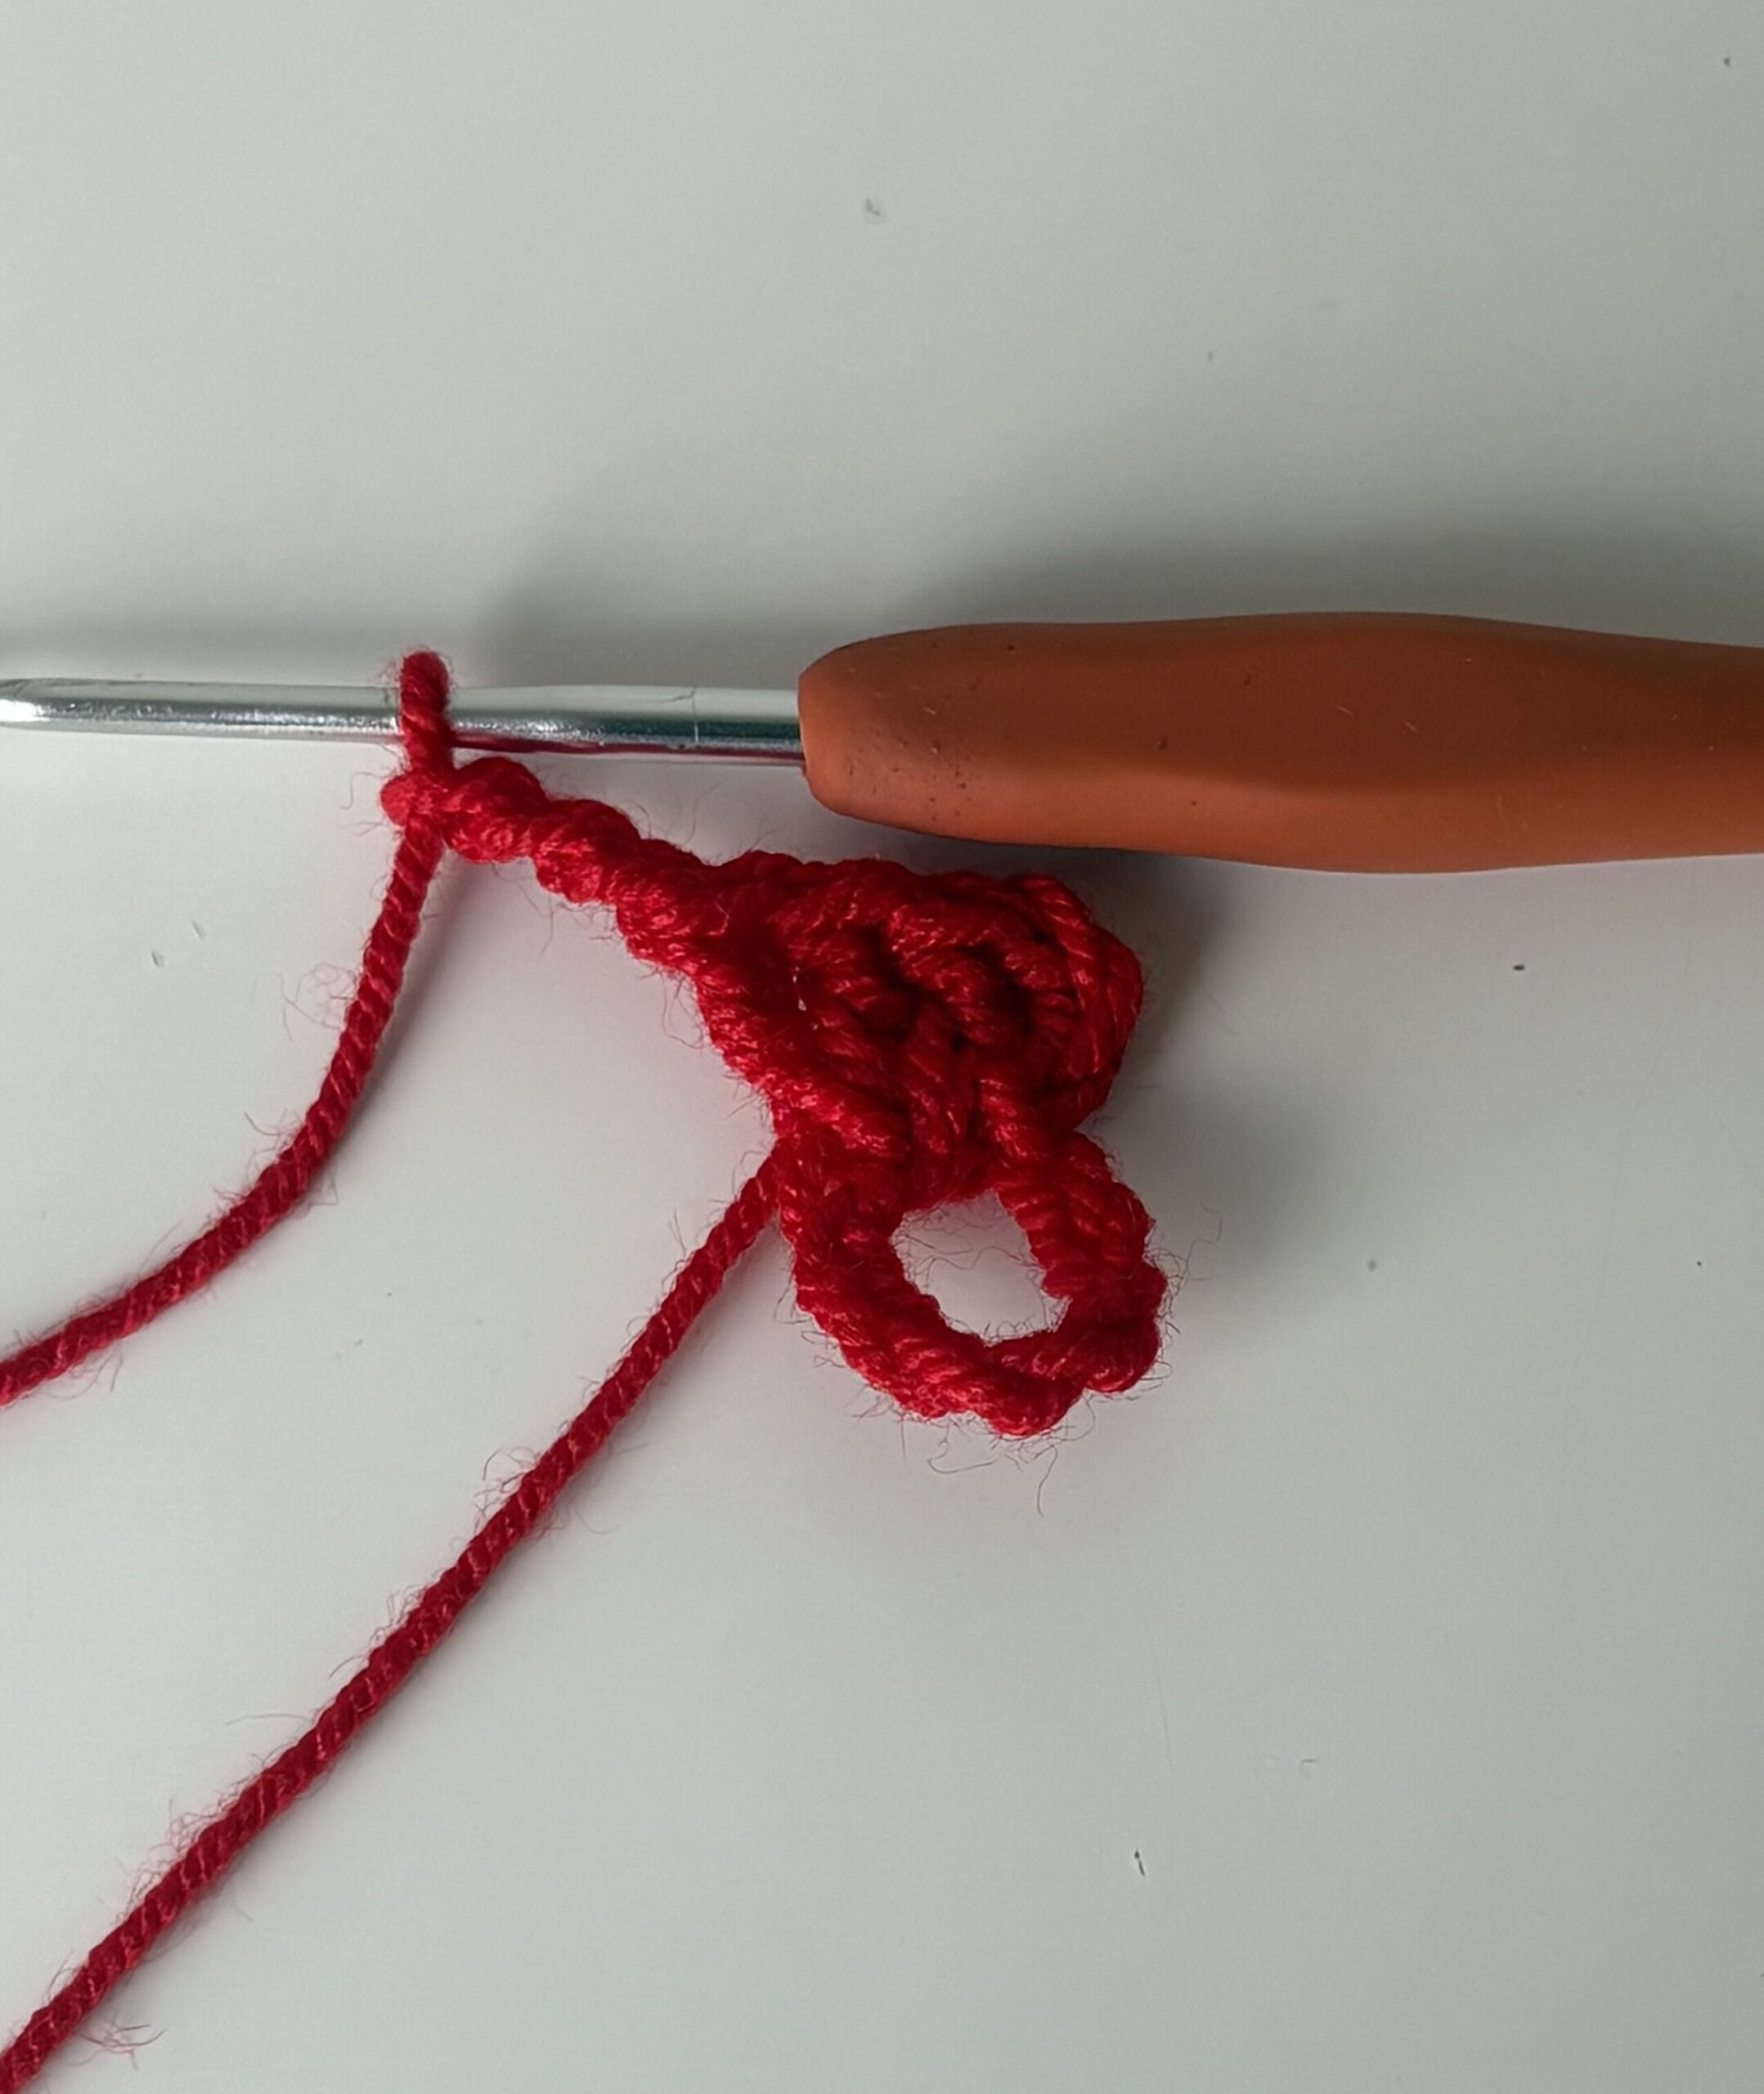
Repeat another 4 times until you got 5 petals.
⚠️ Important Tip: Make sure to carefully look at the next stitch and don’t skip it! Sometimes, the stitches can hide right under the previous petal. If you miss one, you might end up with a 4-petal flower instead of 5. Double-check your stitches so none of them stay hidden!
How to Adjust the Flower Size for Your Buttons 💡
Depending on the button you want to decorate on your shirt or jacket, your flower might need to be bigger or smaller.
If you want a larger flower, you should follow the exact same process but use a thicker yarn (higher yarn weight) and a larger crochet hook.
However, this standard size is already ideal for almost any type of button! The only thing you need to do is pull the initial yarn tail slightly to tighten or loosen the magic ring, adjusting it until it fits your button perfectly.
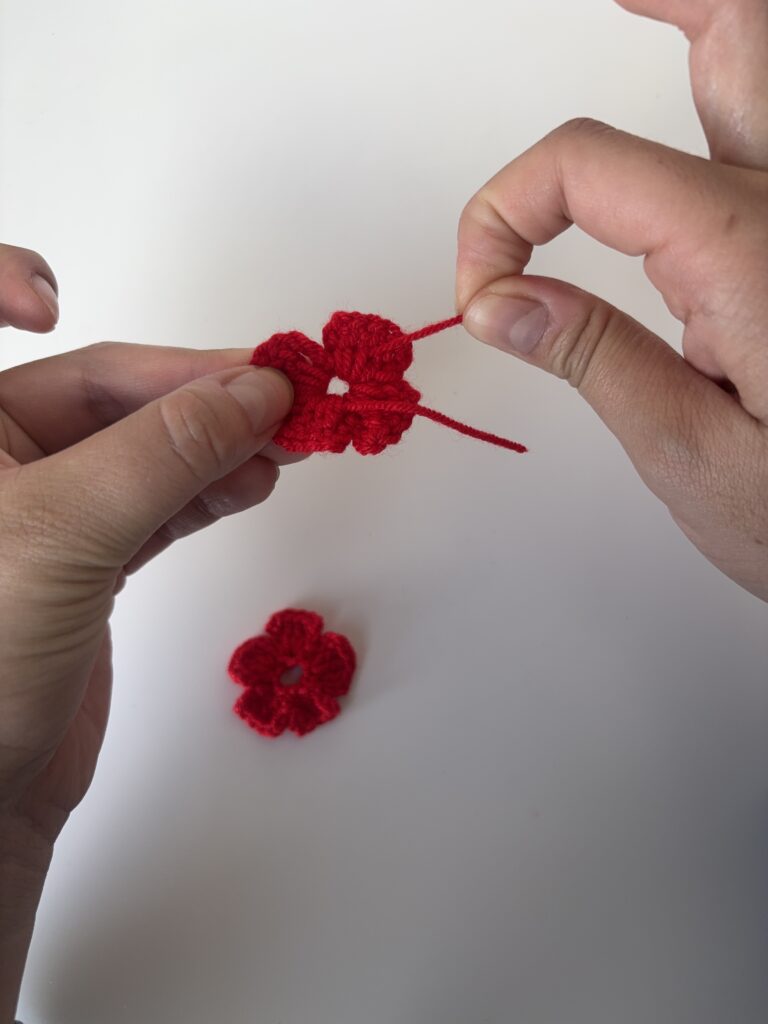
How to attach the flower to your button 🌸
Since we made the flower using a Magic Ring, the center of the flower has an adjustable hole.
You don’t need to sew anything to your clothes! Simply slide the button of your shirt through the center hole of the flower from the back, and then pull the yarn tail to tighten the ring around the button’s base.
It will stay secure all day, and you can easily remove it when washing your clothes!
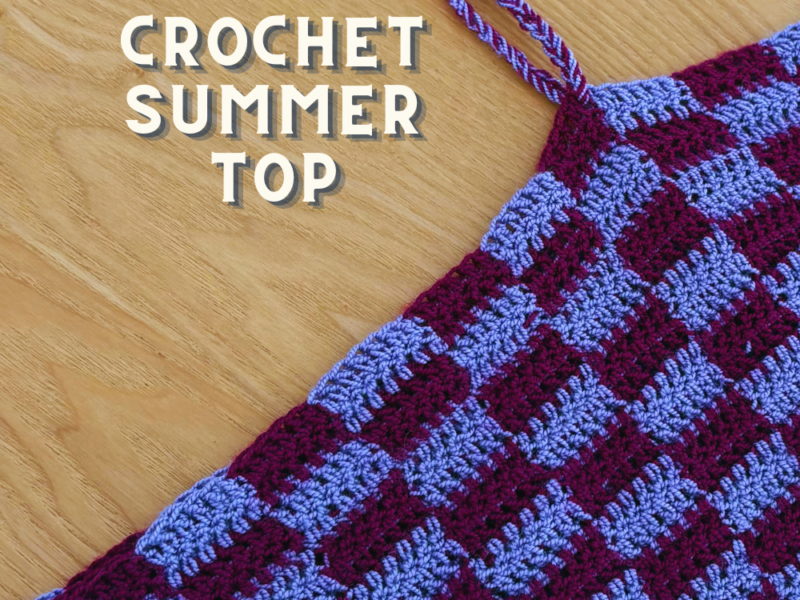
Love this flower pattern? Don’t stop here! Keep the summer vibes going and make my beautiful checkered bandana, which is absolutely perfect for beginners. It’s the ultimate trendy accessory for the sunny days ahead!
2 thoughts on “How to Crochet Flower Button Covers -Free Beginner Pattern”