Are you looking for inspiration for your next projects, but it feels like every beautiful pattern you find requires multiple colors and you have no idea how to do it?
I was right there with you! At first, I felt almost forced—obligated—to learn just so I could make the gorgeous crochet pieces I kept seeing.
Let me tell you, I have never, ever regretted learning it, and now I use this skill all the time. I truly feel that two-color projects have so much more life and personality than solid ones. Plus, it is honestly so easy that anyone can learn it! Over time, I’ve learned to mix and match shades on the go, playing with everything from pastels and brights to light and dark tones.
Combining colors and creating the perfect palette really is an art form of its own.
When to Change Yarn Colors
Before we dive into the specific techniques on how to change colors, it is essential to understand when to make the switch.
Depending on your project, there are three main moments when you will need to switch colors: at the end of a row, in the middle of a row, or while working in the round.
Crucial Note Before You Begin: Always ensure you are using the exact same type of yarn for both colors. And when I say the same type, I don’t just mean mixing any random “acrylic” or “cotton” yarns together. I mean using the same brand and product line. Different brands have slight variations in thickness, texture, and stretch. If you mix different brands, your stitches will look uneven, you might get accidental gaps, and the final piece will lack consistency, ruining your beautiful work. Stick to the same brand for an absolutely flawless finish!
Now, let’s look at the three universal moments for switching your yarn:
1. The Perfect Timing: Changing Colors at the End of a Row
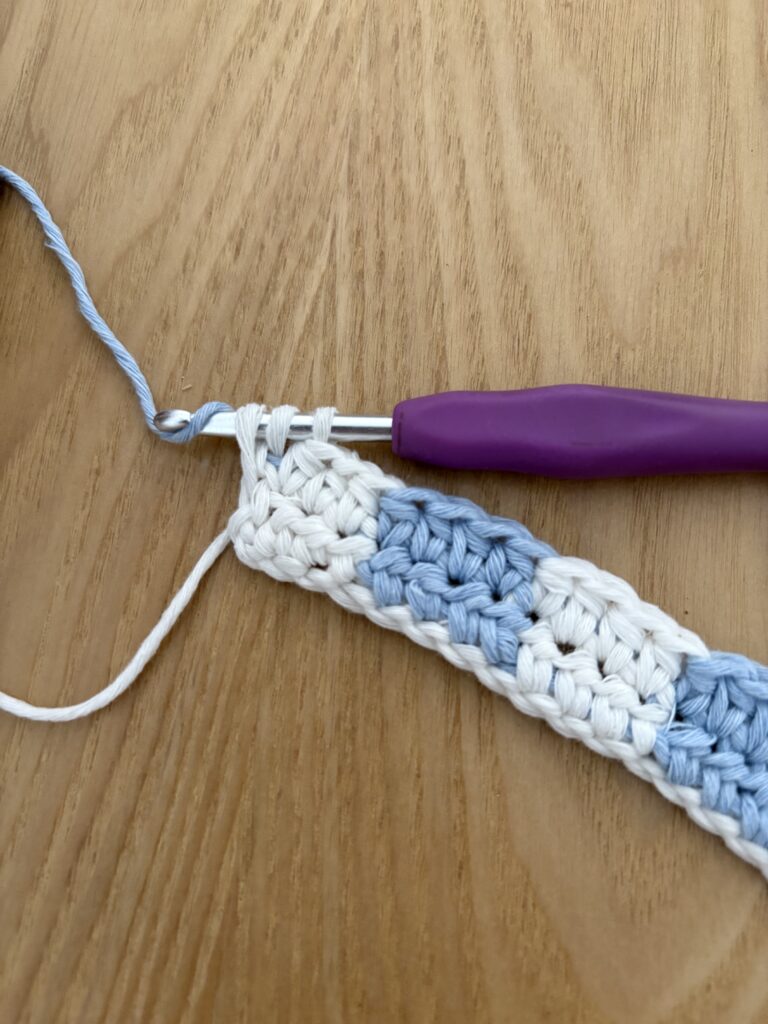
Example of when to use this: Think of classic striped blankets, clean color-blocked scarves, or simple two-tone pouches. You use this method when you want an entire row to be one solid color, and the next row to be a completely different one.
This happens when you finish working a full row and want to start the next one with a fresh shade. It is one of the simplest ways to change colors because you don’t have to carry any yarn inside your stitches. You have two clean alternatives here: you can cut your yarn at the end of the row, or, if you are making repeating two-row stripes, you can carry the yarn up the sides of your work to save yourself from weaving in loose ends later.
Want to master changing colors at the end of a row without feeling overwhelmed, my Two-Tone Crochet Pouch Pattern is the perfect place to start! It is a super beginner-friendly project worked in flat rows that will help you practice clean color transitions and neat edges while making a beautiful, functional accessory.

2. Seamless Transitions: Changing Colors Mid-Row
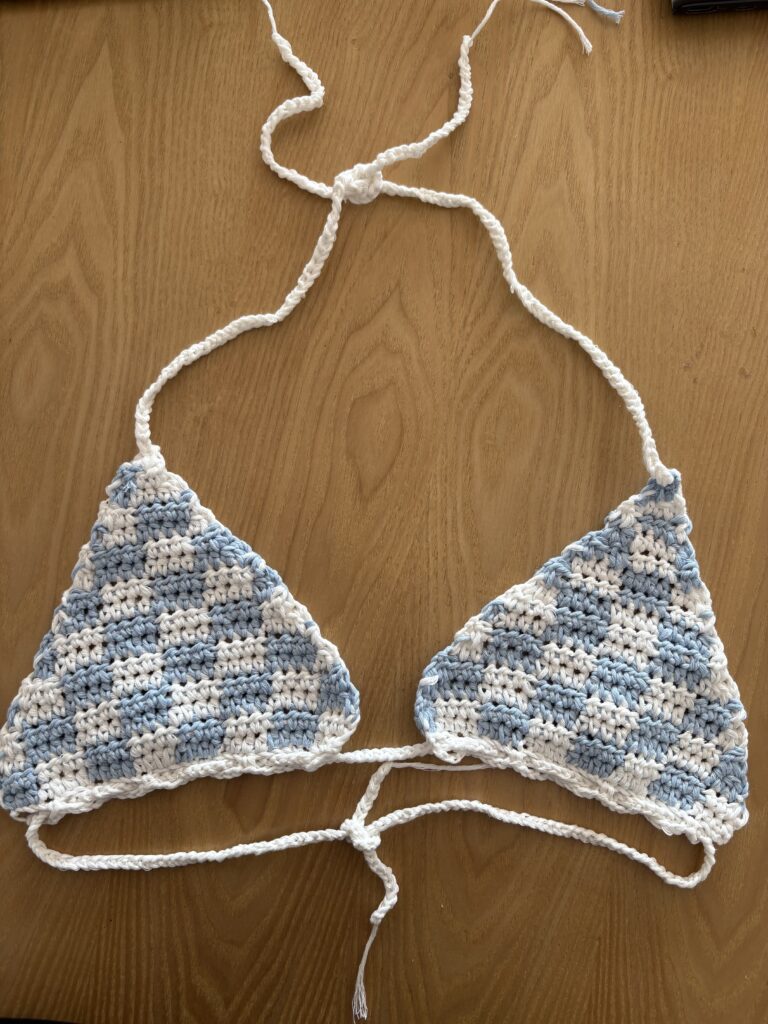
Example of when to use this: Think of graphic designs like a checkered pattern, a pixel-art logo, or a beautiful silhouette right in the center of your work. You use this method when you need to switch between two or more colors within the exact same row.
Perfect to create shapes, text, or intricate color patterns without breaking your rows, this is your go-to technique. It is the core method for tapestry crochet and graphghans. Unlike changing colors at the end of a row, here you cannot leave your old yarn behind; you must actively manage it by crocheting right over the unused thread to hide it inside your stitches until you need it again.
Want to master this technique with a stunning summer project?
If you want to see exactly how changing colors mid-row works in a real, trending design, check out my Checkered Bikini Crochet Pattern This pattern is the absolute perfect way to practice carrying your yarn, managing your tension, and creating flawless color blocks while making something gorgeous you can actually wear.
How to handle the yarn mid-row: Since you are switching colors mid-row, you cannot just leave your old yarn behind. You must carry the non-working yarn along by crocheting over it (encasing it inside your stitches), or leave it hanging on the wrong side of your work if you plan to pick it back up in the next row. The way you hide this yarn changes depending on the height of your stitch!
3. Invisible Joins: Changing Colors in the Round
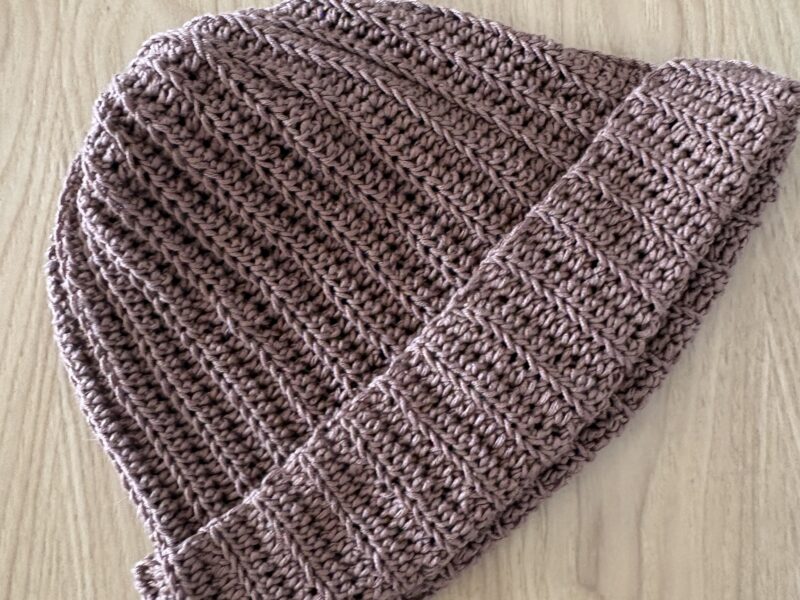
Example of when to use this: Imagine you are crocheting a seamless, tube-shaped accessory like a striped beanie, a cup cozy, or the body of an amigurumi plushie. You want the bottom half to be solid pink and the top half to be solid white, meaning you need to change colors only after completing a full, circular round.
When you crochet in continuous spirals or closed rounds, the texture naturally climbs upward like a spiral ramp. Because of this, if you change colors normally at the end of a round, you will end up with a very noticeable, jagged “step” or “jog” where the two colors meet. This section is all about how to smooth out that step depending on whether your stitch is short or tall.
Step-by-Step Color Changes for Basic Stitches
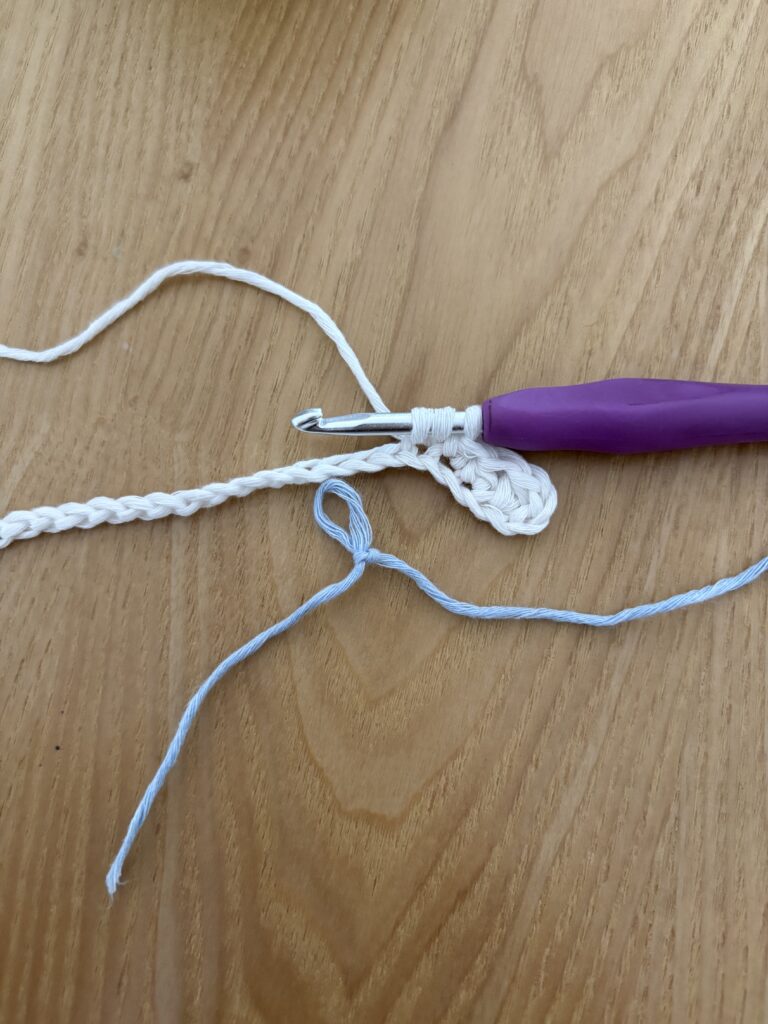
Whenever I introduce a new color into my projects, I always prefer to start by making a slip knot on the new yarn strand before pulling it through. I do this purely for practicality and peace of mind! It keeps the new yarn perfectly secure, maintains an even tension right from the first stitch, and prevents that initial loop from widening or feeling loose. If you want a flawless, sturdy finish that won’t budge over time, try adding a slip knot to your yarn changes!
How to Change Color in Single Crochet (sc)
Because the single crochet is a short, tight, and compact stitch, it is the easiest one to work with. The yarn carries beautifully inside it without peaking through!
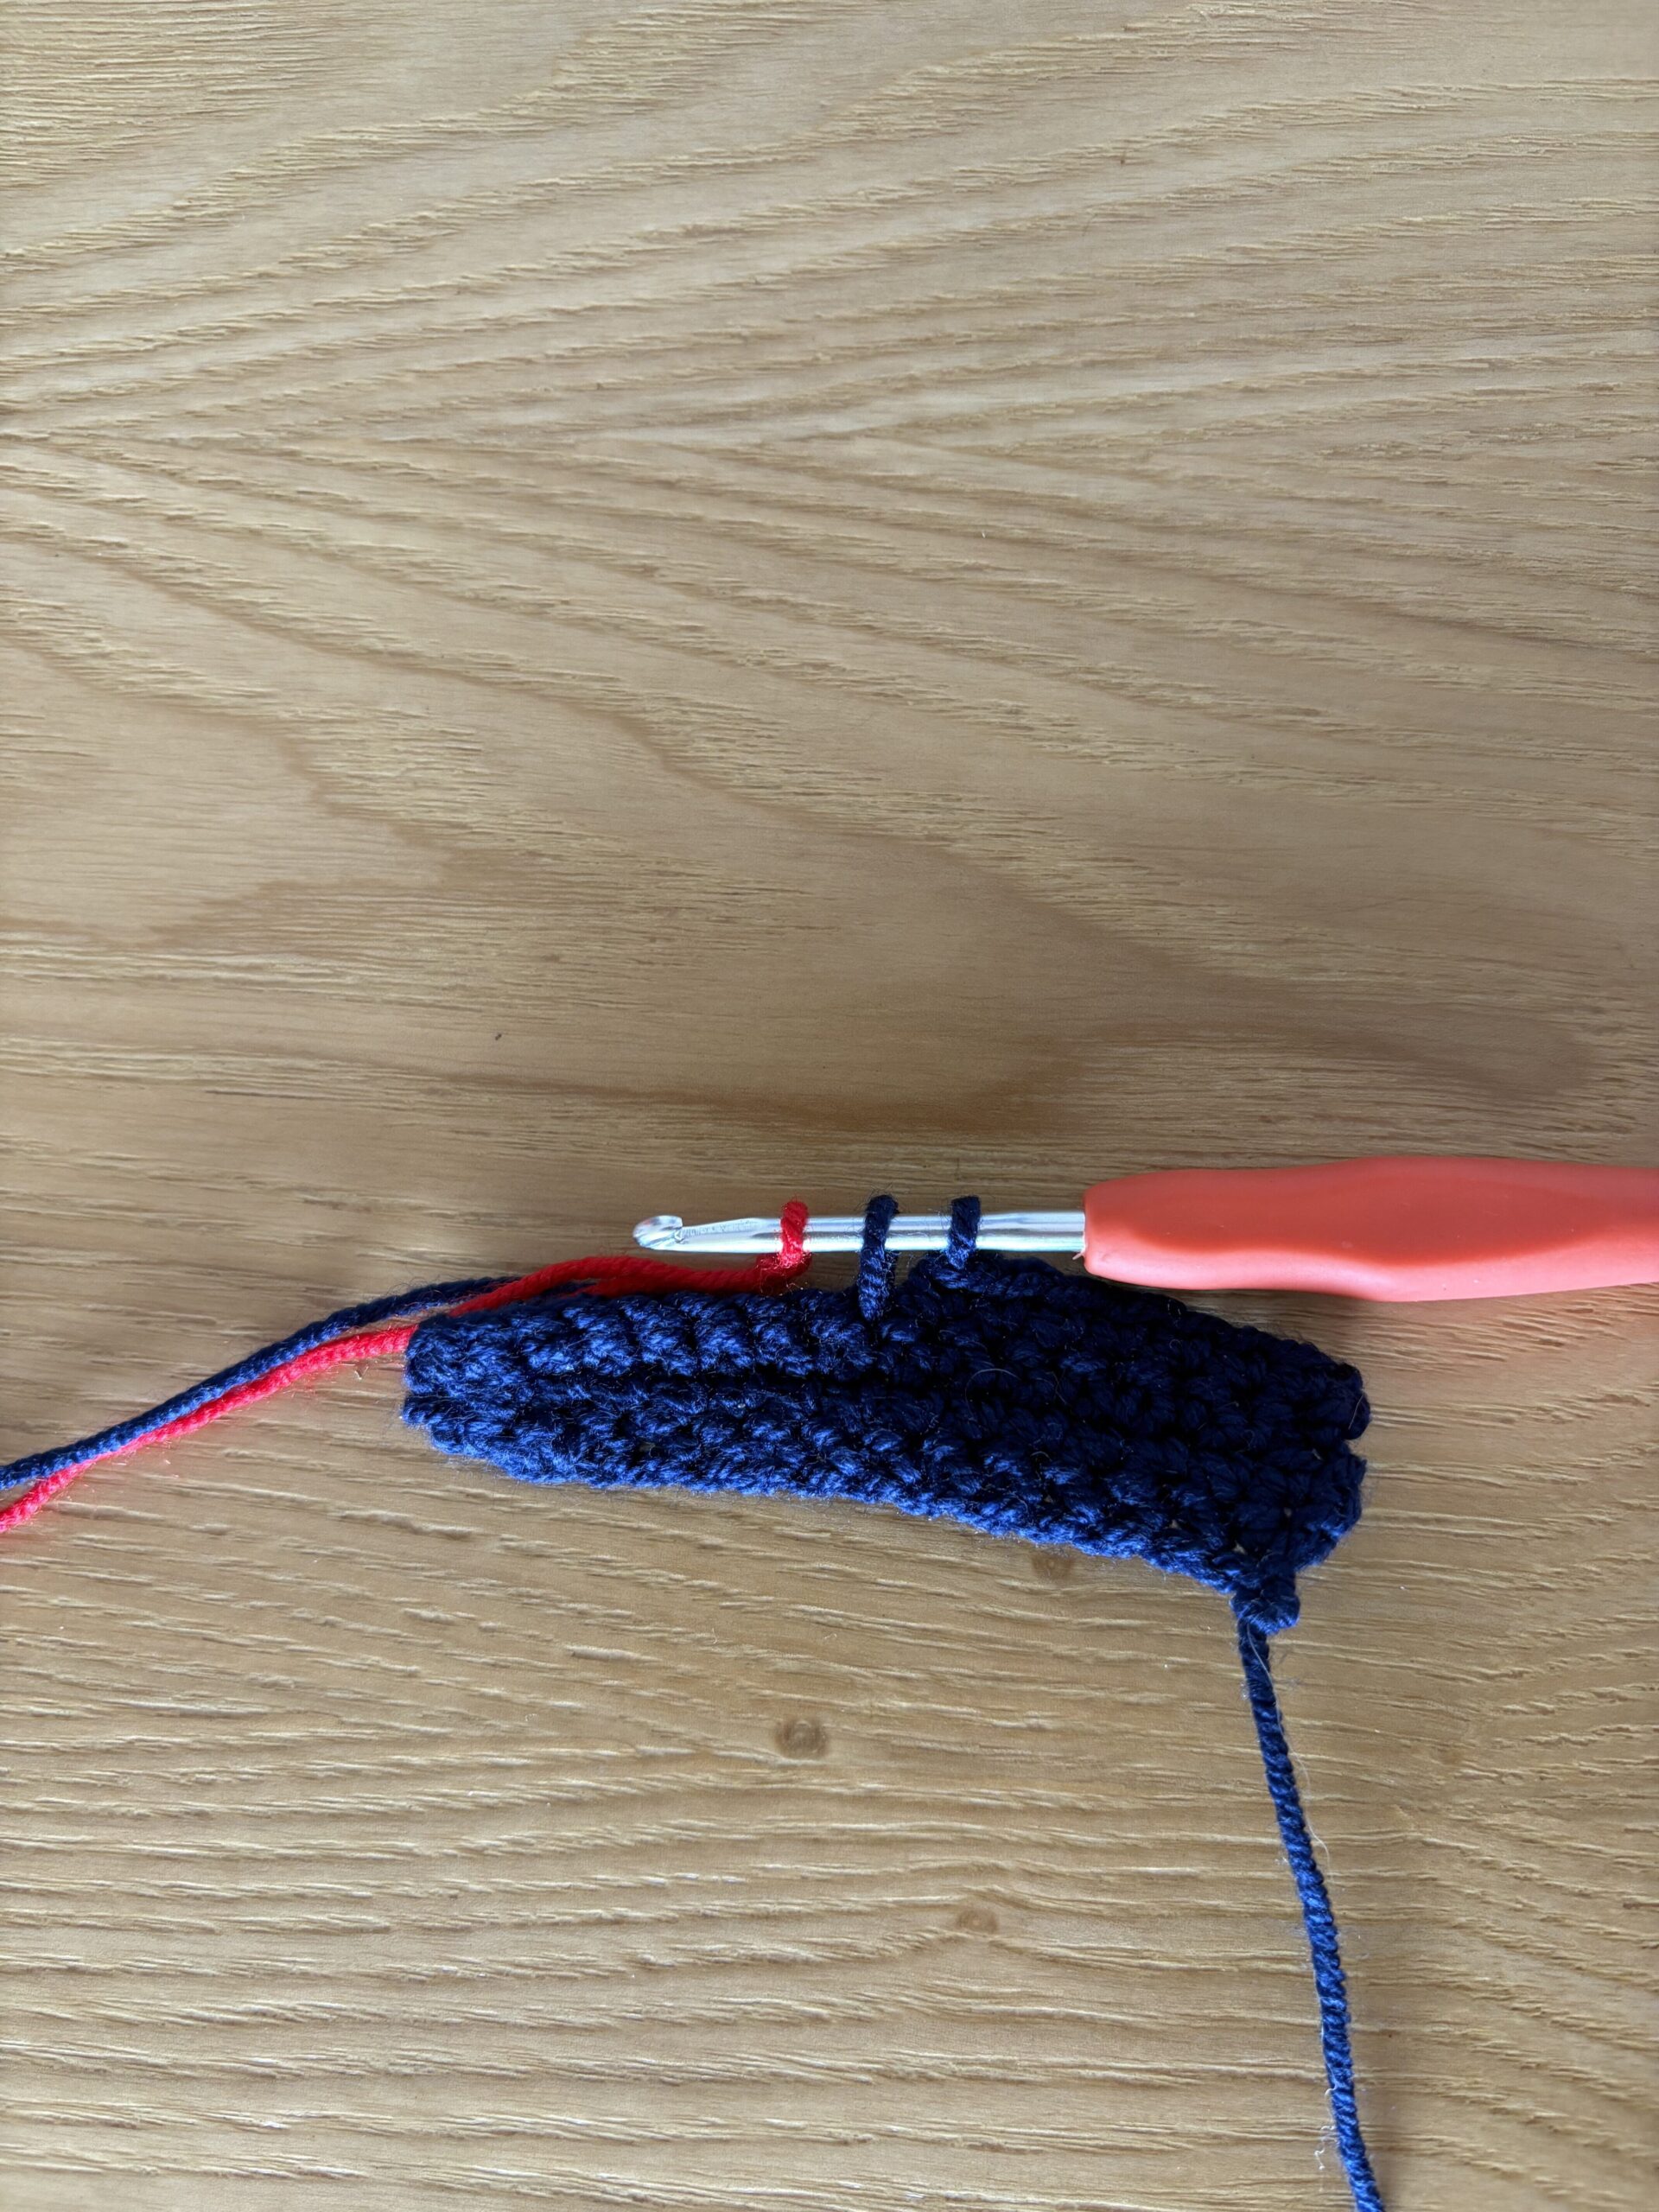
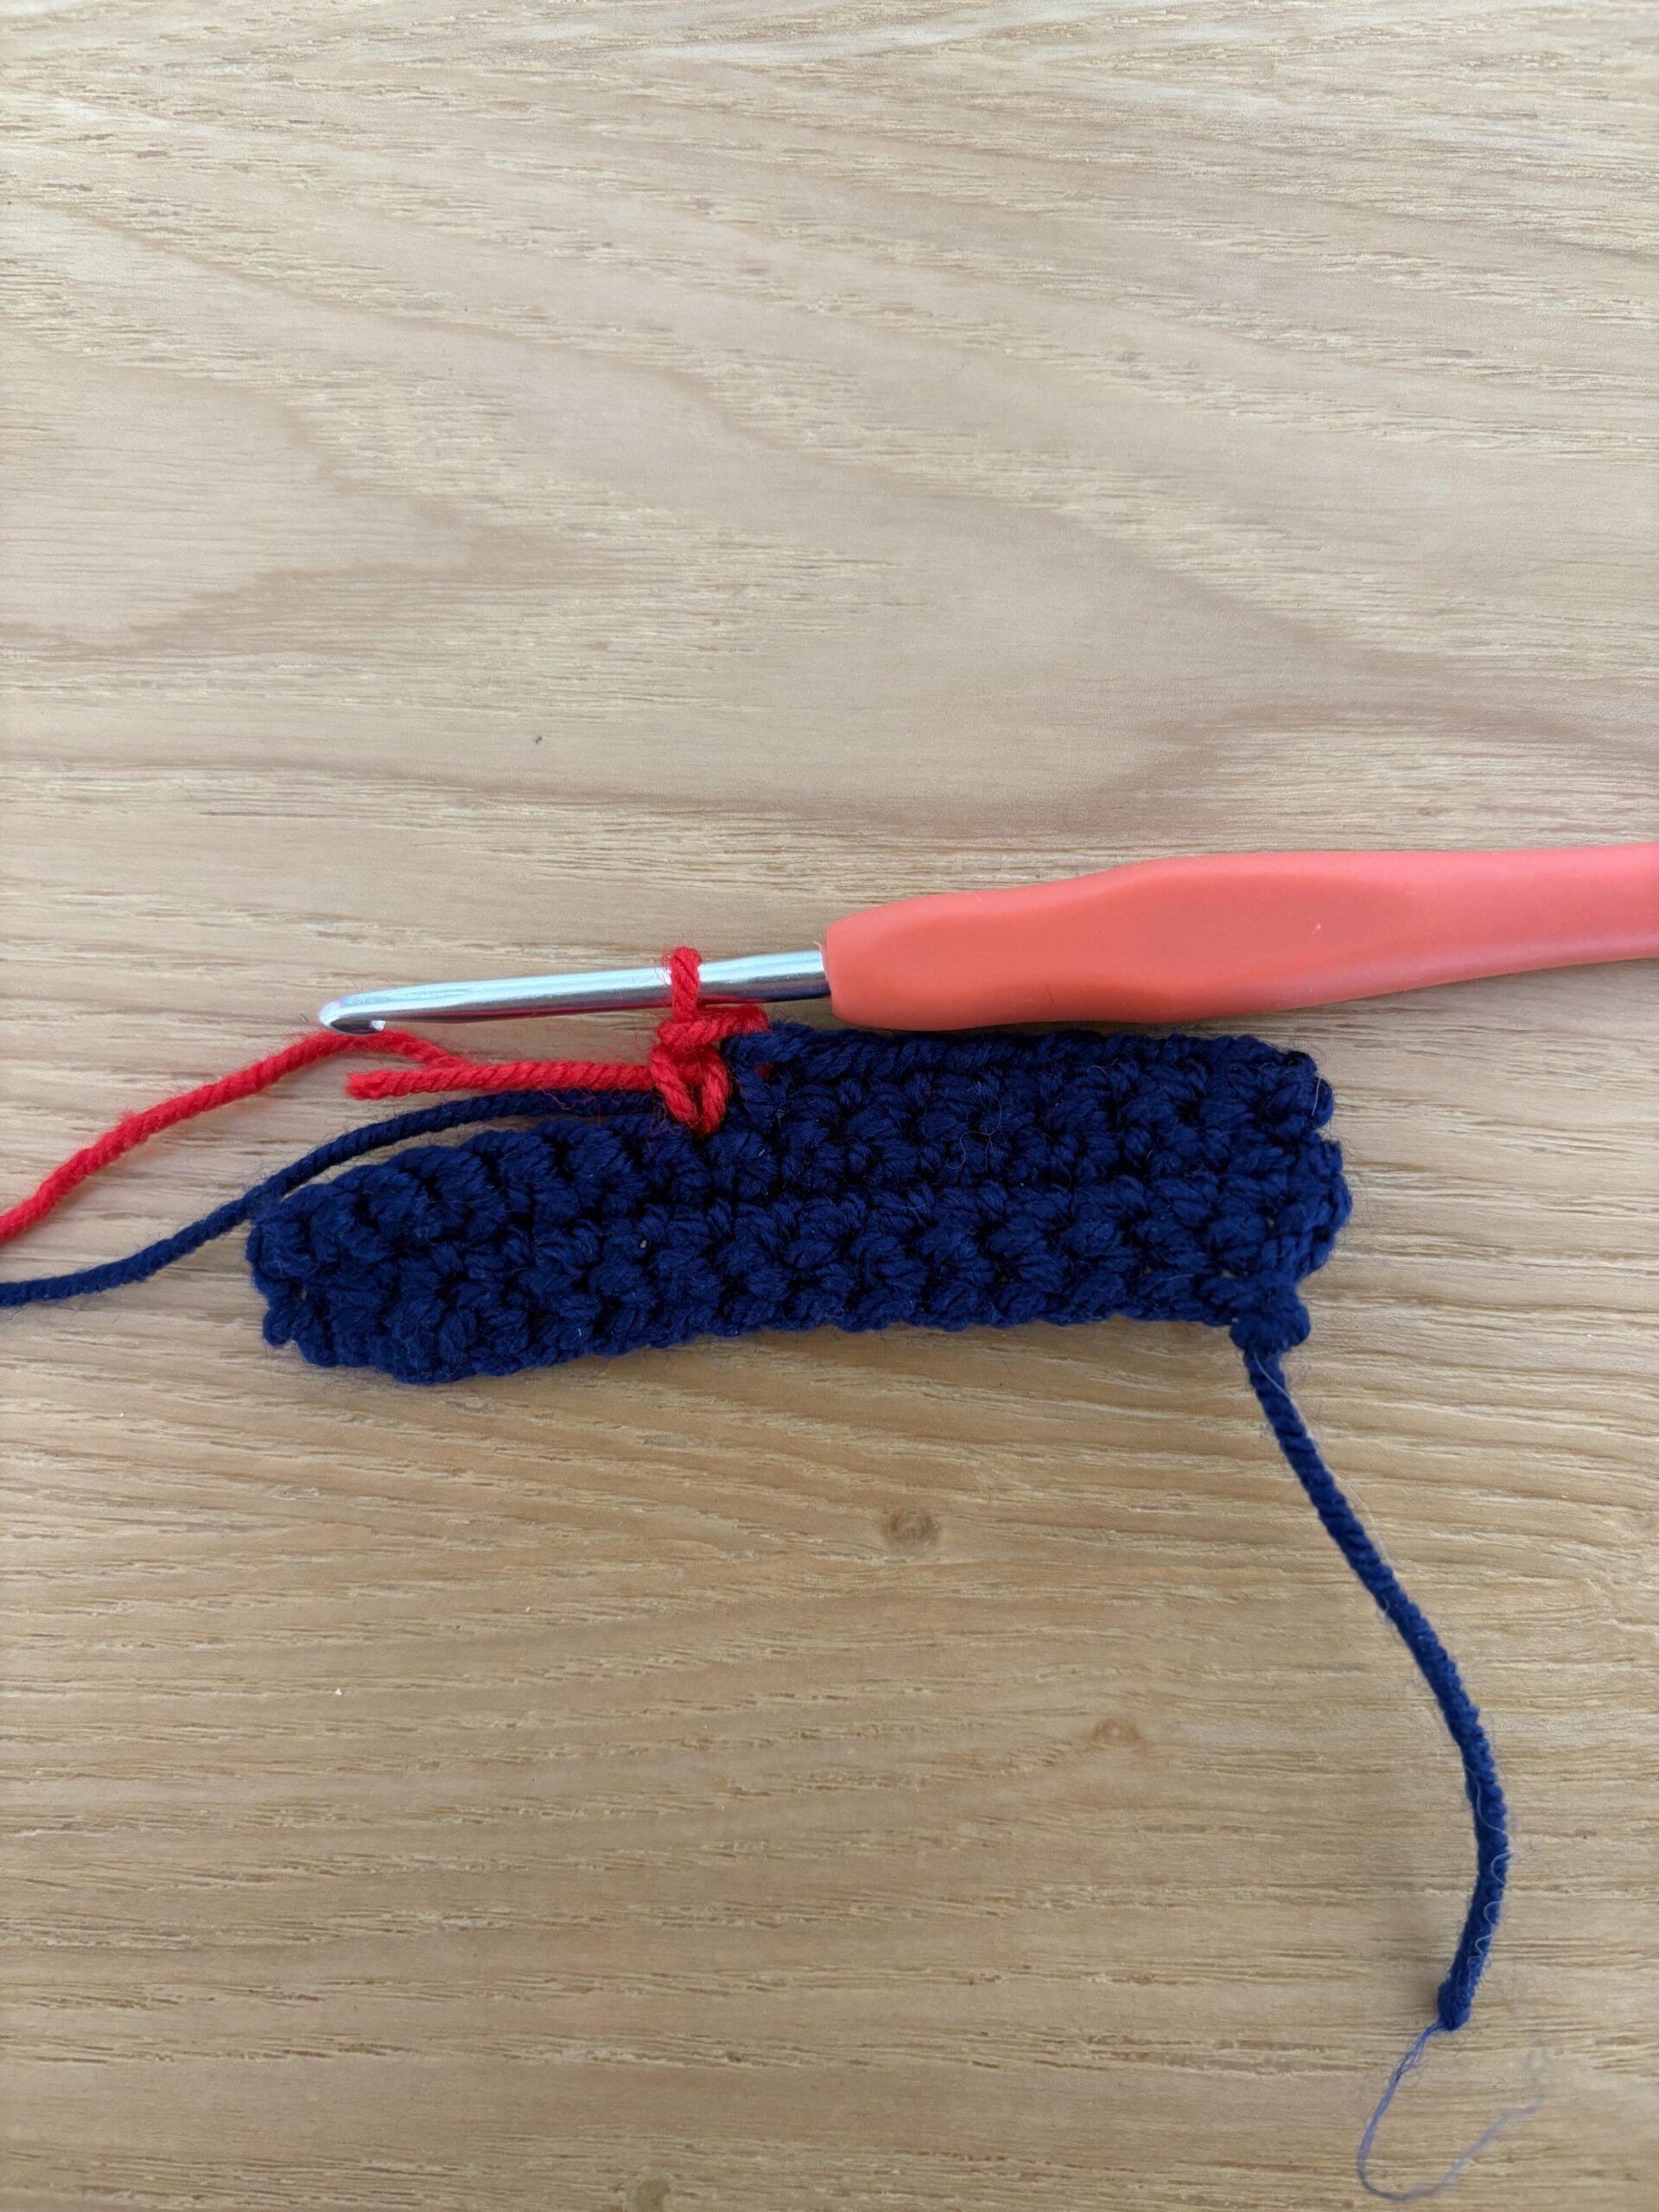
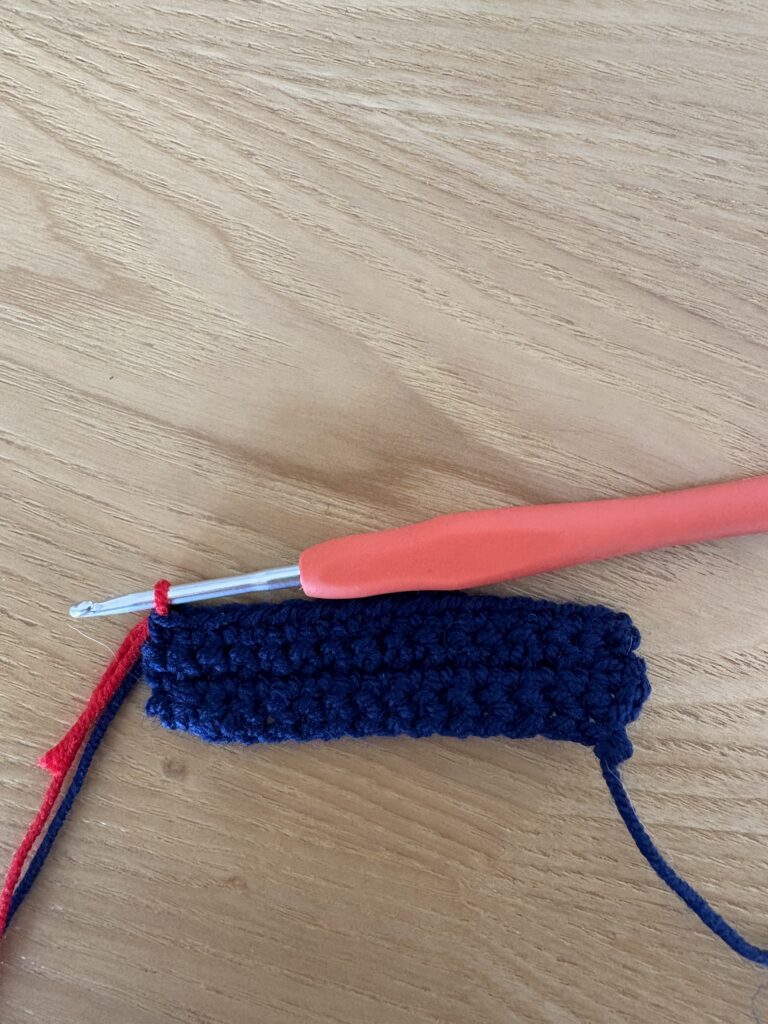
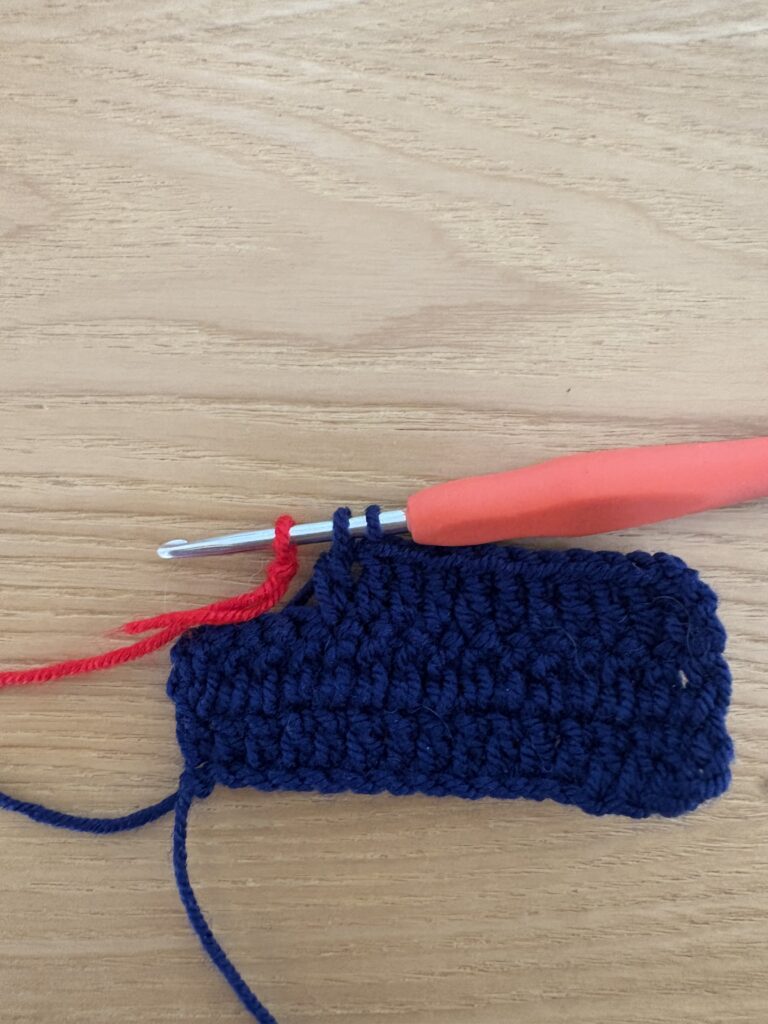
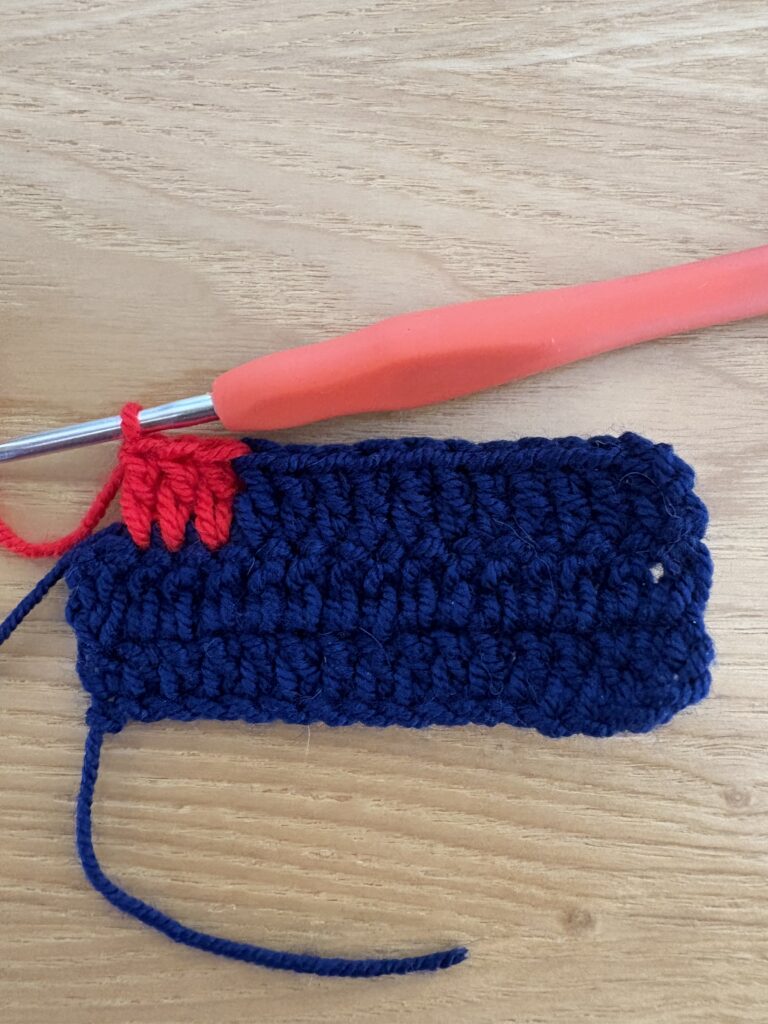
- At the End / Mid-Row: Insert your hook into the stitch, yarn over with Color A, and pull up a loop (2 loops on your hook). Drop Color A to the back. Grab Color B make a slip knot with your hook and pull it through both loops to complete the stitch.
Mid-Row
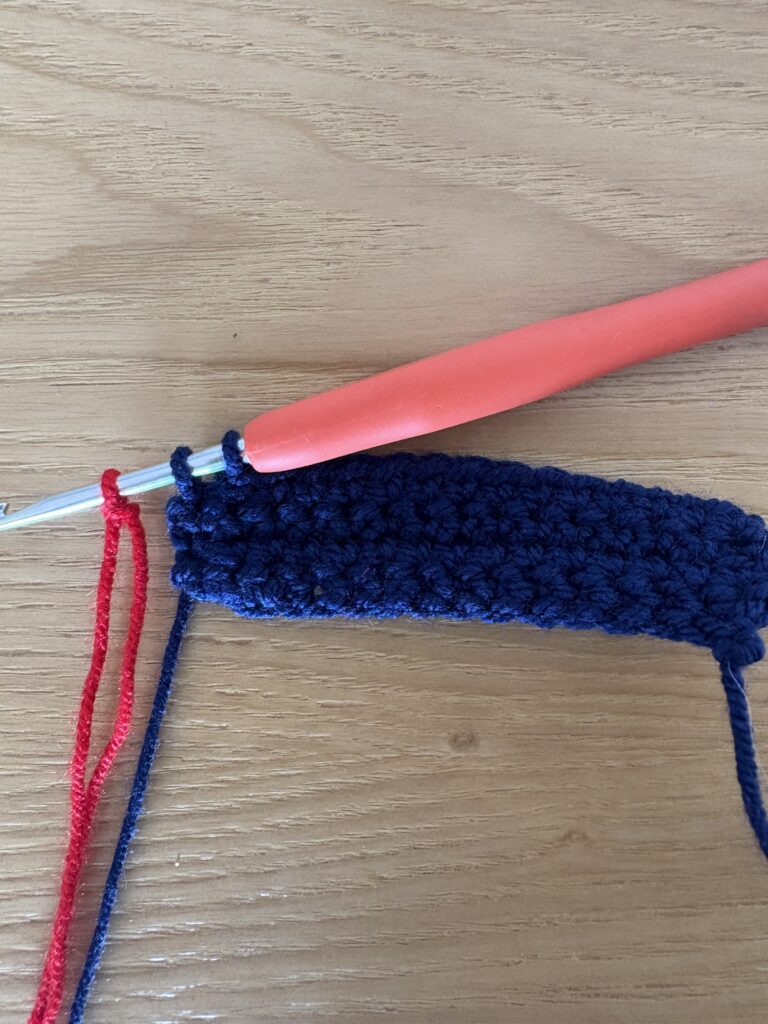
End
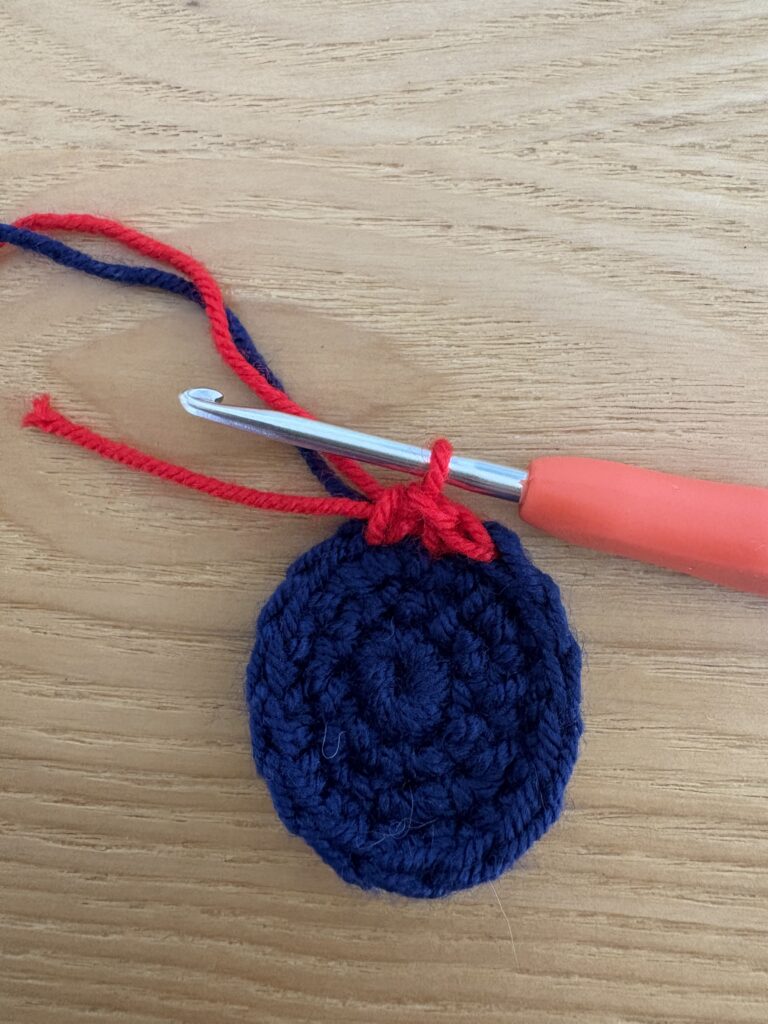
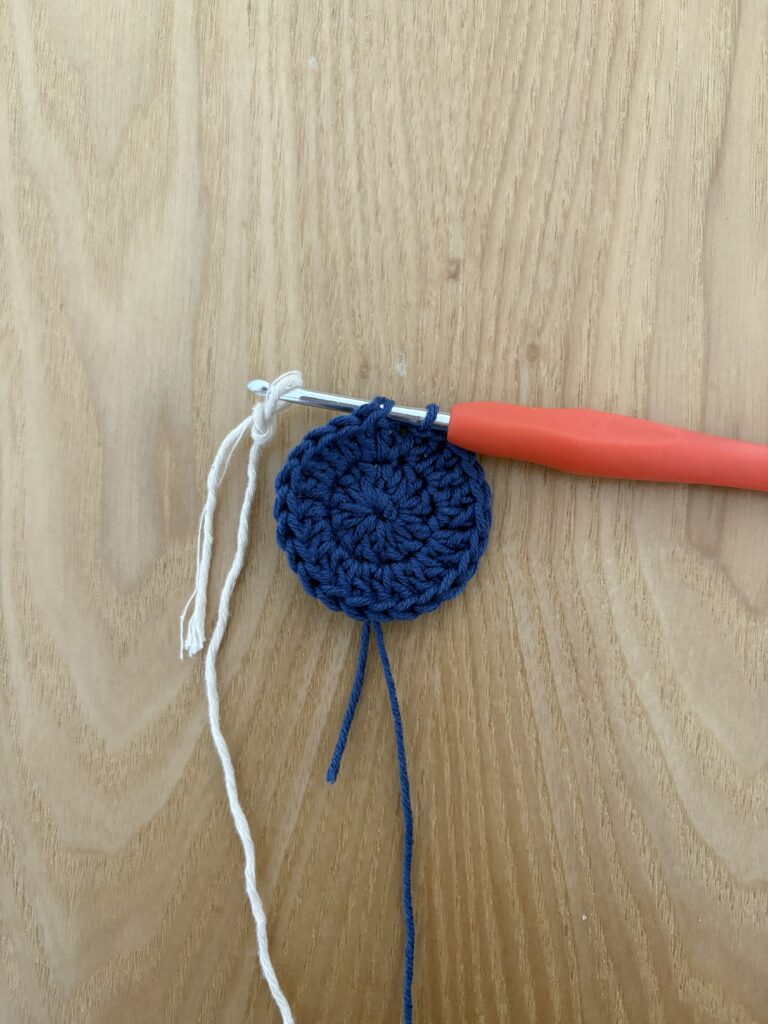
- In the Round: Since single crochet is very short, the “step” in the round is tiny. Simply complete your last sc of the round normally. When you insert your hook into the first stitch of the next round to make a slip stitch (sl st), pull the new color through to close it. This smooths out the transition perfectly.

How to Change Color in Half Double Crochet (hdc)
The half double crochet starts with a yarn over, which means you will have more loops on your hook when making the switch.
- At the End / Mid-Row:
Yarn over with Color A, insert your hook into the stitch, and pull up a loop. You now have 3 loops on your hook.
Stop right there! Drop Color A.
Slip Knot Color B (your new color) insert and pull it through all 3 loops on your hook to complete the stitch.
- In the Round: To prevent a huge gap, finish your last hdc with Color A. Insert your hook into the first stitch or the turning chain of the round, grab Color B, and complete your slip stitch (sl st) with the new color to level the round.
How to Change Color in Double Crochet
Double crochet is a tall stitch with “posts” (legs), meaning the final color change happens halfway through the completion of the stitch.
- At the End and Mid-Row: Yarn over with Color A, insert your hook, and pull up a loop (3 loops on hook). Yarn over with Color A and pull through the first 2 loops (2 loops remain on hook). Stop here! Drop Color A. Grab Color B and pull it through the final 2 loops to complete the double crochet. Tip for mid-row: Make sure to tension the carried yarn extra well so it doesn’t float loosely between the tall dc posts.
- In the Round: To change colors seamlessly in the round, complete your last double crochet with the current color. Before closing the round, insert your hook into the first stitch (or the top of your turning chain). Drop the old yarn, grab a loop of the new color (slip knot), and pull it completely through the stitch and the loop on your hook to complete your slip stitch. This will perfectly level your round with the new color!
What to Do with the Yarn Tails: Managing Loose Ends
Now that you know how to switch colors, you need to decide what to do with the yarn you leave behind. Here are your two professional options:
Method 1: Carrying the Yarn Along (Hiding Ends as You Go)
Perfect for tapestry crochet or quick color changes. You simply place the non-working yarn along the top of your stitches and crochet right over it, trapping it inside the stitch. This means zero loose ends to weave in at the end of your project!
Method 2: Stranding the Yarn (Floating Colors)
If you are changing colors every few rows or at the exact same spot every time, don’t cut the yarn! Leave it hanging loosely at the back or side of your work. When you return to that side, simply pick it back up and carry it up. This saves yarn and time.
Tip: Weave in your ends early!
If you do choose to cut your yarn after a color change, do yourself a favor and weave in those loose ends every 5 to 10 rows. Leaving hundreds of tails until the very end can feel overwhelming and might make you enjoy your finished project less. Work smart!